
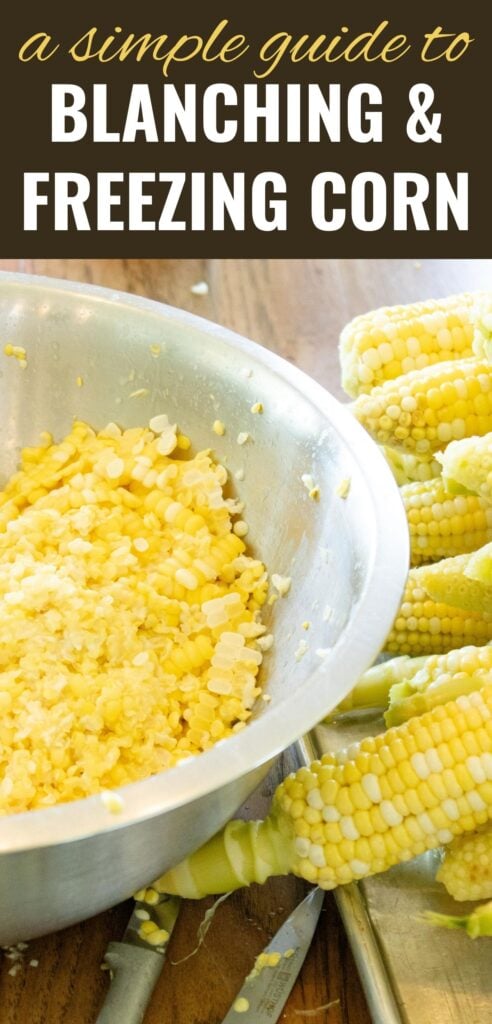
Learn how to freeze corn in this simple guide to blanching, cutting and freezing sweet corn. Though it's messy to do, the flavor and texture of corn preserved at home is far better than anything you can buy at the grocery store!

How to Freeze Sweet Corn (Cut Off the Cob)
It's corn day!
For us, corn day starts bright and early in the morning. First, the corn cobs are harvested from the garden (as long as the fence held up and the raccoons didn't get in and ransack the corn patch), then begins the "husking" or "shucking" process. Growing up, we always took the atv heaped with a lot of corn cobs to the pasture to do the husking so the cattle could enjoy the husks!
Then comes the processing. Washing the corn ears, removing silks (my least favorite part of the process to this day), blanching the corn, then cutting it off and bagging it, ready for the freezer. I find it so fun and rewarding to fill the freezer with packages of our own corn, or any homegrown and preserved vegetable!
Of course there are different ways you can go about freezing corn, but in this post I'm going to show you the simple method my family has always used to preserve fresh summer corn. Let's get started!
Do you need to blanch corn before cutting and freezing?
The answer is no. You can freeze corn without blanching it first. But should you?
There are a couple reasons why I choose to blanch my corn (and most other vegetables) before sticking it in the freezer. Here’s what blanching does to vegetables:
- Deactivates the natural enzymes found in vegetables, preventing the vegetables from discoloring, turning mushy, or tasting bad.
- Brightens the bright colors of vegetables and helps maintain their crisp textures, which could otherwise be lost in the freezer.
- Gets rid of unwanted bacteria, dirt or mold that might be on the vegetables.
- Softens the vegetables slightly. It’s important to blanch certain vegetables for certain lengths of time, to avoid under or over blanching, since over-blanching can result in nutrient loss and under blanching can fail to stop the enzymes, resulting in off-tasting veggies. It's easier to cut off the corn if it's been blanched, too!
Also, blanching the corn cobs makes it much easier to cut the corn off!
What You Will Need
- Fresh sweet corn - we grow Incredible sweet corn in our garden every year (and this year we did Temptation sweet corn too, which is what I'm doing today), and if you don't have a garden you can most likely pick up some corn at a farmer's market during the summer months.
- 1 large stock pot - for boiling the blanching water
- 1 bowl of ice water - to make an ice water bath to stop the cooking process and cool off the cobs for cutting. I like to fill the sink with cold water and ice for a large ice bath.
- Vegetable brush - a brush like this works pretty well to scrub off the silks that like to cling to the corn cobs.
- Sharp knife - I like to use my little Wusthof paring knife to cut off corn. My mom has a corn cutter similar to this one that works well too!
- Large bowl - to cut the corn into
- Measuring cup - or something to scoop with; I use a one-cup measuring cup.
- Freezer bags or containers & a marker for labeling
Blanching and Freezing Sweet Corn
Prepare the corn. After the corn is picked, remove all the husks and rinse the ears of corn in water and pick off all the silks, scrubbing with a vegetable brush if necessary.


Blanching Sweet Corn:
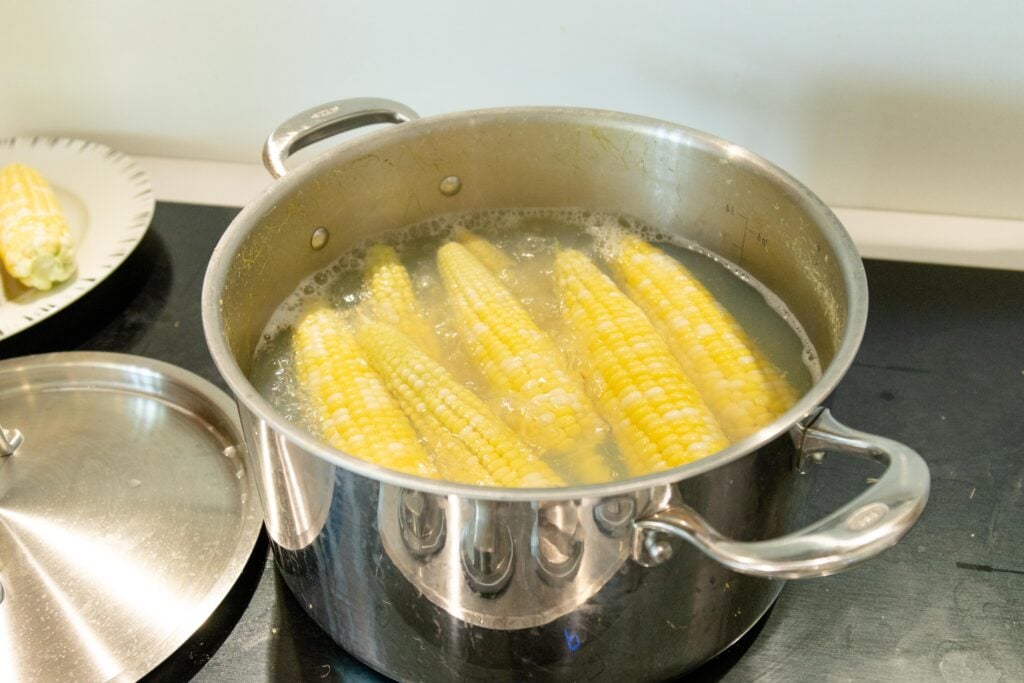
Bring a large pot of water to a rolling boil on the stovetop and cook the corn cobs for about 4 minutes until they turn bright yellow. I like to work in batches, doing 5-10 cobs (however many fit nicely in the pot) at a time. And yes, I re-use the blanching water, though it may not be recommended online. Do so at your own risk!
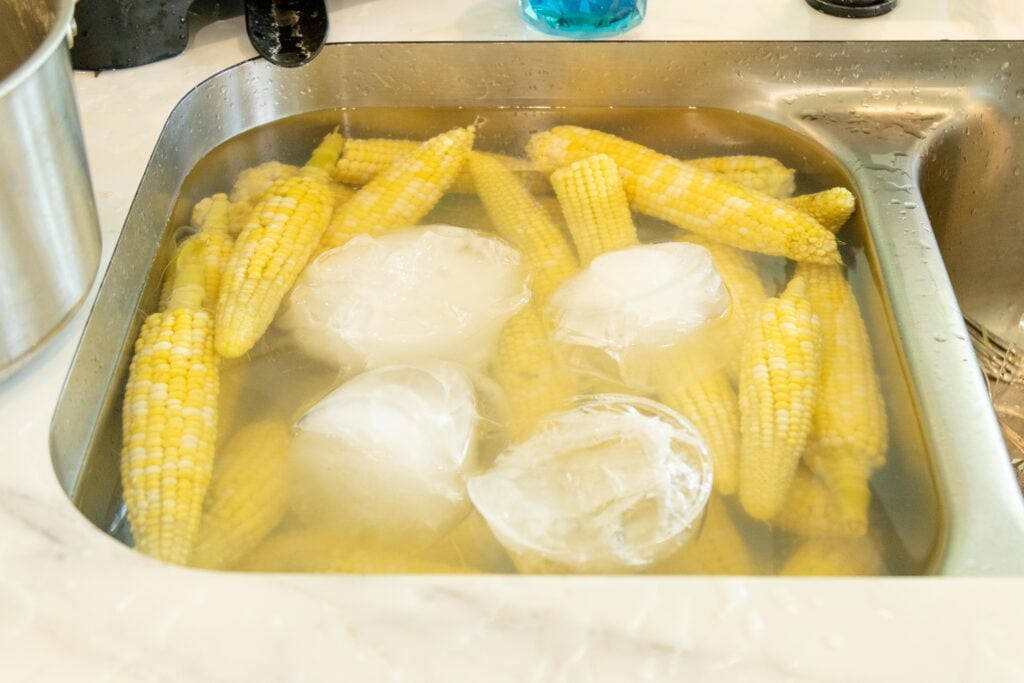
Ice bath the corn. After the cobs have cooked in boiling water for about 4 minutes, use tongs to remove them from the pot and dunk them straight into the ice-cold water. This is an important step since it stops the cooking immediately and cools the cobs so you can handle them.
Once the cobs have cooled in the ice bath for 5 or more minutes, put them in a dish or on a tray, ready to be cut!
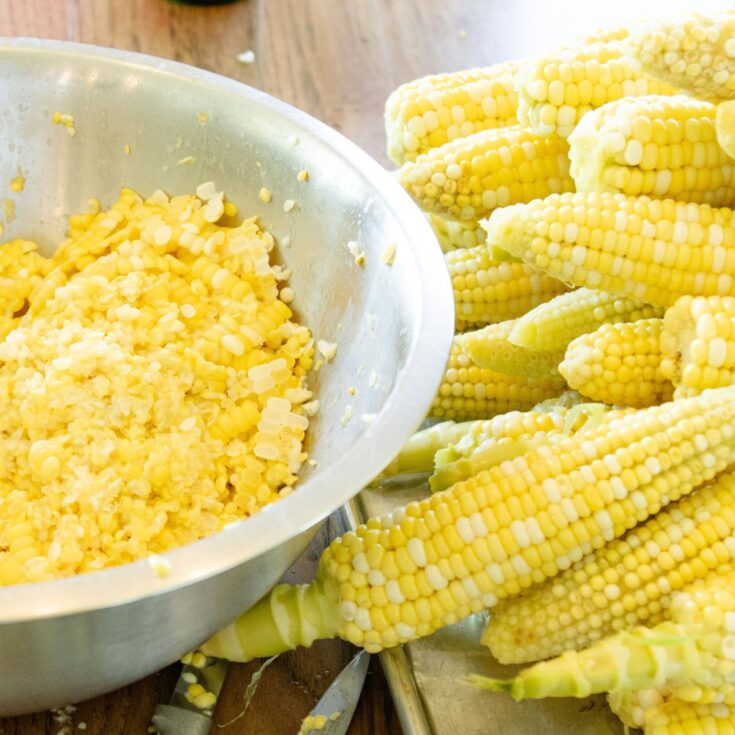
Cutting Sweet Corn:
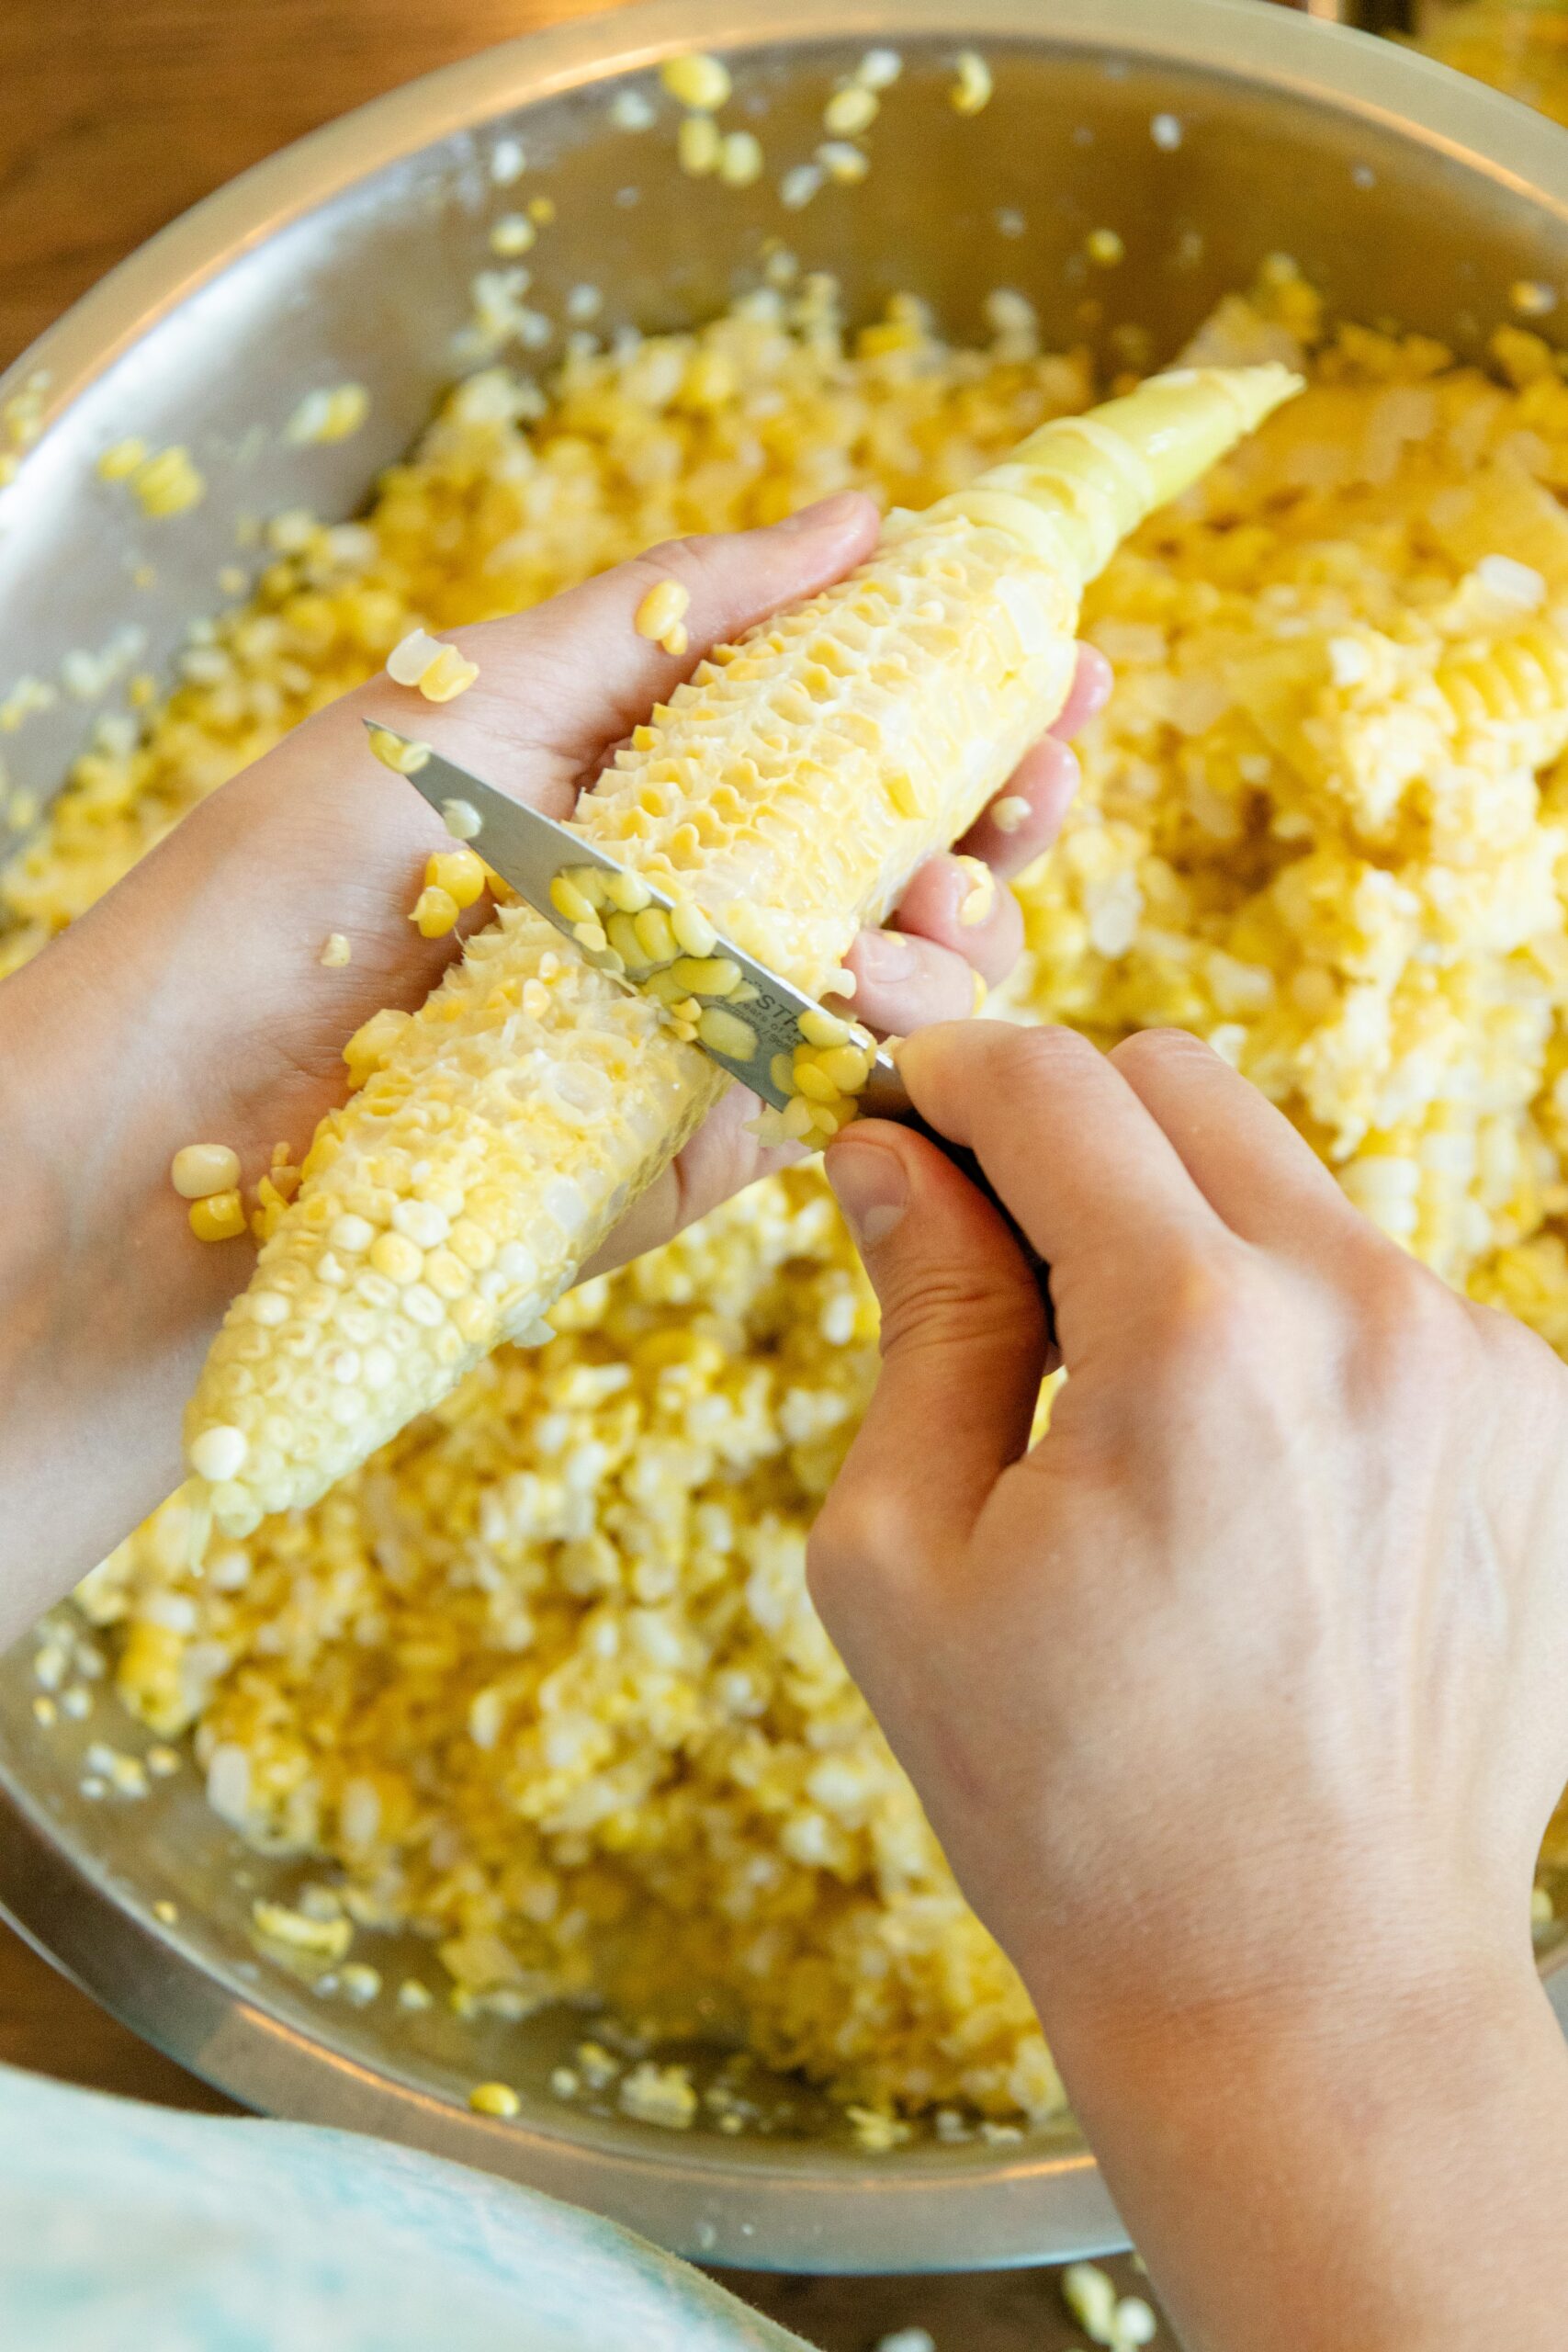
Hold an ear of corn in one hand and take a sharp knife and cut off the kernels. Here's where you get to choose which style of cut corn you want; my personal preference is more of a cream style corn, so I cut the kernels off in half.
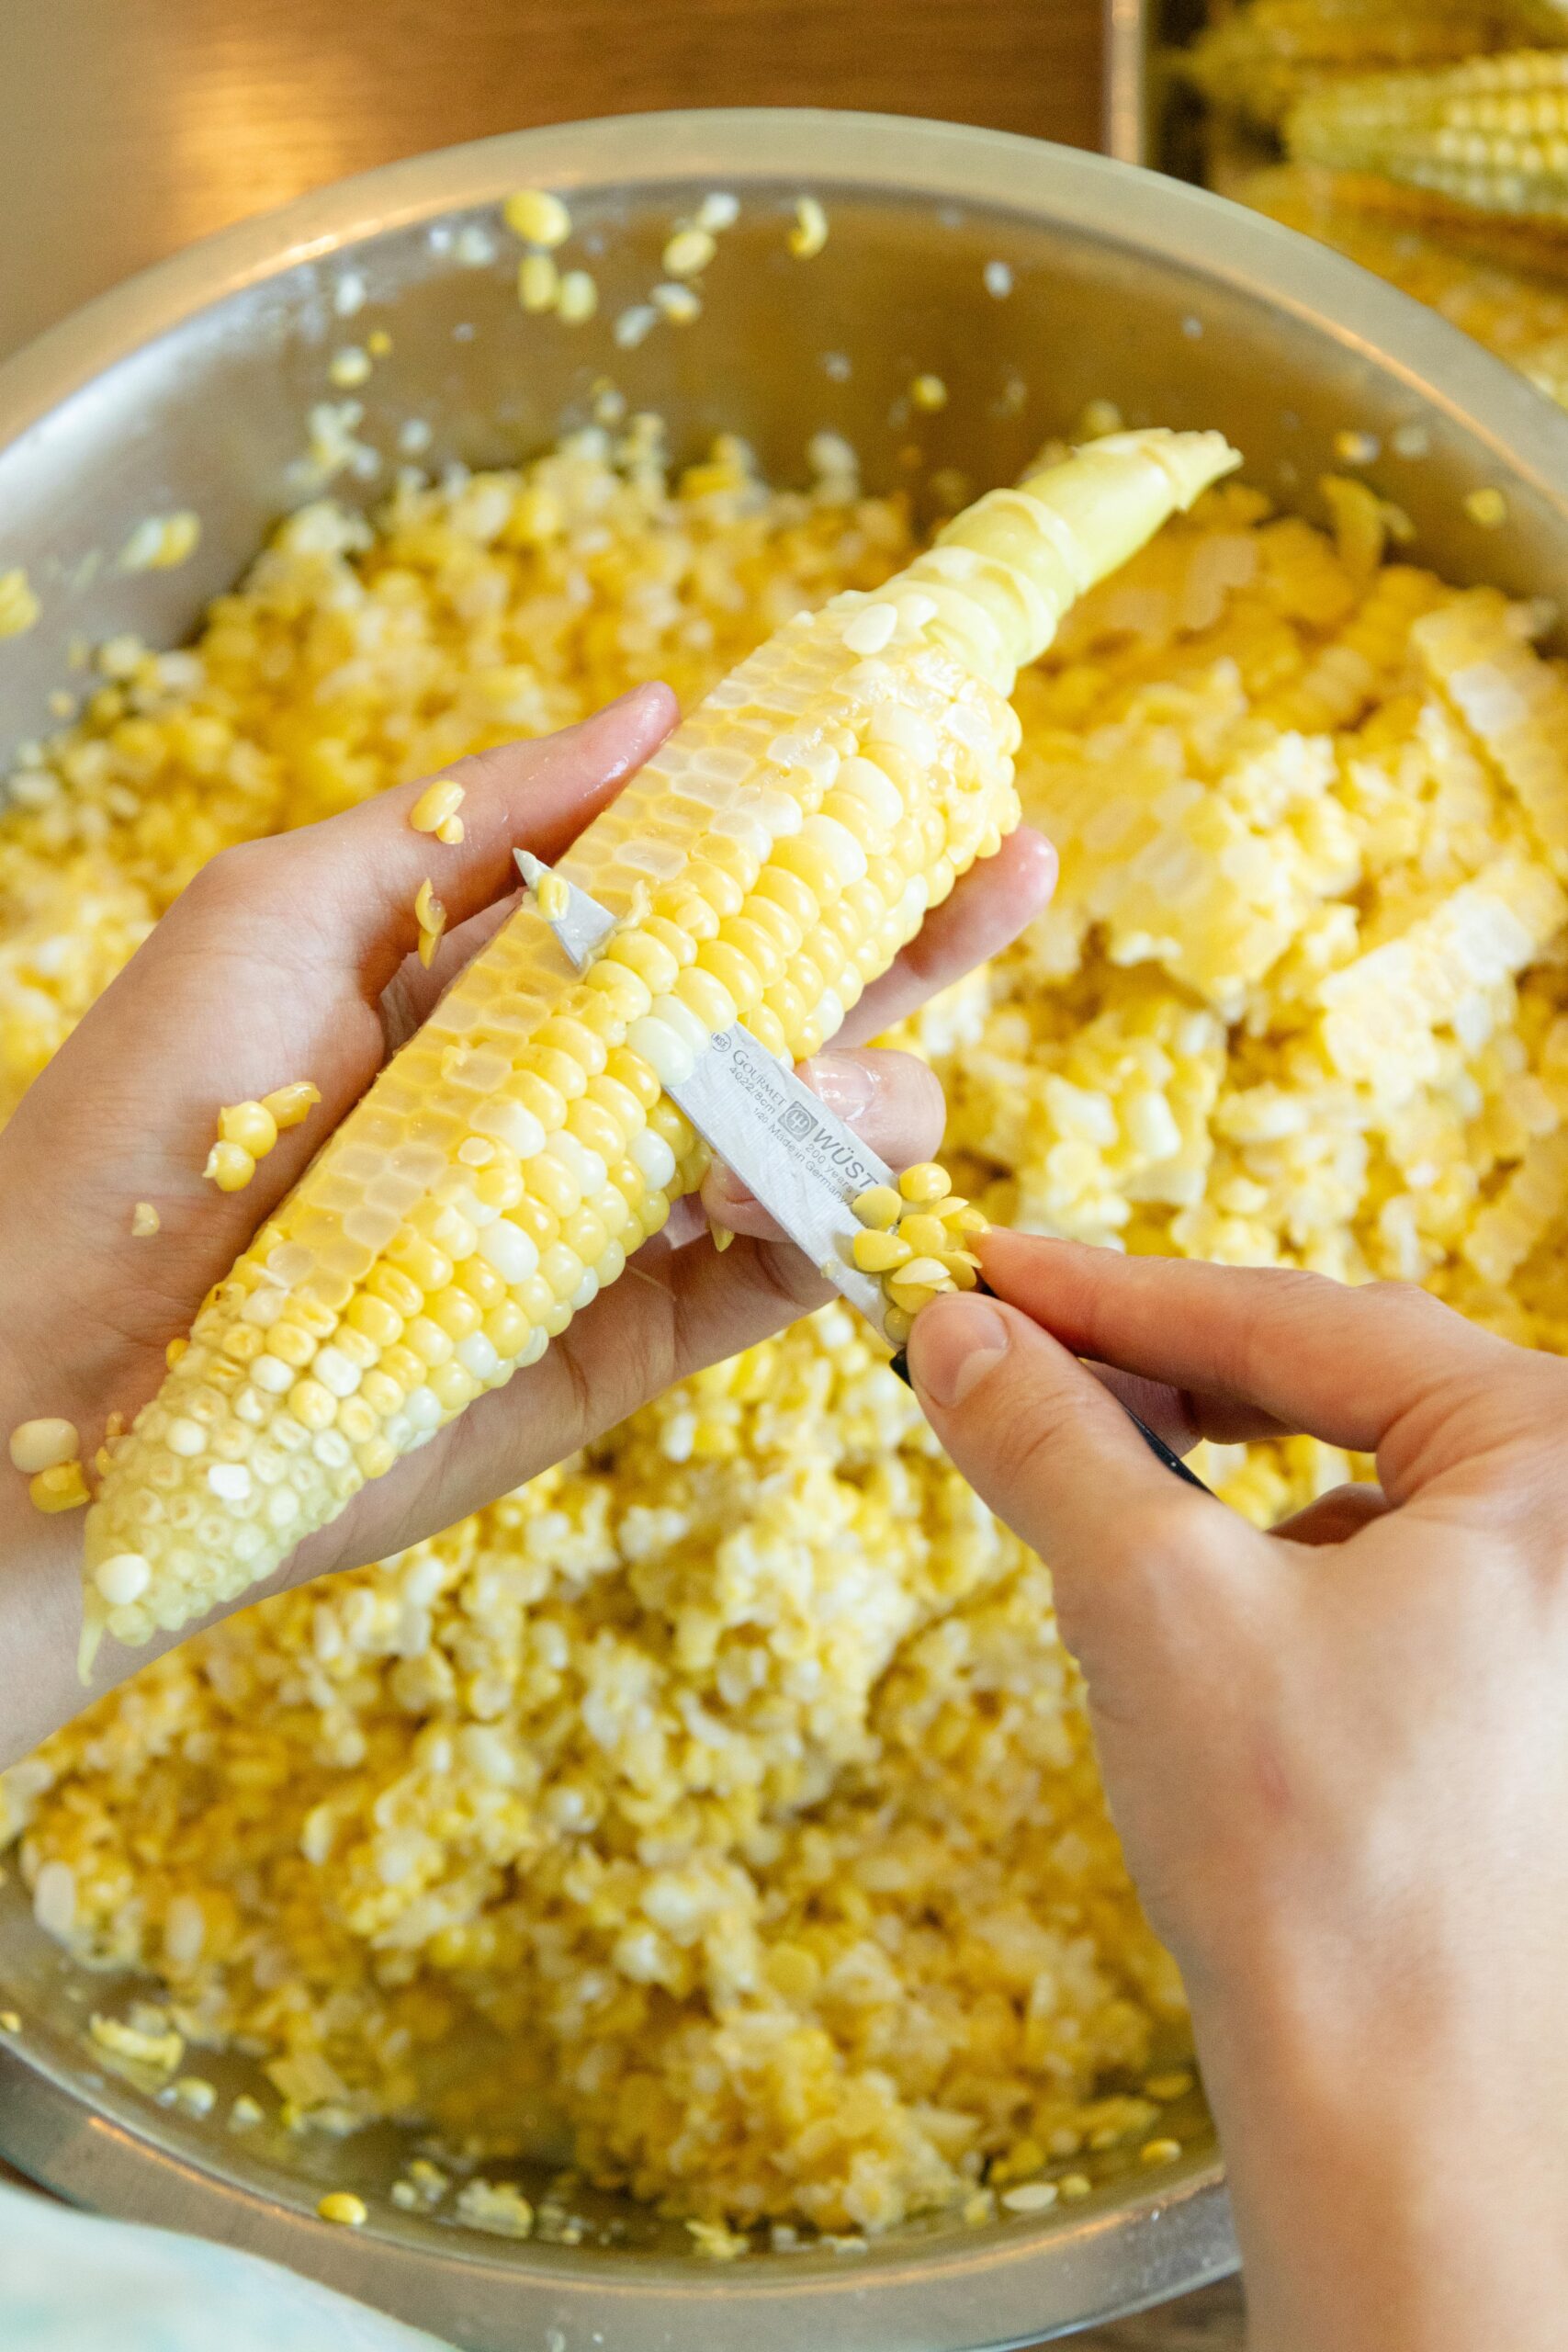

Then I take my knife and scrape the remains of the kernels into the bowl with the kernel tops. (If that makes sense😅) If you want whole kernel corn, cut deeper, removing the whole kernel at once.
Freezing Sweet Corn:
Scoop the corn into freezer-safe bags or containers. I like to do 2 cups of corn per bag, which is about right for a side dish for us! Remove as much air as possible to prevent freezer burn and seal them tightly.
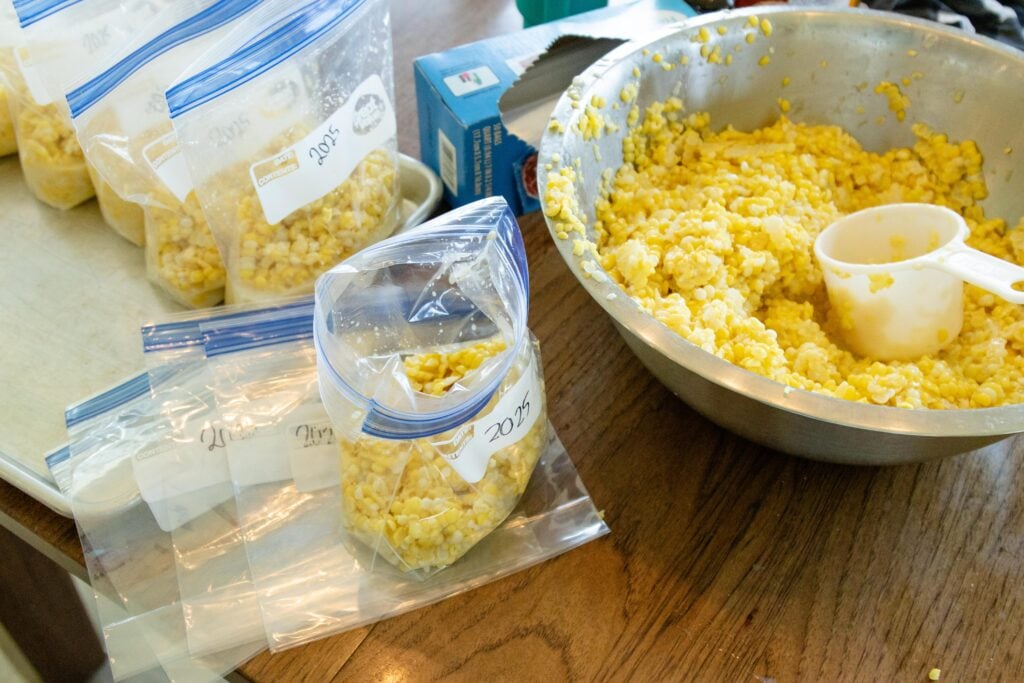
Label and freeze. Label the bags with the date and contents, if you wish. Then lay them flat in the freezer for easy stacking and storage.
How to Flash Freeze Corn for Bulk Storage
Here's another way you can freeze corn if you'd like to store it in one large bulk container. I'd say this works better for whole kernel corn, and not so good for creamed style corn.
You will need:
Line a baking sheet with parchment paper and lay the corn kernels in a single layer on the prepared tray. Place the baking sheet in the freezer until the corn is firm, usually around 1 to 2 hours. Then break the corn apart and place in a freezer container or bag and freeze. This way they it stick together in a large frozen chunk!
Tips and Tricks for Success!
- Fresh corn is the best! I like to process it the same day it's picked for the best flavor. If you can't do it the same day, stick it in the fridge.
- Stock up on ice before starting! The ice bath is important, so I like to freeze water in old ice cream pails and cottage cheese containers, so I have plenty of ice on hand for corn day.
- If you don't care to hold the corn cobs in one hand while cutting with the other, you can try a corn cutter or stand the cobs in the center of a bundt pan or angel food cake pan and cut downward letting the kernels fall into the pan.
- Yes, it is going to be messy! So if you have an outdoor kitchen, it's be great to do the corn out there where you can pressure wash the mess away. I'll take one day of mess if it means I'll have a bunch of corn in my freezer to eat all throughout the next year!
Recipes with Corn
One of my favorite ways to eat corn is to make a very simple side dish of corn (yes, I'm from the Midwest) to go with dinner! Here's how I do it: place a package of corn in a dish, add a little bit of water, a scant teaspoon of salt and a dash of pepper and heat in the microwave or on the stovetop until it's hot. Serve and enjoy.
Here's a few more ways to use frozen corn:
More Vegetable Freezing Guides
Blanching & Freezing Green Beans
Share this post on How to Freeze Corn:
How to Blanch and Freeze Sweet Corn
Learn how to freeze corn in this simple guide to blanching, cutting and freezing sweet corn. Though it's messy to do, the flavor and texture of corn preserved at home is far better than anything you can buy at the grocery store!
Materials
- Fresh sweet corn
Tools
- 1 large stock pot
- 1 bowl of ice water
- Vegetable brush
- Sharp knife
- Large bowl
- Measuring cup
- Freezer bags or containers & a marker
Instructions
- Prepare the corn. After the corn is picked, remove all the husks and rinse the ears of corn in water and pick off all the silks, scrubbing with a vegetable brush if necessary.
- Blanch the corn. Bring a large pot of water to a rolling boil on the stovetop and cook the corn cobs for about 4 minutes until they turn bright yellow. I like to work in batches, doing 5-10 cobs (however many fit nicely in the pot) at a time. And yes, I re-use the blanching water, though it may not be recommended online. Do so at your own risk!
- Ice bath the corn. After the cobs have cooked in boiling water for about 4 minutes, use tongs to remove them from the pot and dunk them straight into the ice-cold water. This is an important step since it stops the cooking immediately and cools the cobs so you can handle them.
- Once the cobs have cooled in the ice bath for 5 or more minutes, put them in a dish or on a tray, ready to be cut!
- Cut the kernels from the cobs. Hold an ear of corn in one hand and take a sharp knife and cut off the kernels. Here's where you get to choose which style of cut corn you want; my personal preference is more of a cream style corn so I cut the kernels off in half. Then I take my knife and scrape the remains of the kernels into the bowl with the kernel tops. (If that makes sense) If you want whole kernel corn, cut deeper, removing the whole kernel at once.
- Package for freezing. Scoop the corn into freezer-safe bags or containers. I like to do 2 cups of corn per bag, which is about right for a side dish for us! Remove as much air as possible to prevent freezer burn and seal them tightly.
- Label and freeze. Label the bags with the date and contents, if you wish. Then lay them flat in the freezer for easy stacking and storage.
Notes
Fresh corn is the best! I like to process it the same day it's picked for the best flavor. If you can't do it the same day, stick it in the fridge.
Stock up on ice before starting! The ice bath is important, so I like to freeze water in old ice cream pails and cottage cheese containers so I have plenty of ice on hand for corn day.
If you don't care to hold the corn cobs in one hand while cutting with the other, you can try a corn cutter or stand the cobs in the center of a bundt pan or angel food cake pan and cut downward letting the kernels fall into the pan.
Yes, it is going to be messy! So if you have an outdoor kitchen, it's be great to do the corn out there where you can pressure wash the mess away. I'll take one day of mess if it means I'll have a bunch of corn in my freezer to eat all throughout the next year!
As always...
Thanks for visiting our small town! We're delighted to have you and you're more than welcome to stay awhile and explore!
'til next time,
We love you and we’ll be praying for you,
Julie

Leave a Reply