
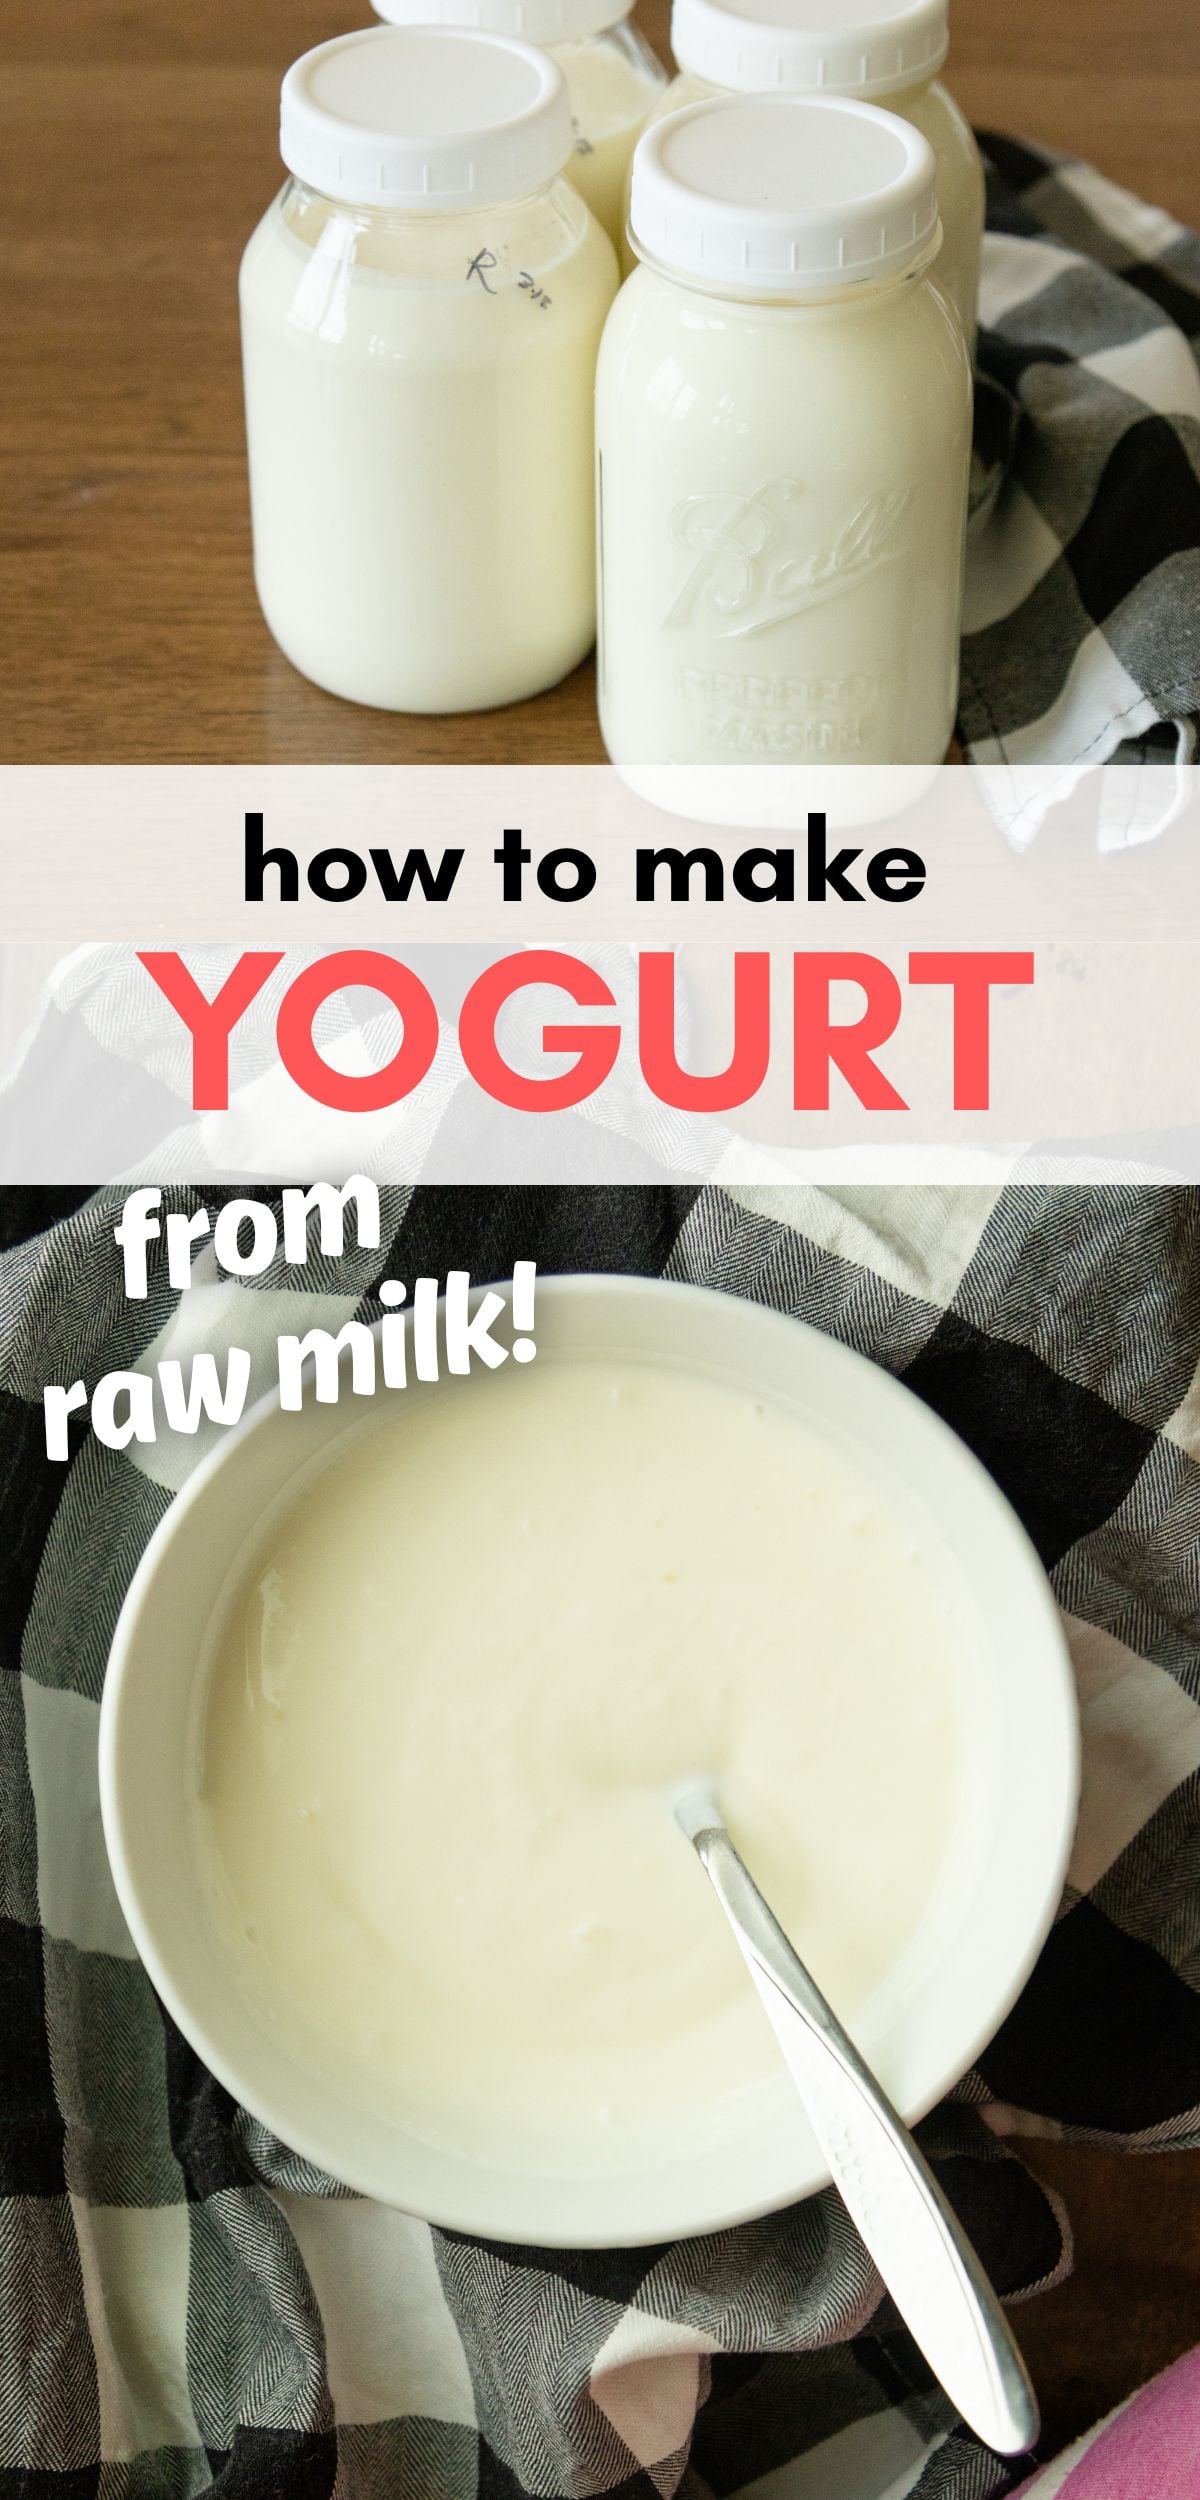
Learn how to make yogurt from raw milk at home following these simple steps! We'll show you two different methods of making yogurt and neither of them require any special equipment (like an Instant Pot) or additives (like gelatin). Making homemade yogurt is easy, healthy and budget-friendly!
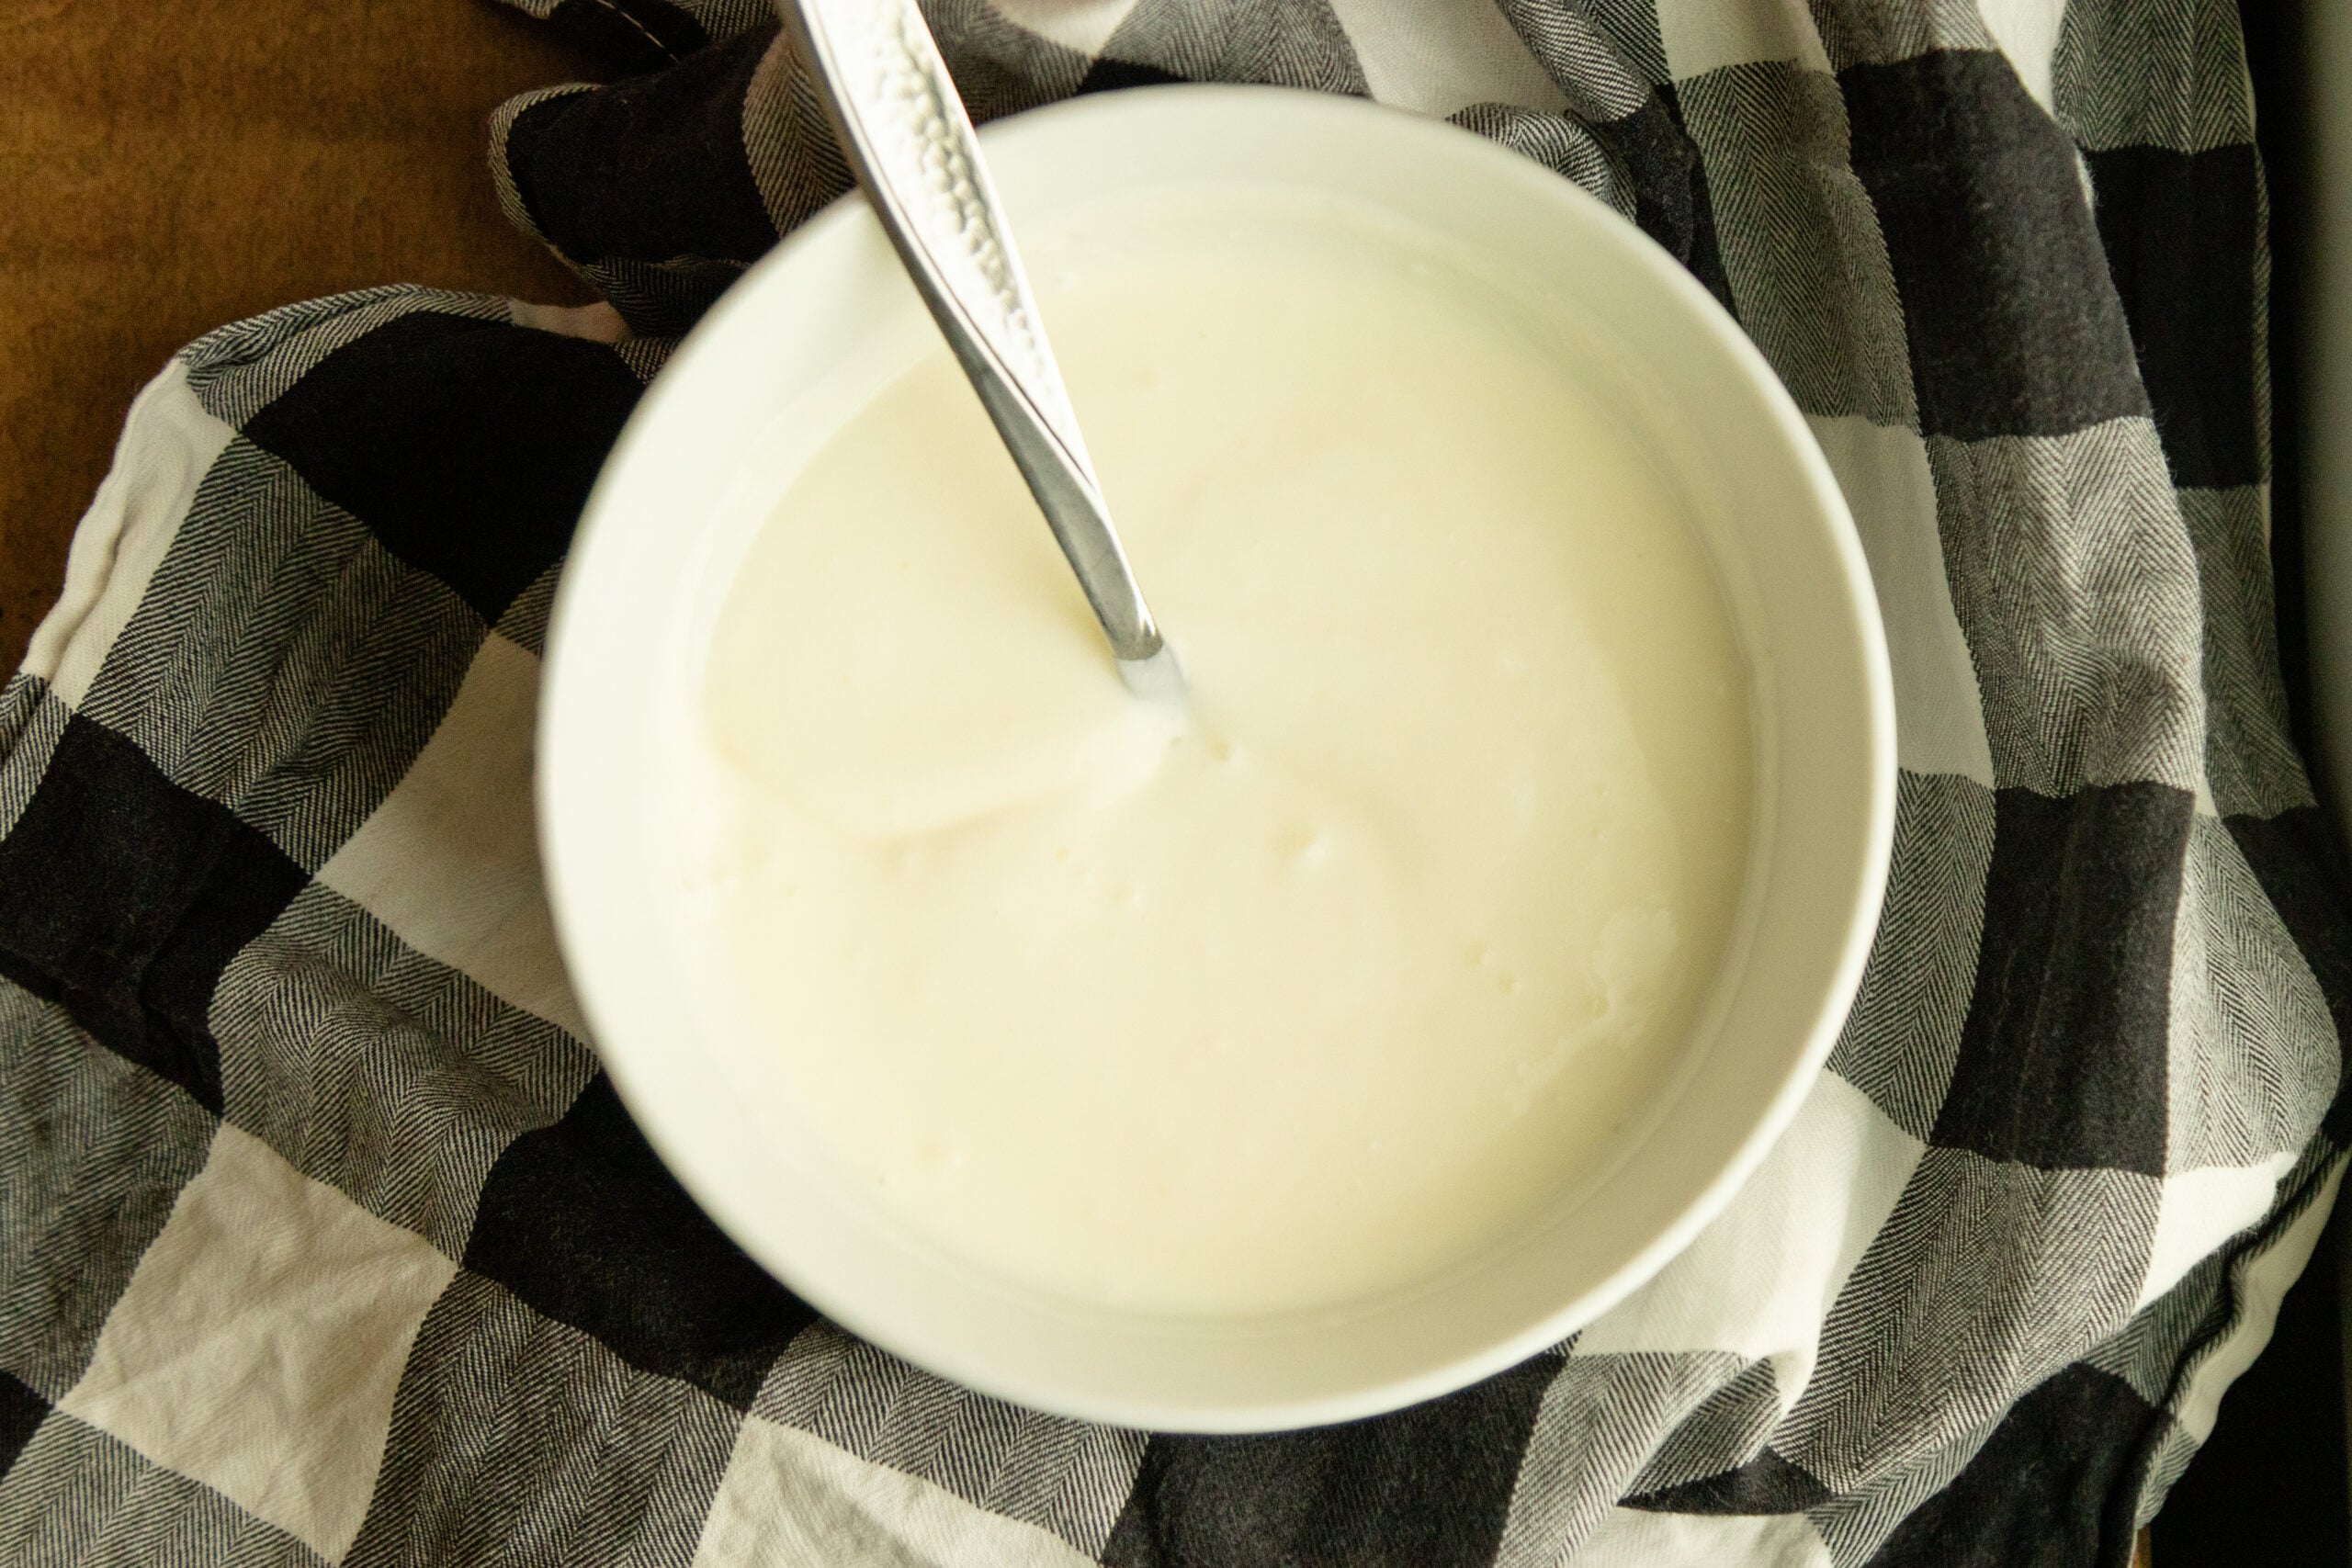
Homemade Yogurt - Easy, Creamy and Delicious!
Here's a fun one - yogurt! Did you know that homemade yogurt is actually super easy to make? And not only easy, it's budget friendly, and possibly my favorite part: I know what all the ingredients are! (No "natural flavors" here:)
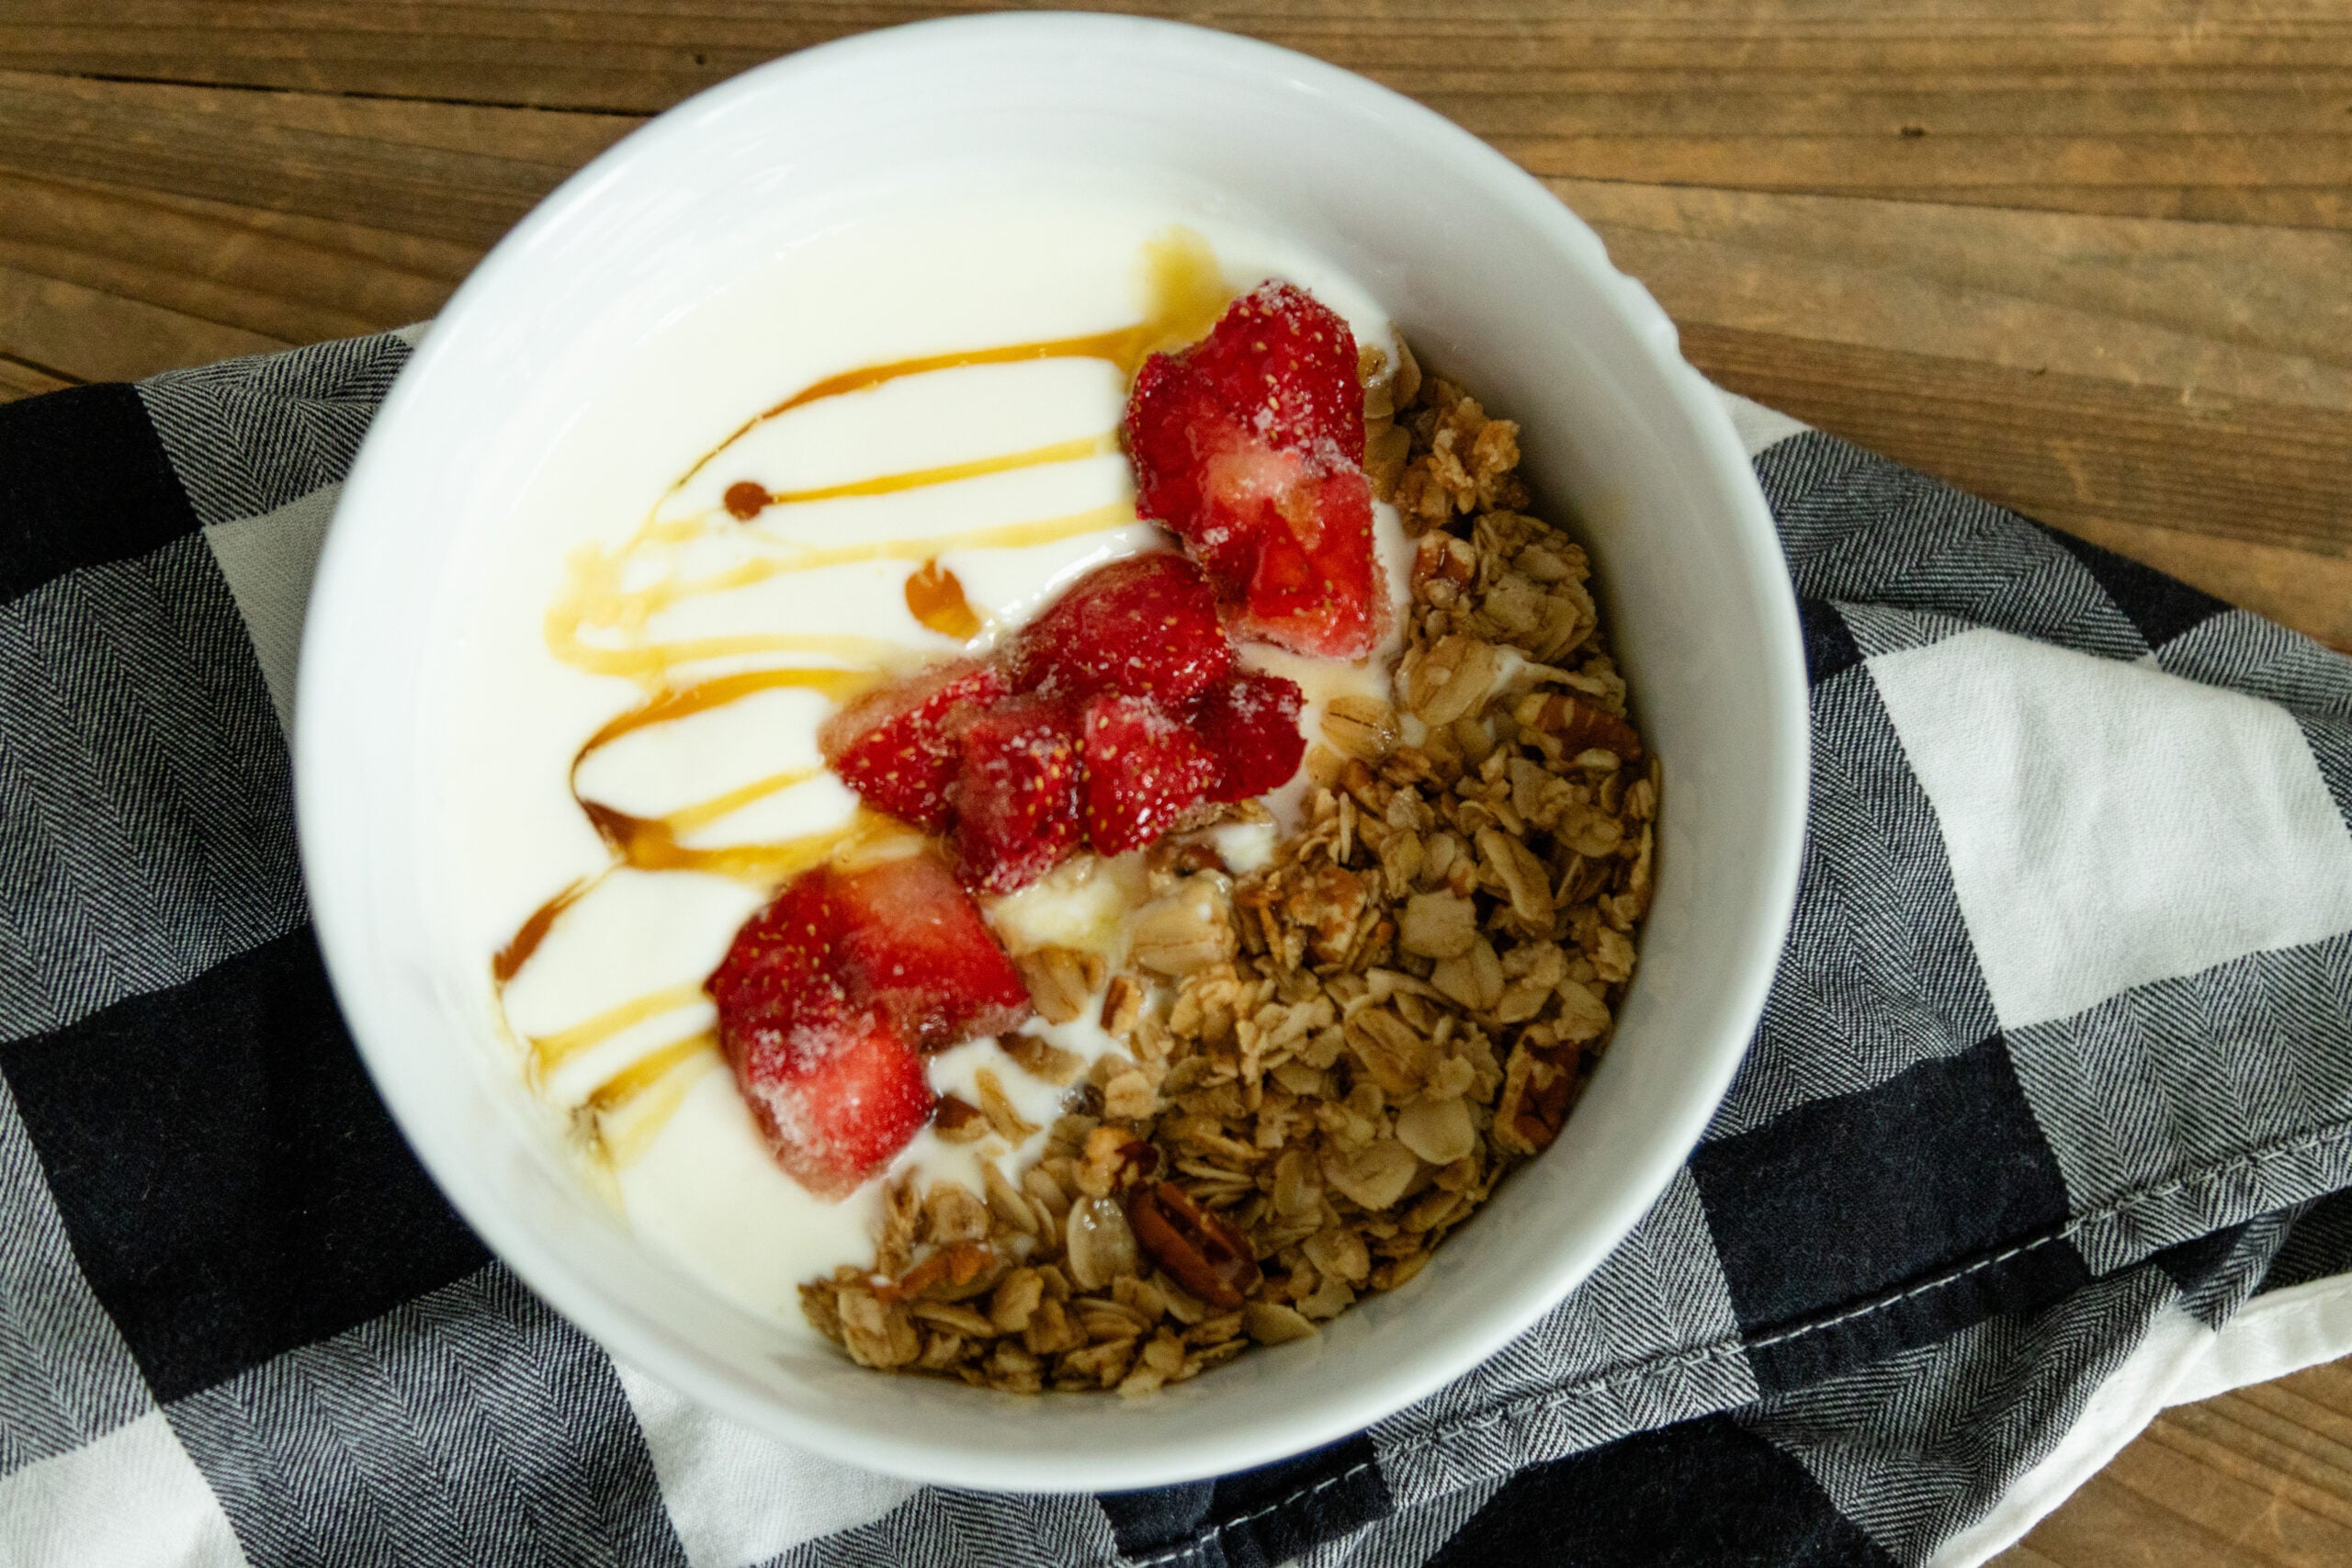
A yogurt parfait makes a great breakfast or snack. A scoop of homemade maple cinnamon granola, a scoop of homemade yogurt, some fruit, and a drizzle of maple syrup or honey. Yum!
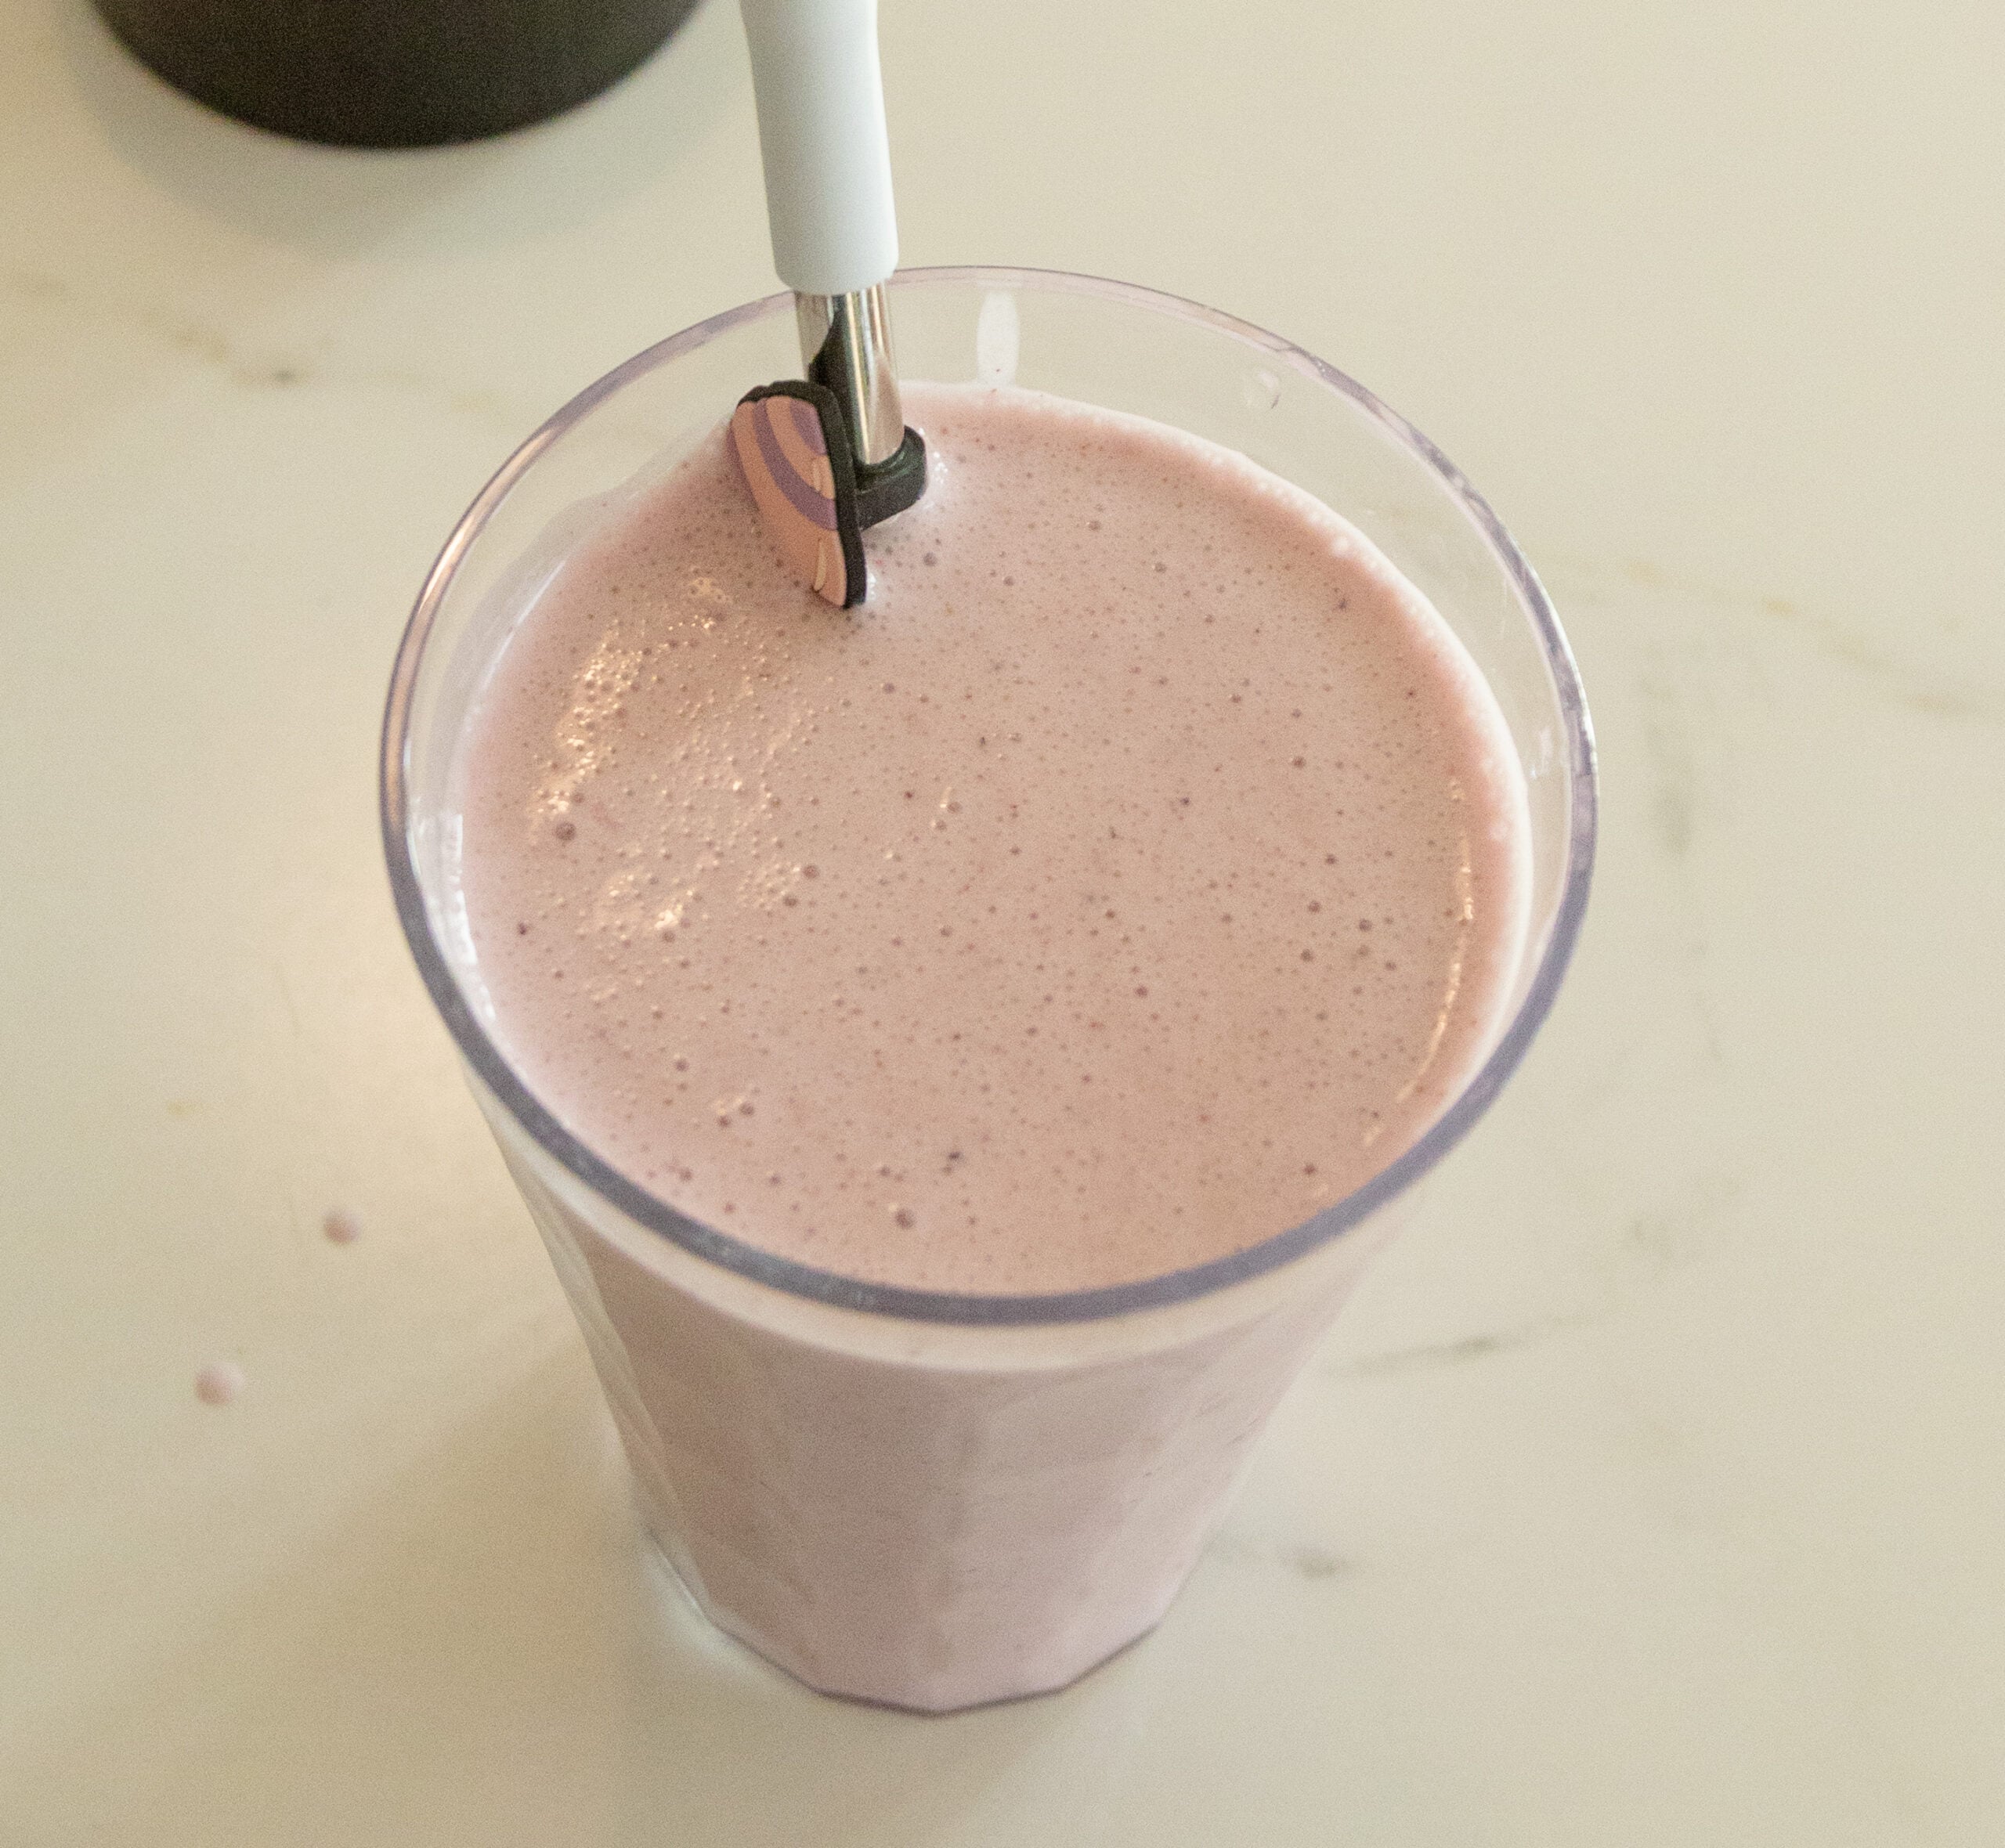
Or, throw some frozen or fresh fruits, yogurt, maple syrup, and whatever all else you want into a blender and blend it into a smoothie! Also yum:)
Another thing, long fermented yogurt that's been strained (aka Greek yogurt) tastes rather much like sour cream. So there's a little healthy swap you could make.
Two Raw Milk Yogurt Methods - To heat or not to heat?
Ooook. Let's chat about these two yogurt methods a little.
The first method involves heating the milk until almost boiling, then cooling somewhat before adding the culture. This heating process will kill bacteria (bad and good bacteria) and also change the structure of the milk proteins which then results in thicker yogurt. This could be considered the "safe" method, since the heating process will eliminate any potential bad bacteria in the milk and the finished results are more consistent. But, after heating, your milk technically isn't raw any more.
The second method heats the milk just a little, to the ideal temperature for the live cultures to grow, without killing the natural bacteria found in the milk. The natural bacteria and the live cultures in the yogurt starter kind of compete against each other and yogurt done this way stays more runny.
So, which way is better?
It depends. If you're wanting the health benefits of raw milk, the thinner yogurt made with the second (low heat) option may be for you. And if you'd rather take the safe, more foolproof route, the first (high heat) option may be your choice.
If you do choose the low heat option, make sure you know how old the milk is, how it was handled, how fast it was cooled down, and so on. When raw milk isn't handled properly, that's when the bad bacteria can start to take over. And if you don't know, I'd probably choose to heat the milk, just to play it safe.
As for me, I like to do some of both! Thinner raw milk yogurt makes great smoothies (and smoothie popsicles) and the regular (heated) yogurt is great for parfaits and things. 🙂
And I included two recipe cards down below: one for the low heat method and one for the heated method.
Ingredients
A half gallon of raw milk - preferably whole milk for the creamiest yogurt. And I use cow milk, in case you're wondering. I've never tried any other kinds!
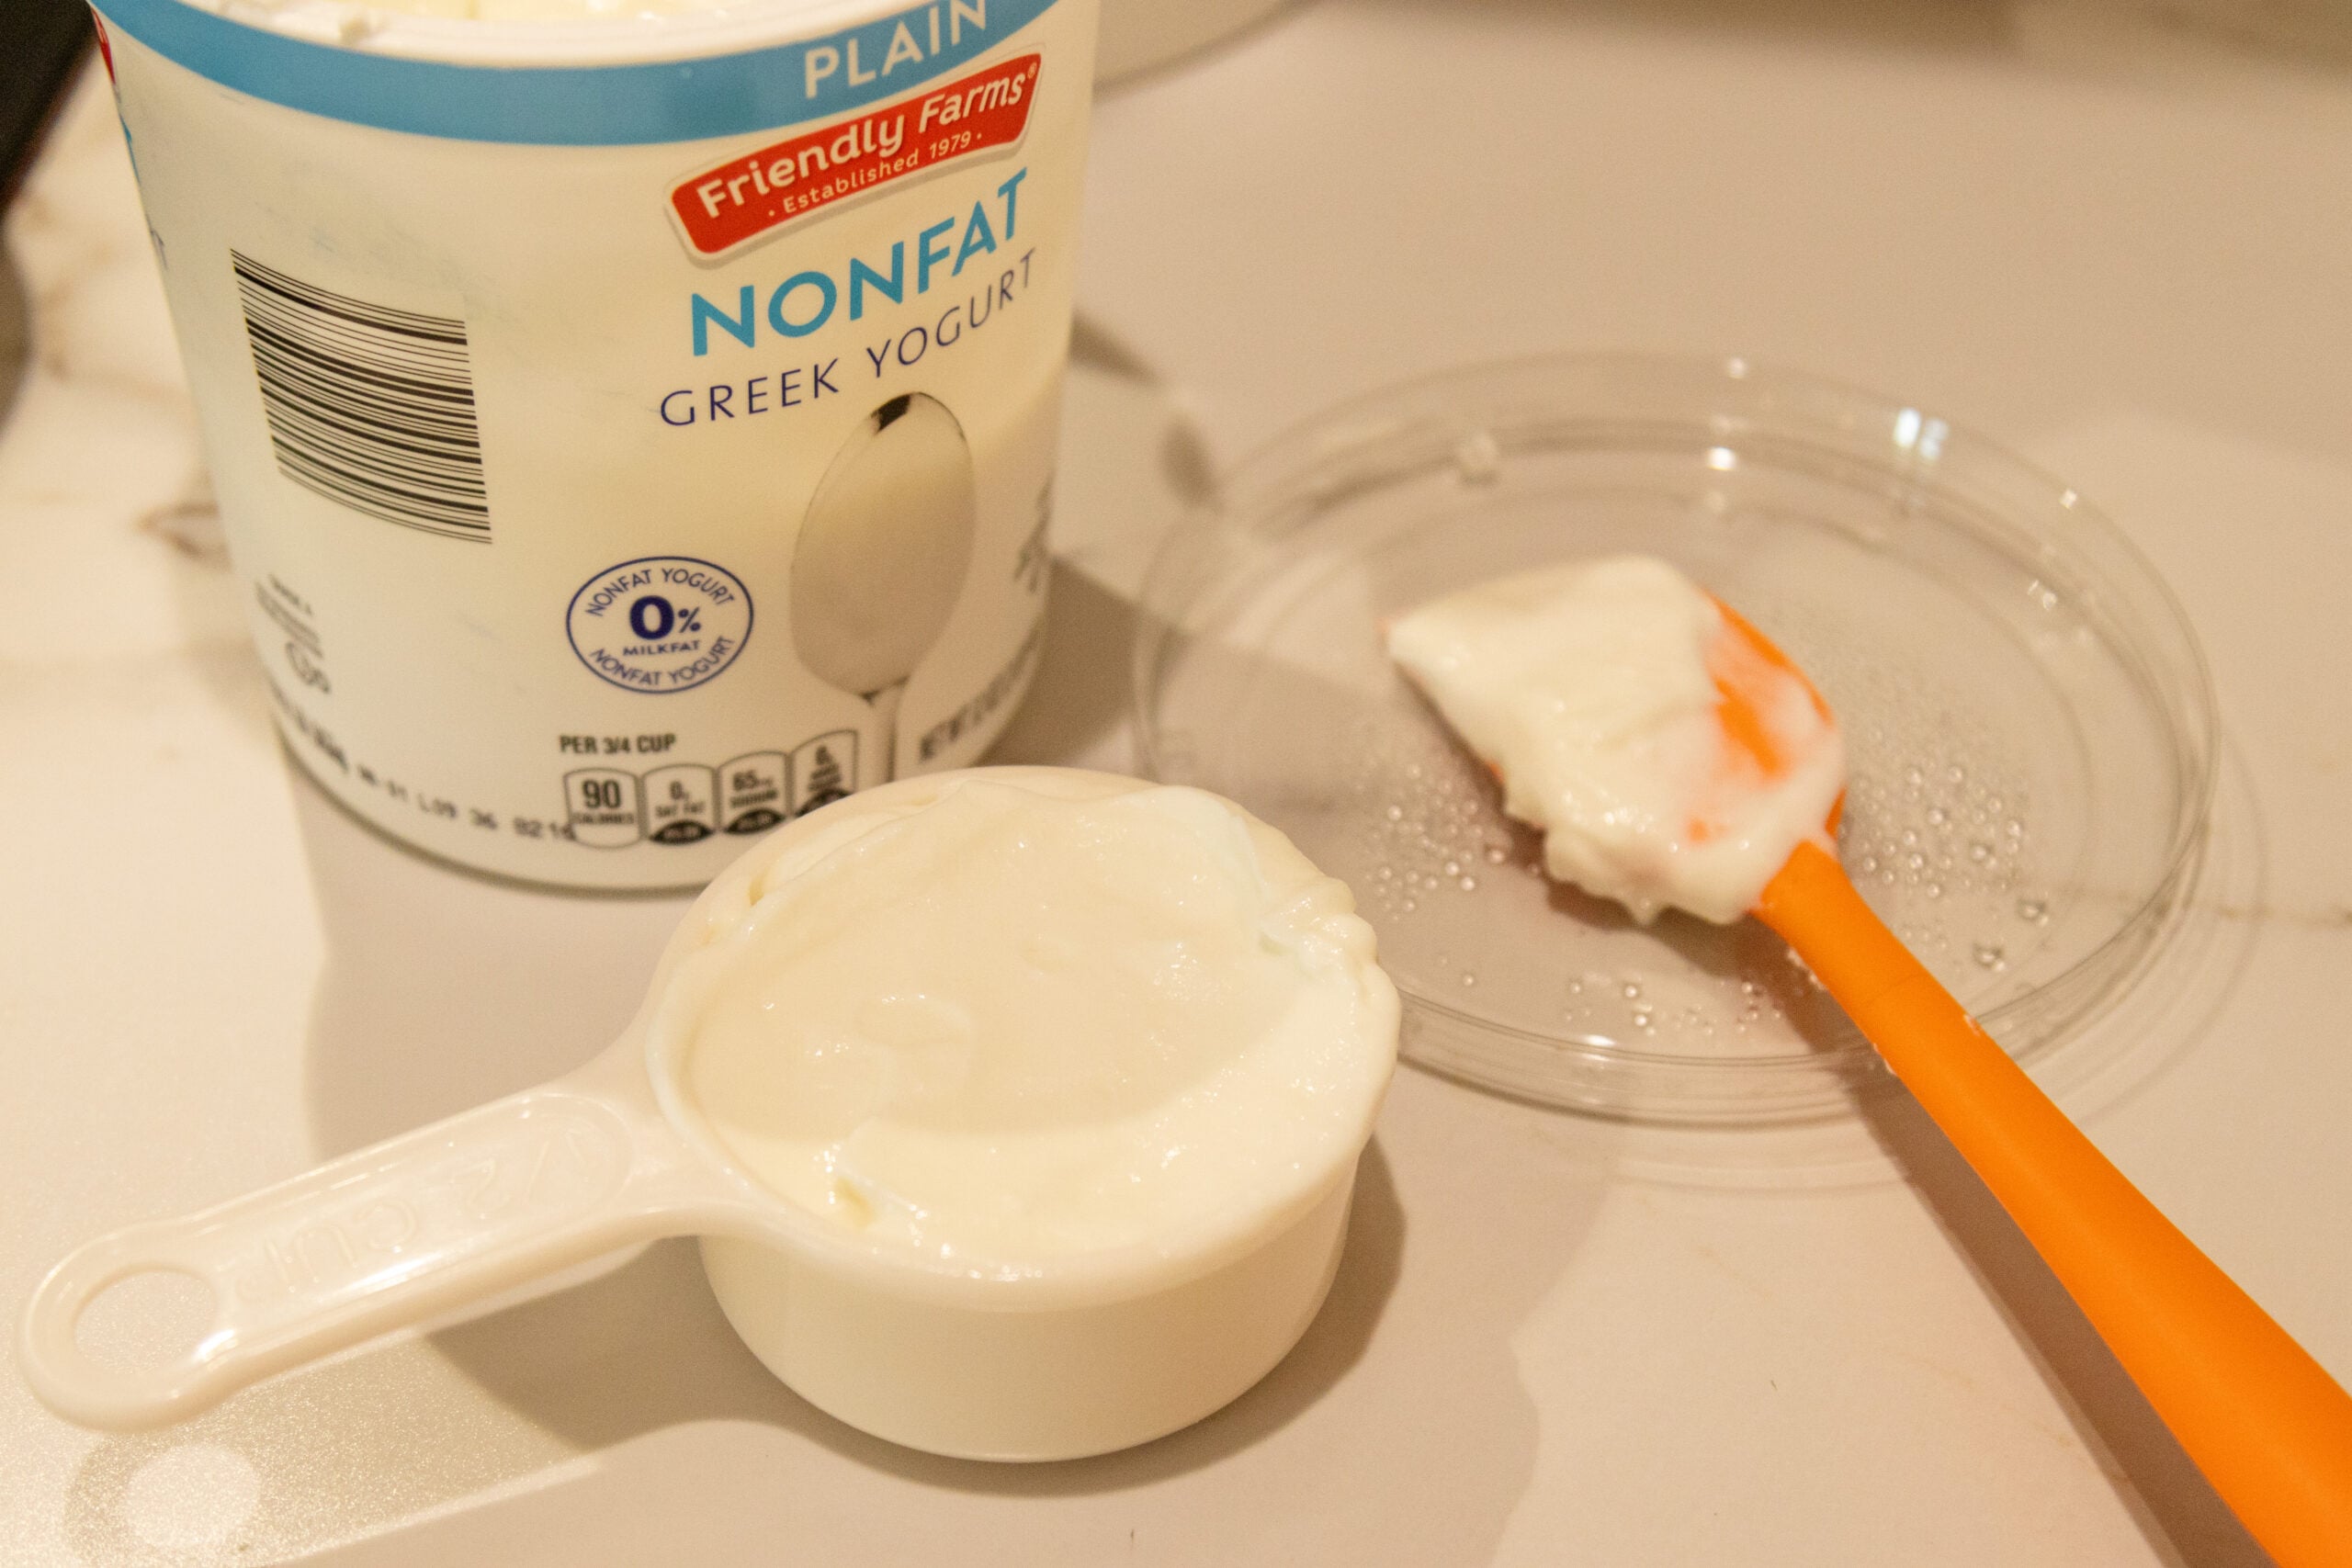
A half cup of plain yogurt - a plain Greek yogurt with live active cultures works great for the starter culture (I like to go for the one with the most different strains! And this one comes from Aldi.)
Supplies You'll Need (and what we used!)
- Large stockpot (with a lid) - I go for my heavy bottomed stainless steel pots for making yogurt
- Metal spatula - for stirring the milk
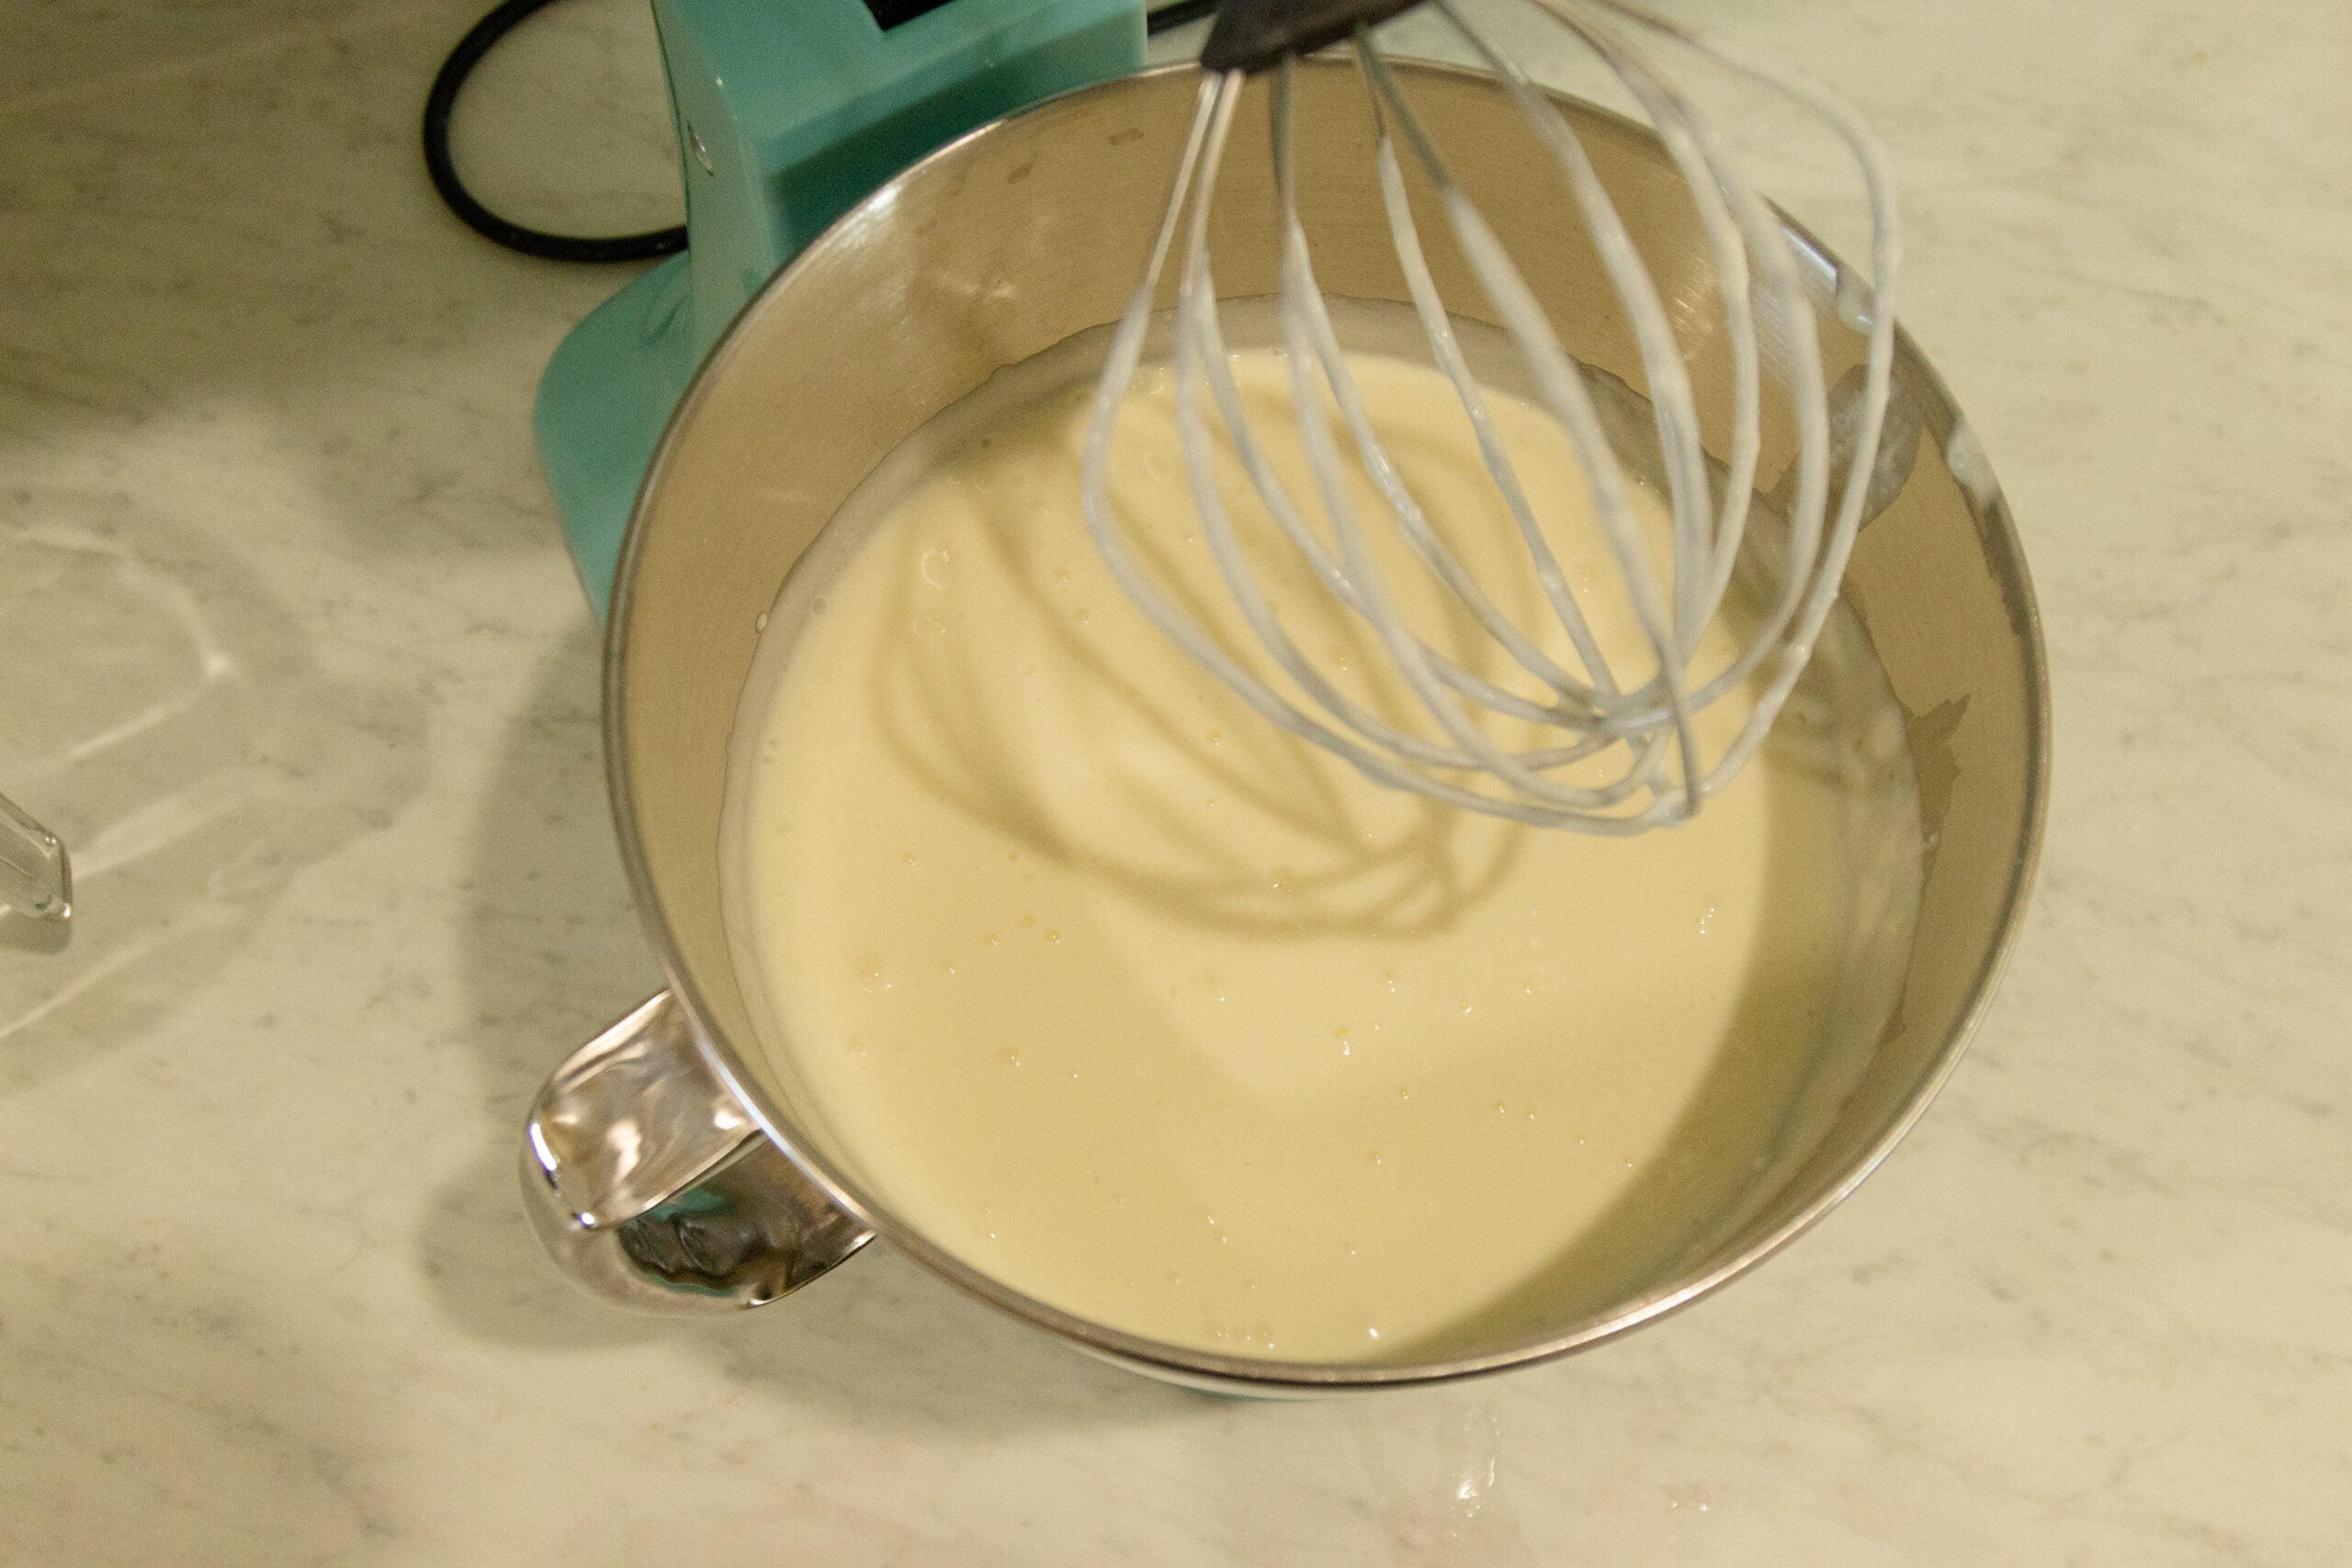
- Whisk - for mixing in the starter yogurt
- Thermometer - it's very, very nice to have one of these for making yogurt! I use this ThermoWorks Instant Read Thermapen. (No, I don't consider a thermometer to be "special equipment". I think every cook should have one!:)
This post contains affiliate links. As Amazon Associates, we may earn a small commission at no extra cost to you when you purchase through our links. Thanks for supporting our little family!
How to make Yogurt from Raw Milk (2 Ways)
The Heated Method
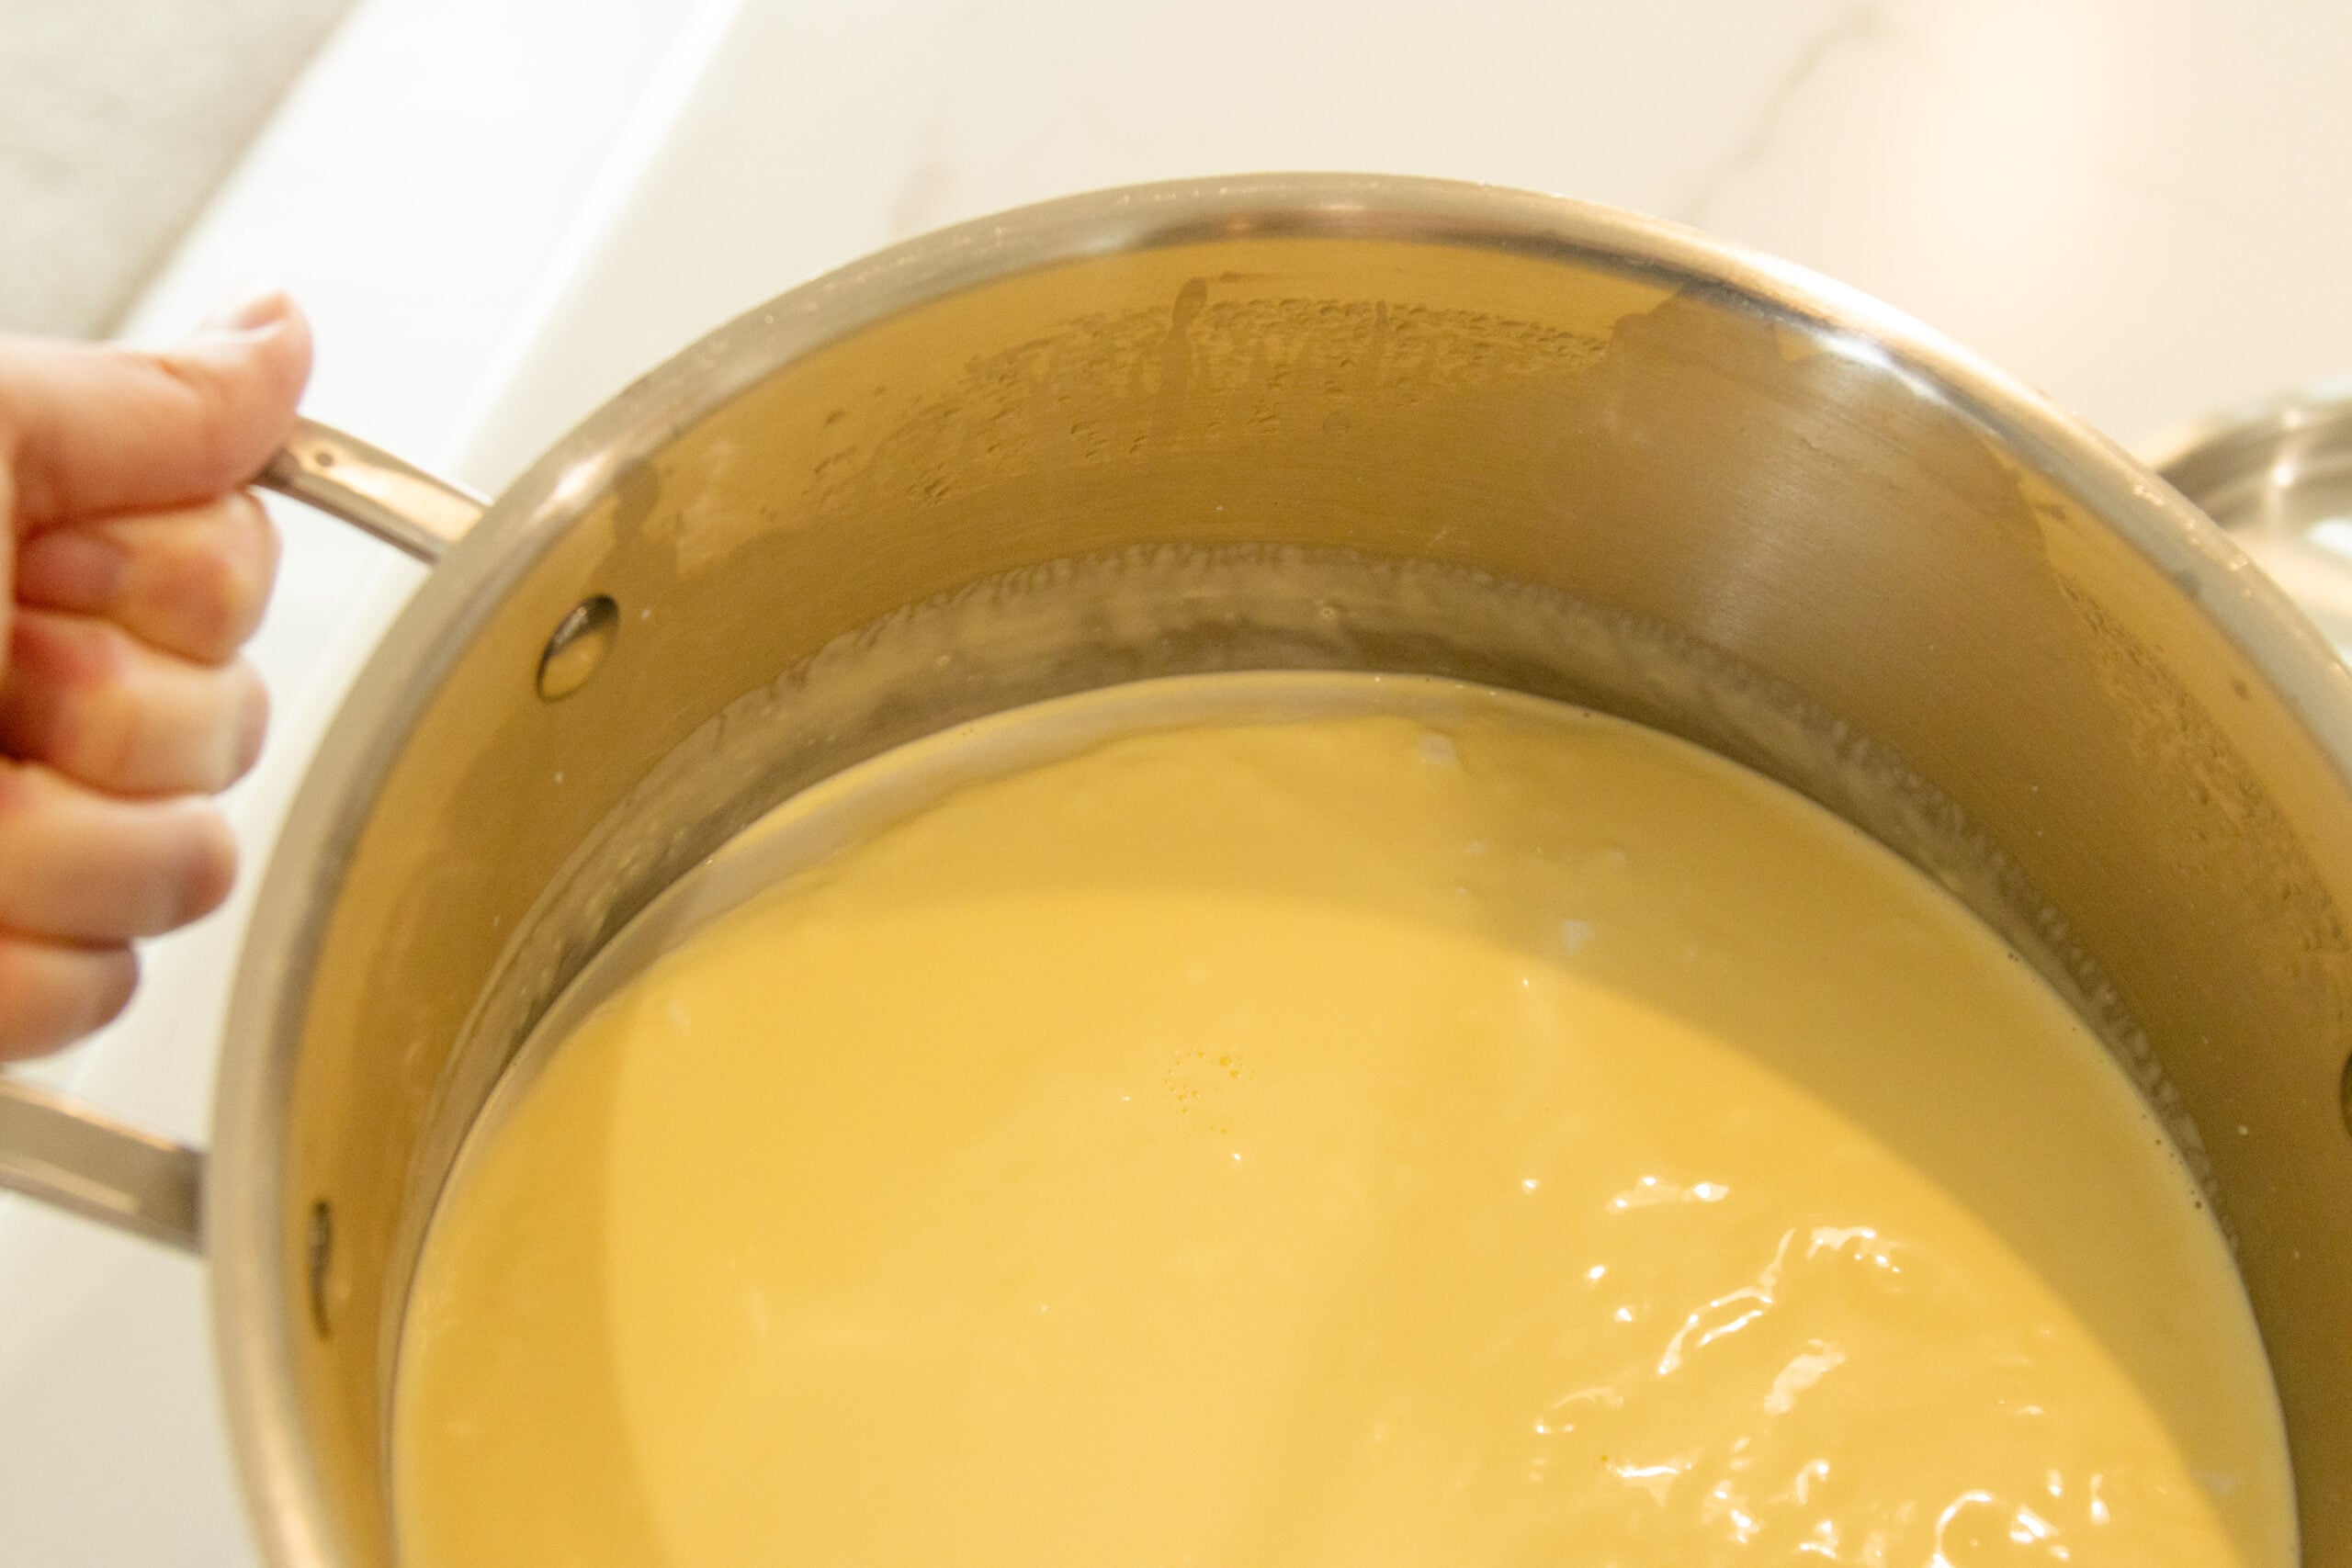
Pour the milk into a clean stainless-steel pot. Heat on medium heat on the stove top, stirring frequently with a metal spatula.
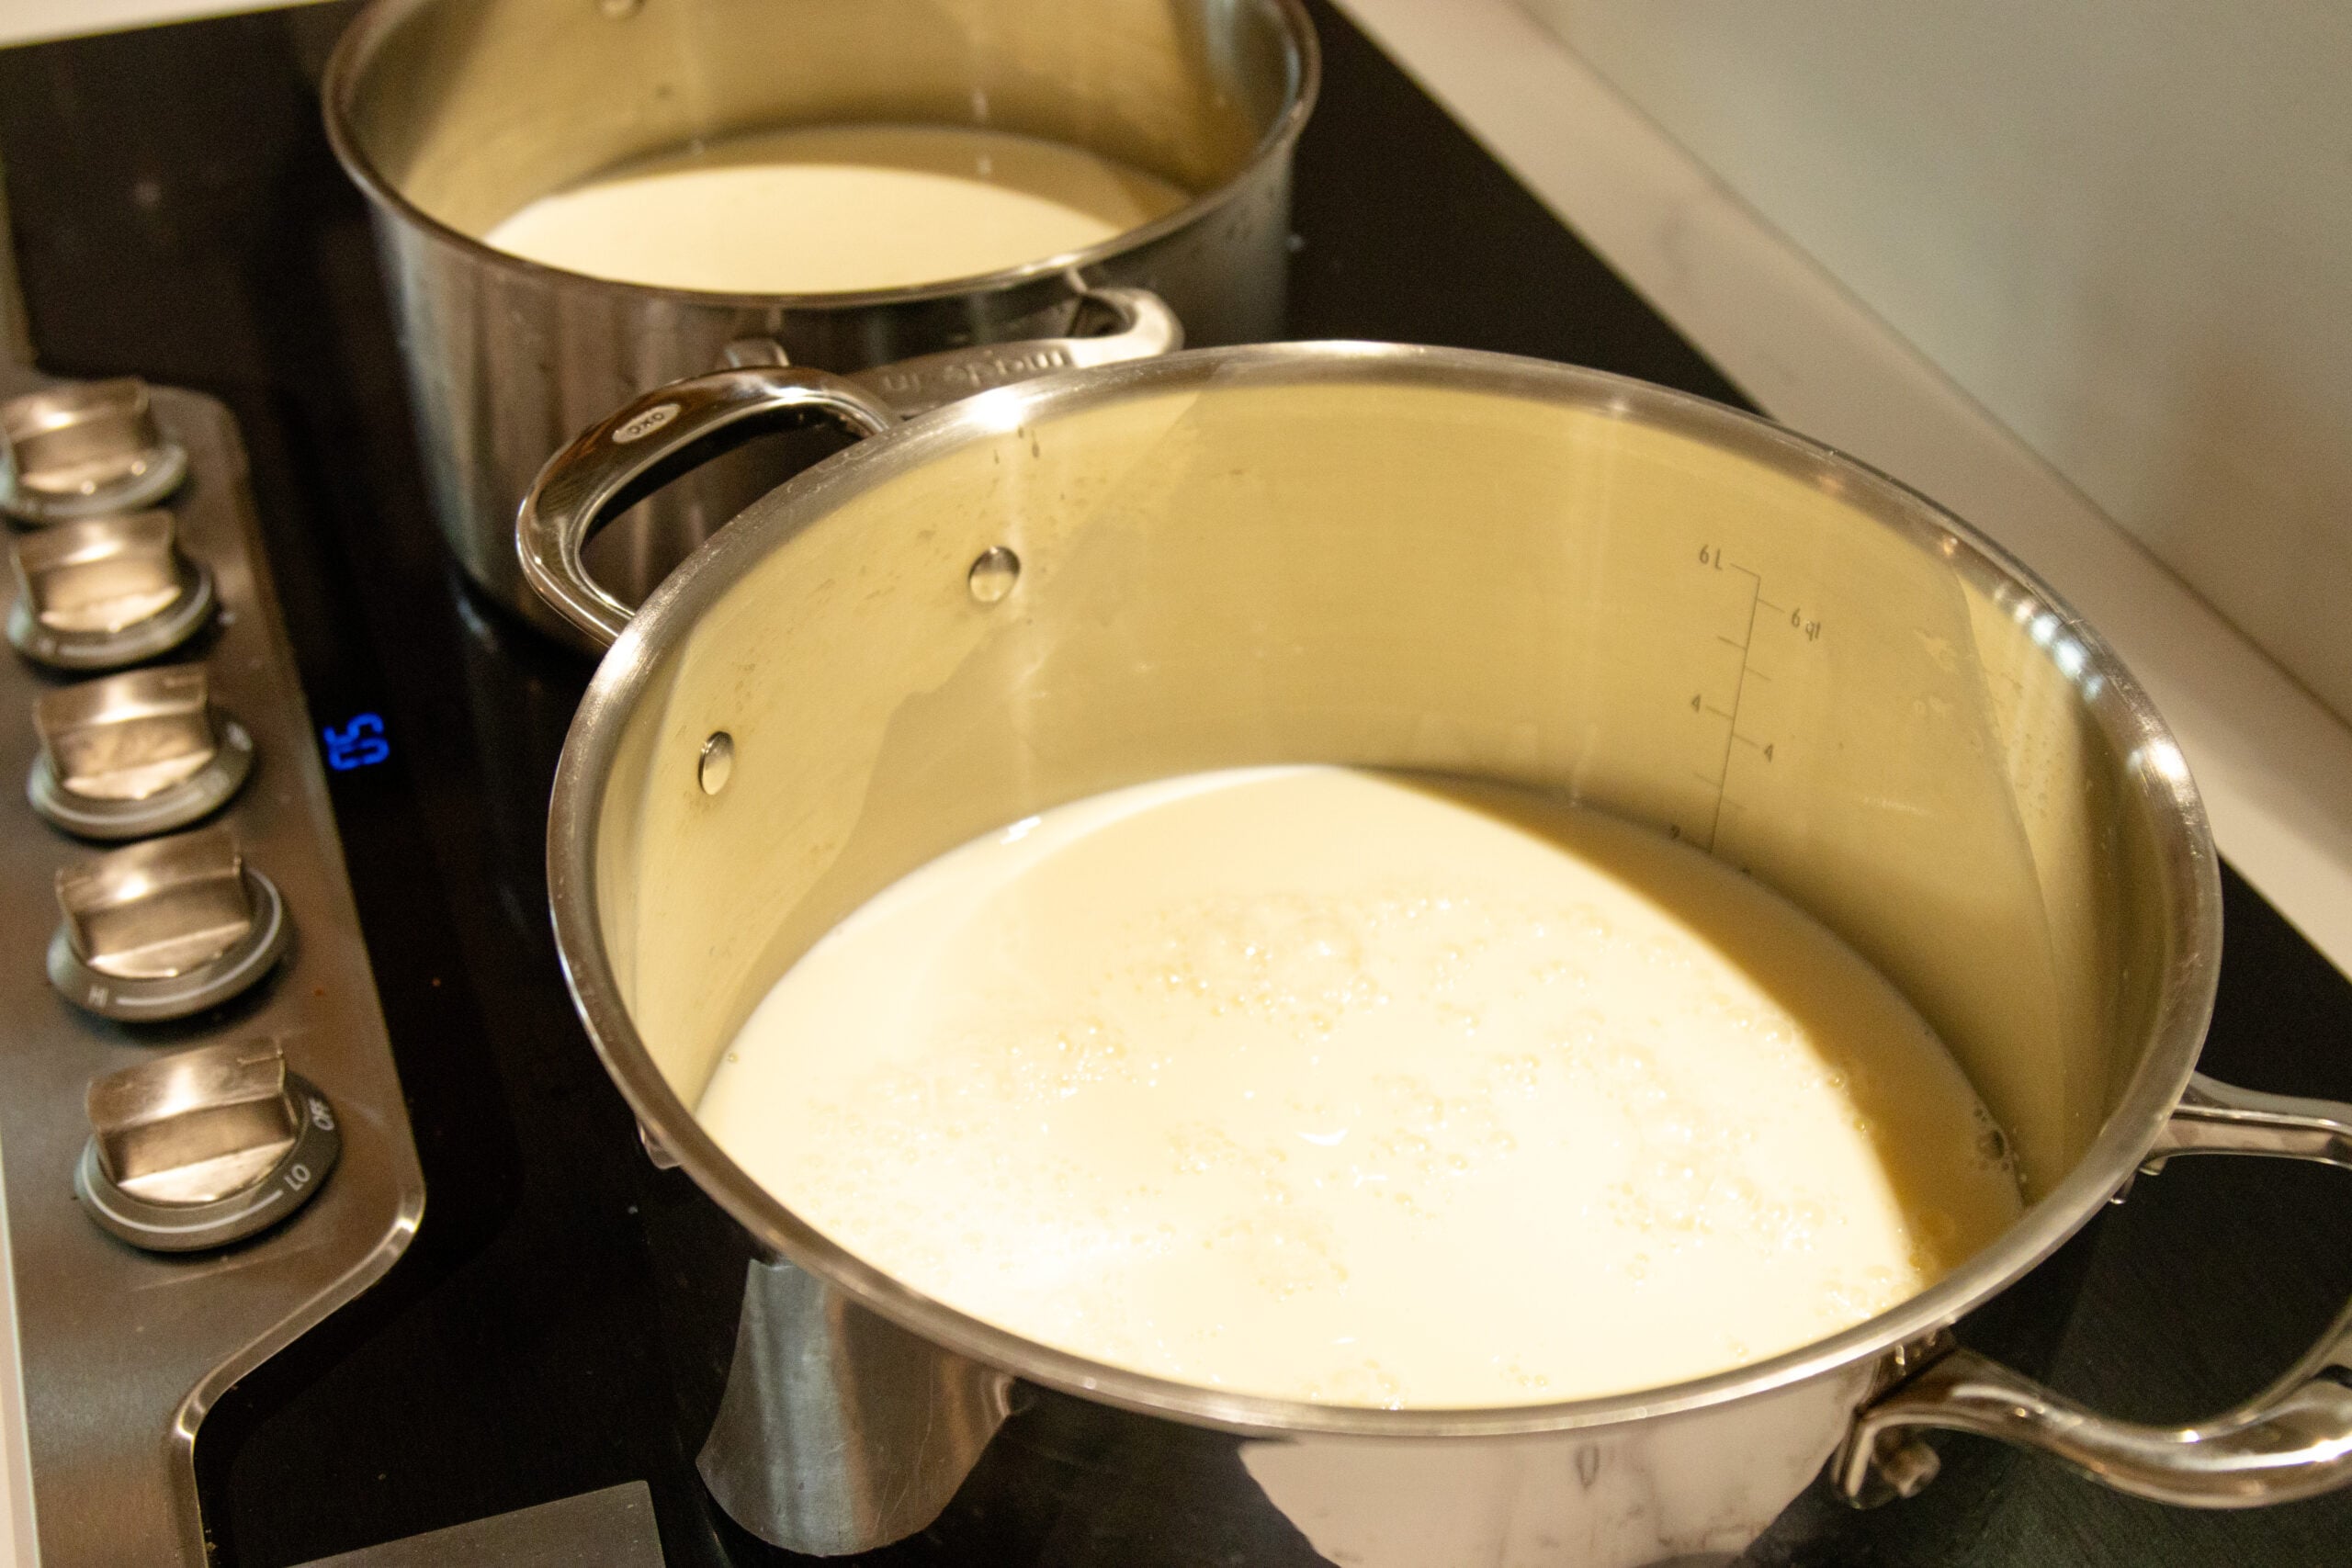
Once the milk reaches 175-180 degrees F, pull the pot of milk off the burner and let it cool down. (Keep stirring and checking temperature now and then.) It takes about 30-45 minutes to reach this temperature on my stovetop.

When the milk temperature reaches 110-115 degrees F, whisk in the yogurt starter culture. (It's ok if it's still a little lumpy.) It usually takes another 30 minutes or so to get back down to 115 degrees. You can speed this up by setting the whole pot of milk in ice water!


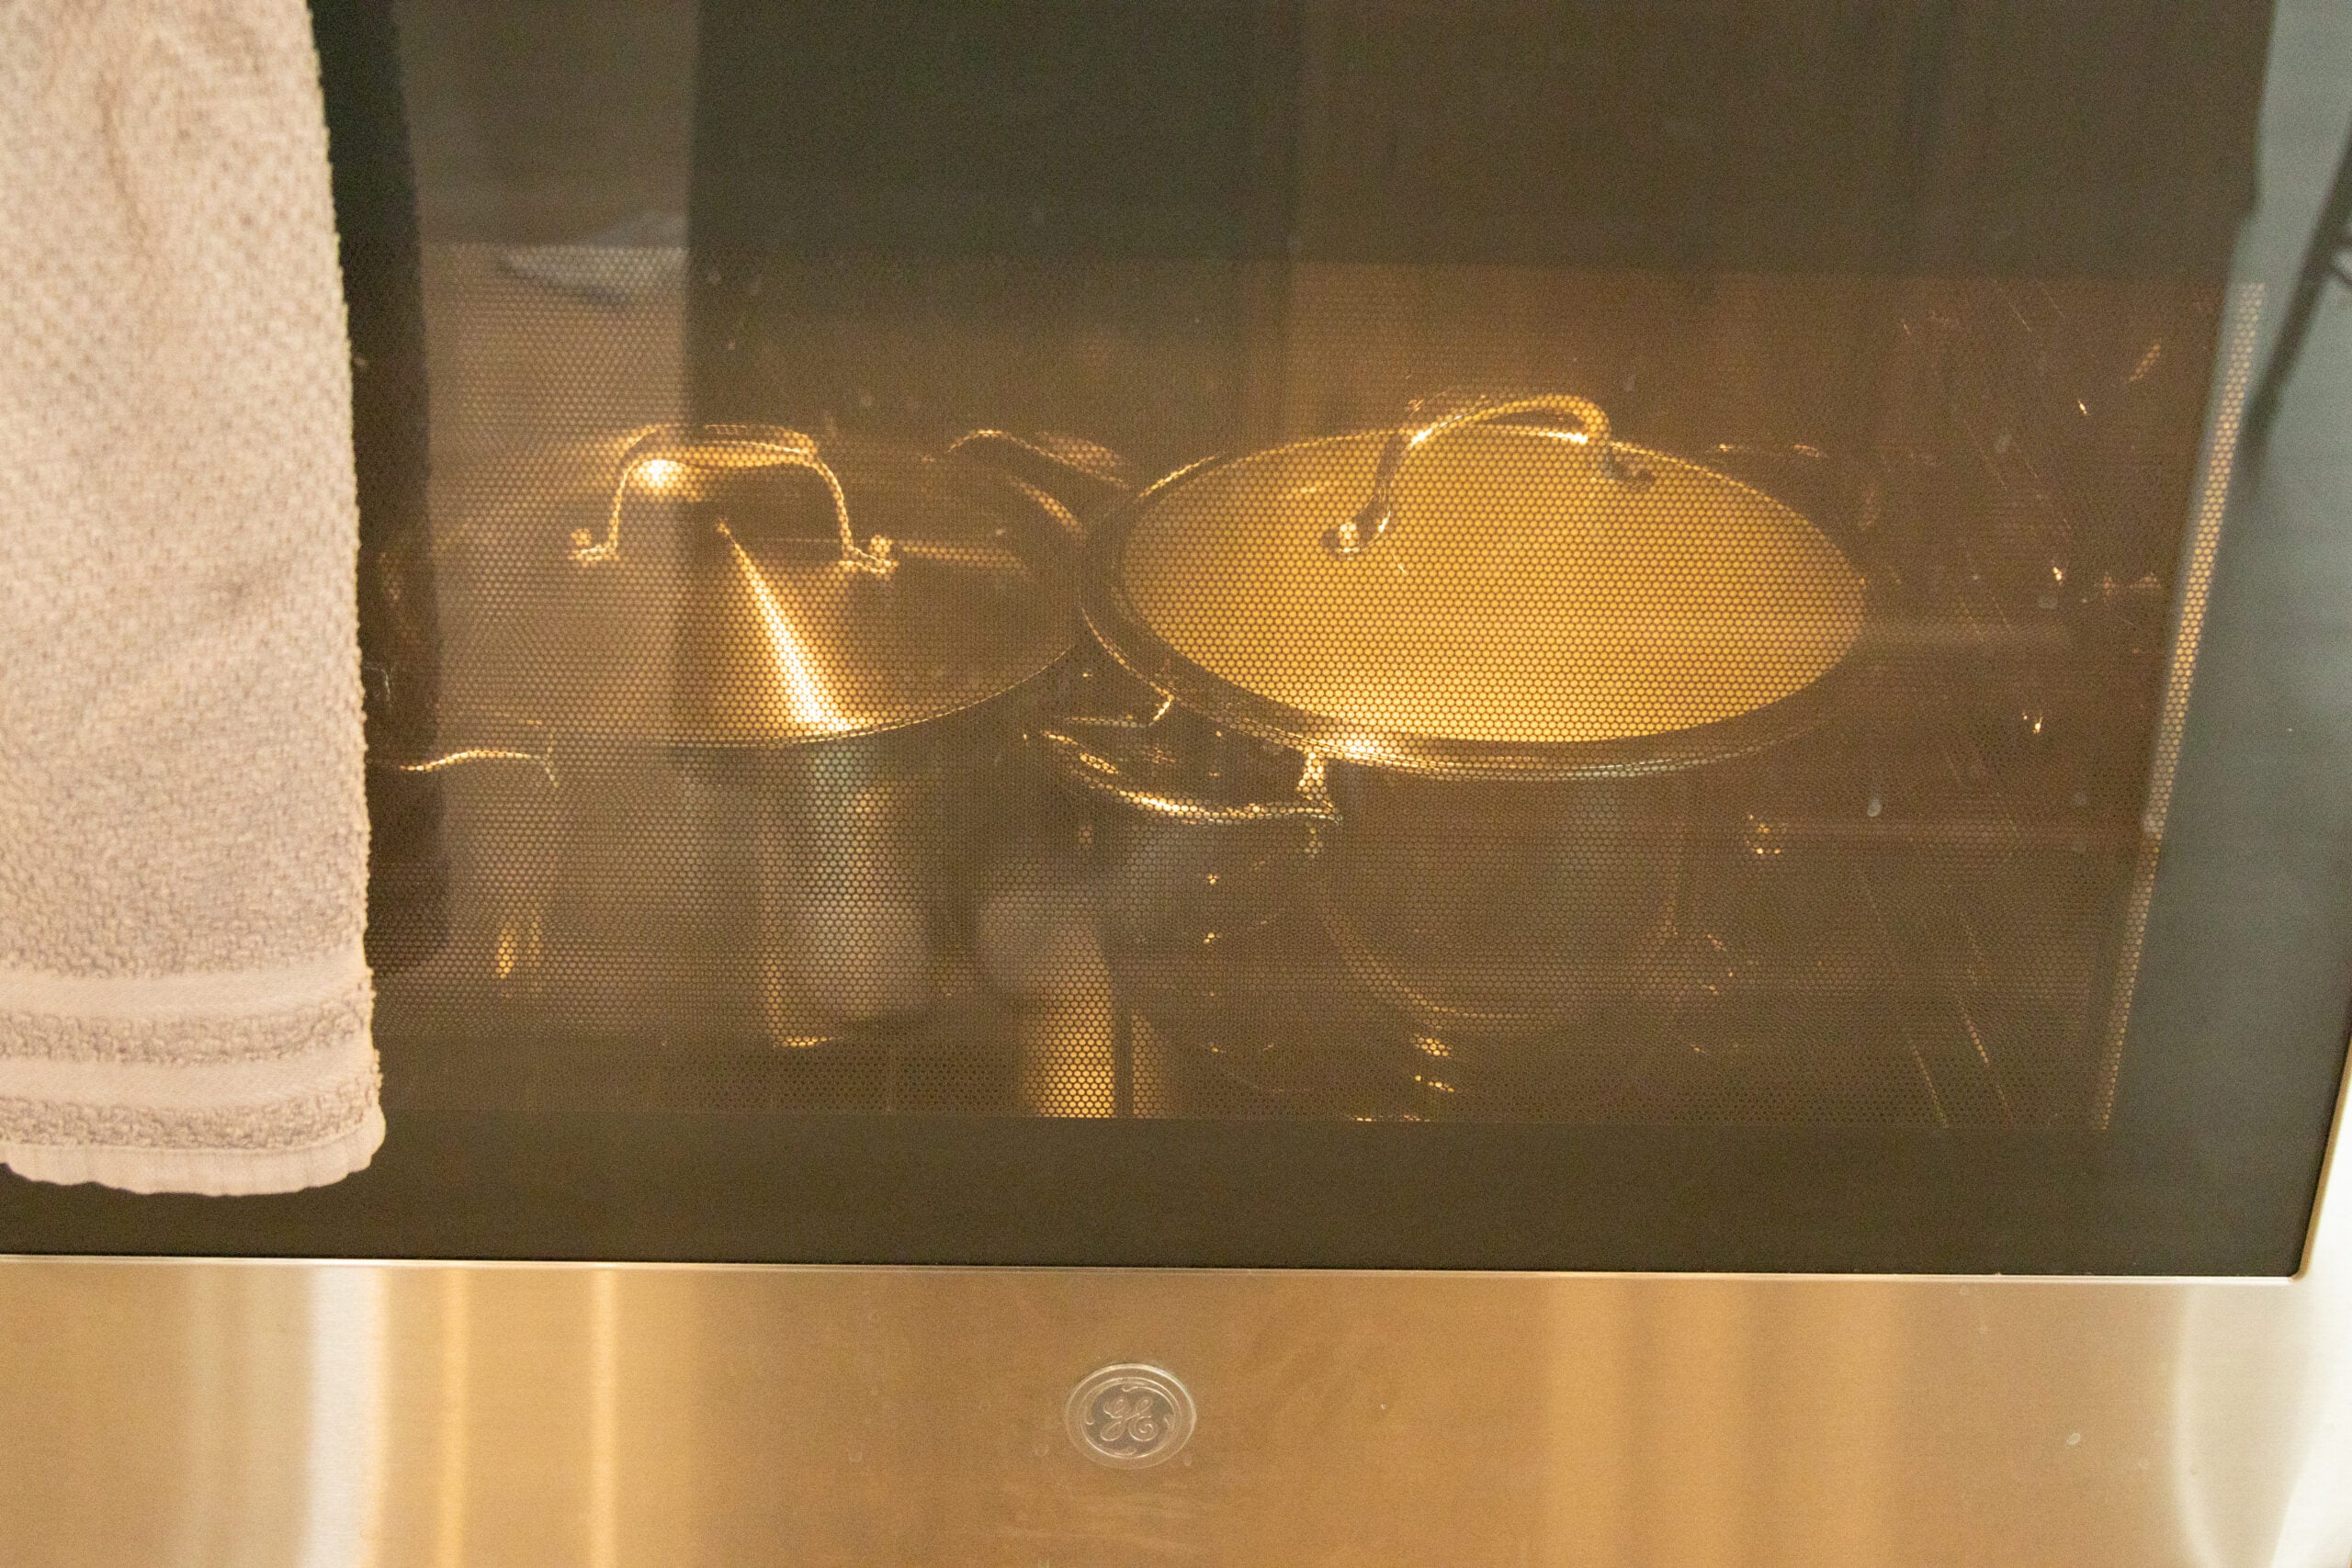
Place a lid on the pot and place in the oven with the light on. (Make a note, so you don't forget and accidentally start the oven!)
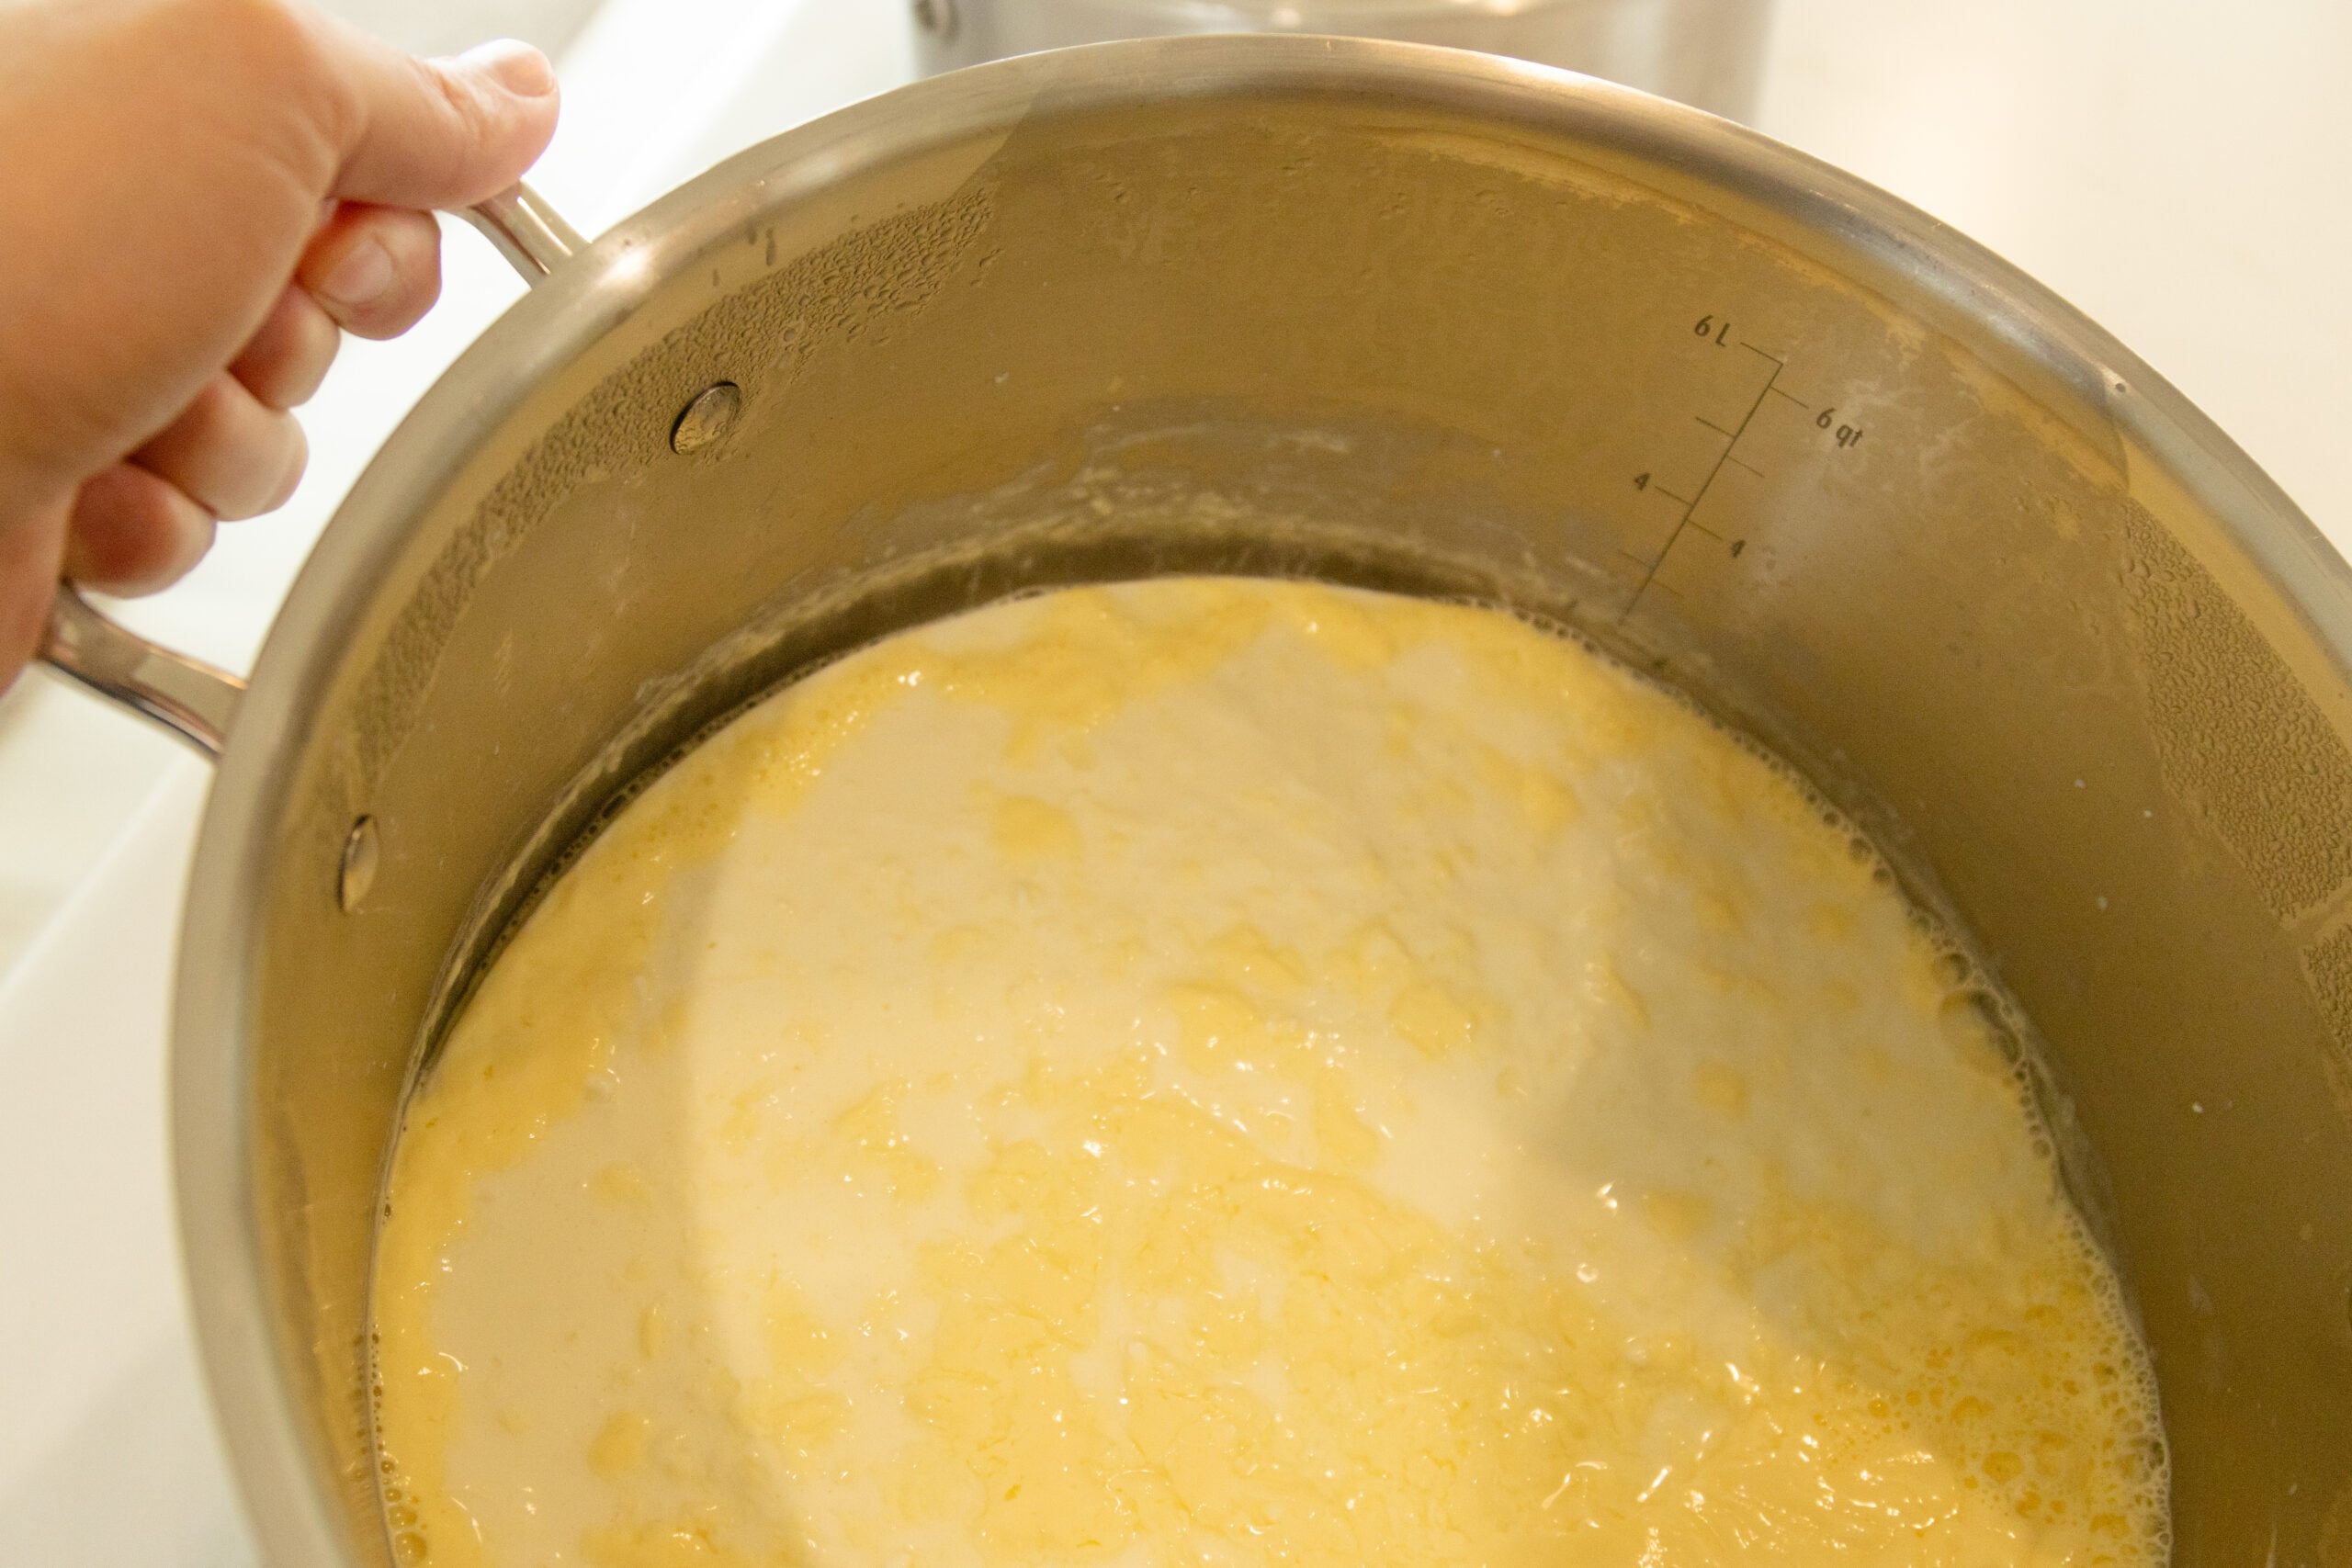
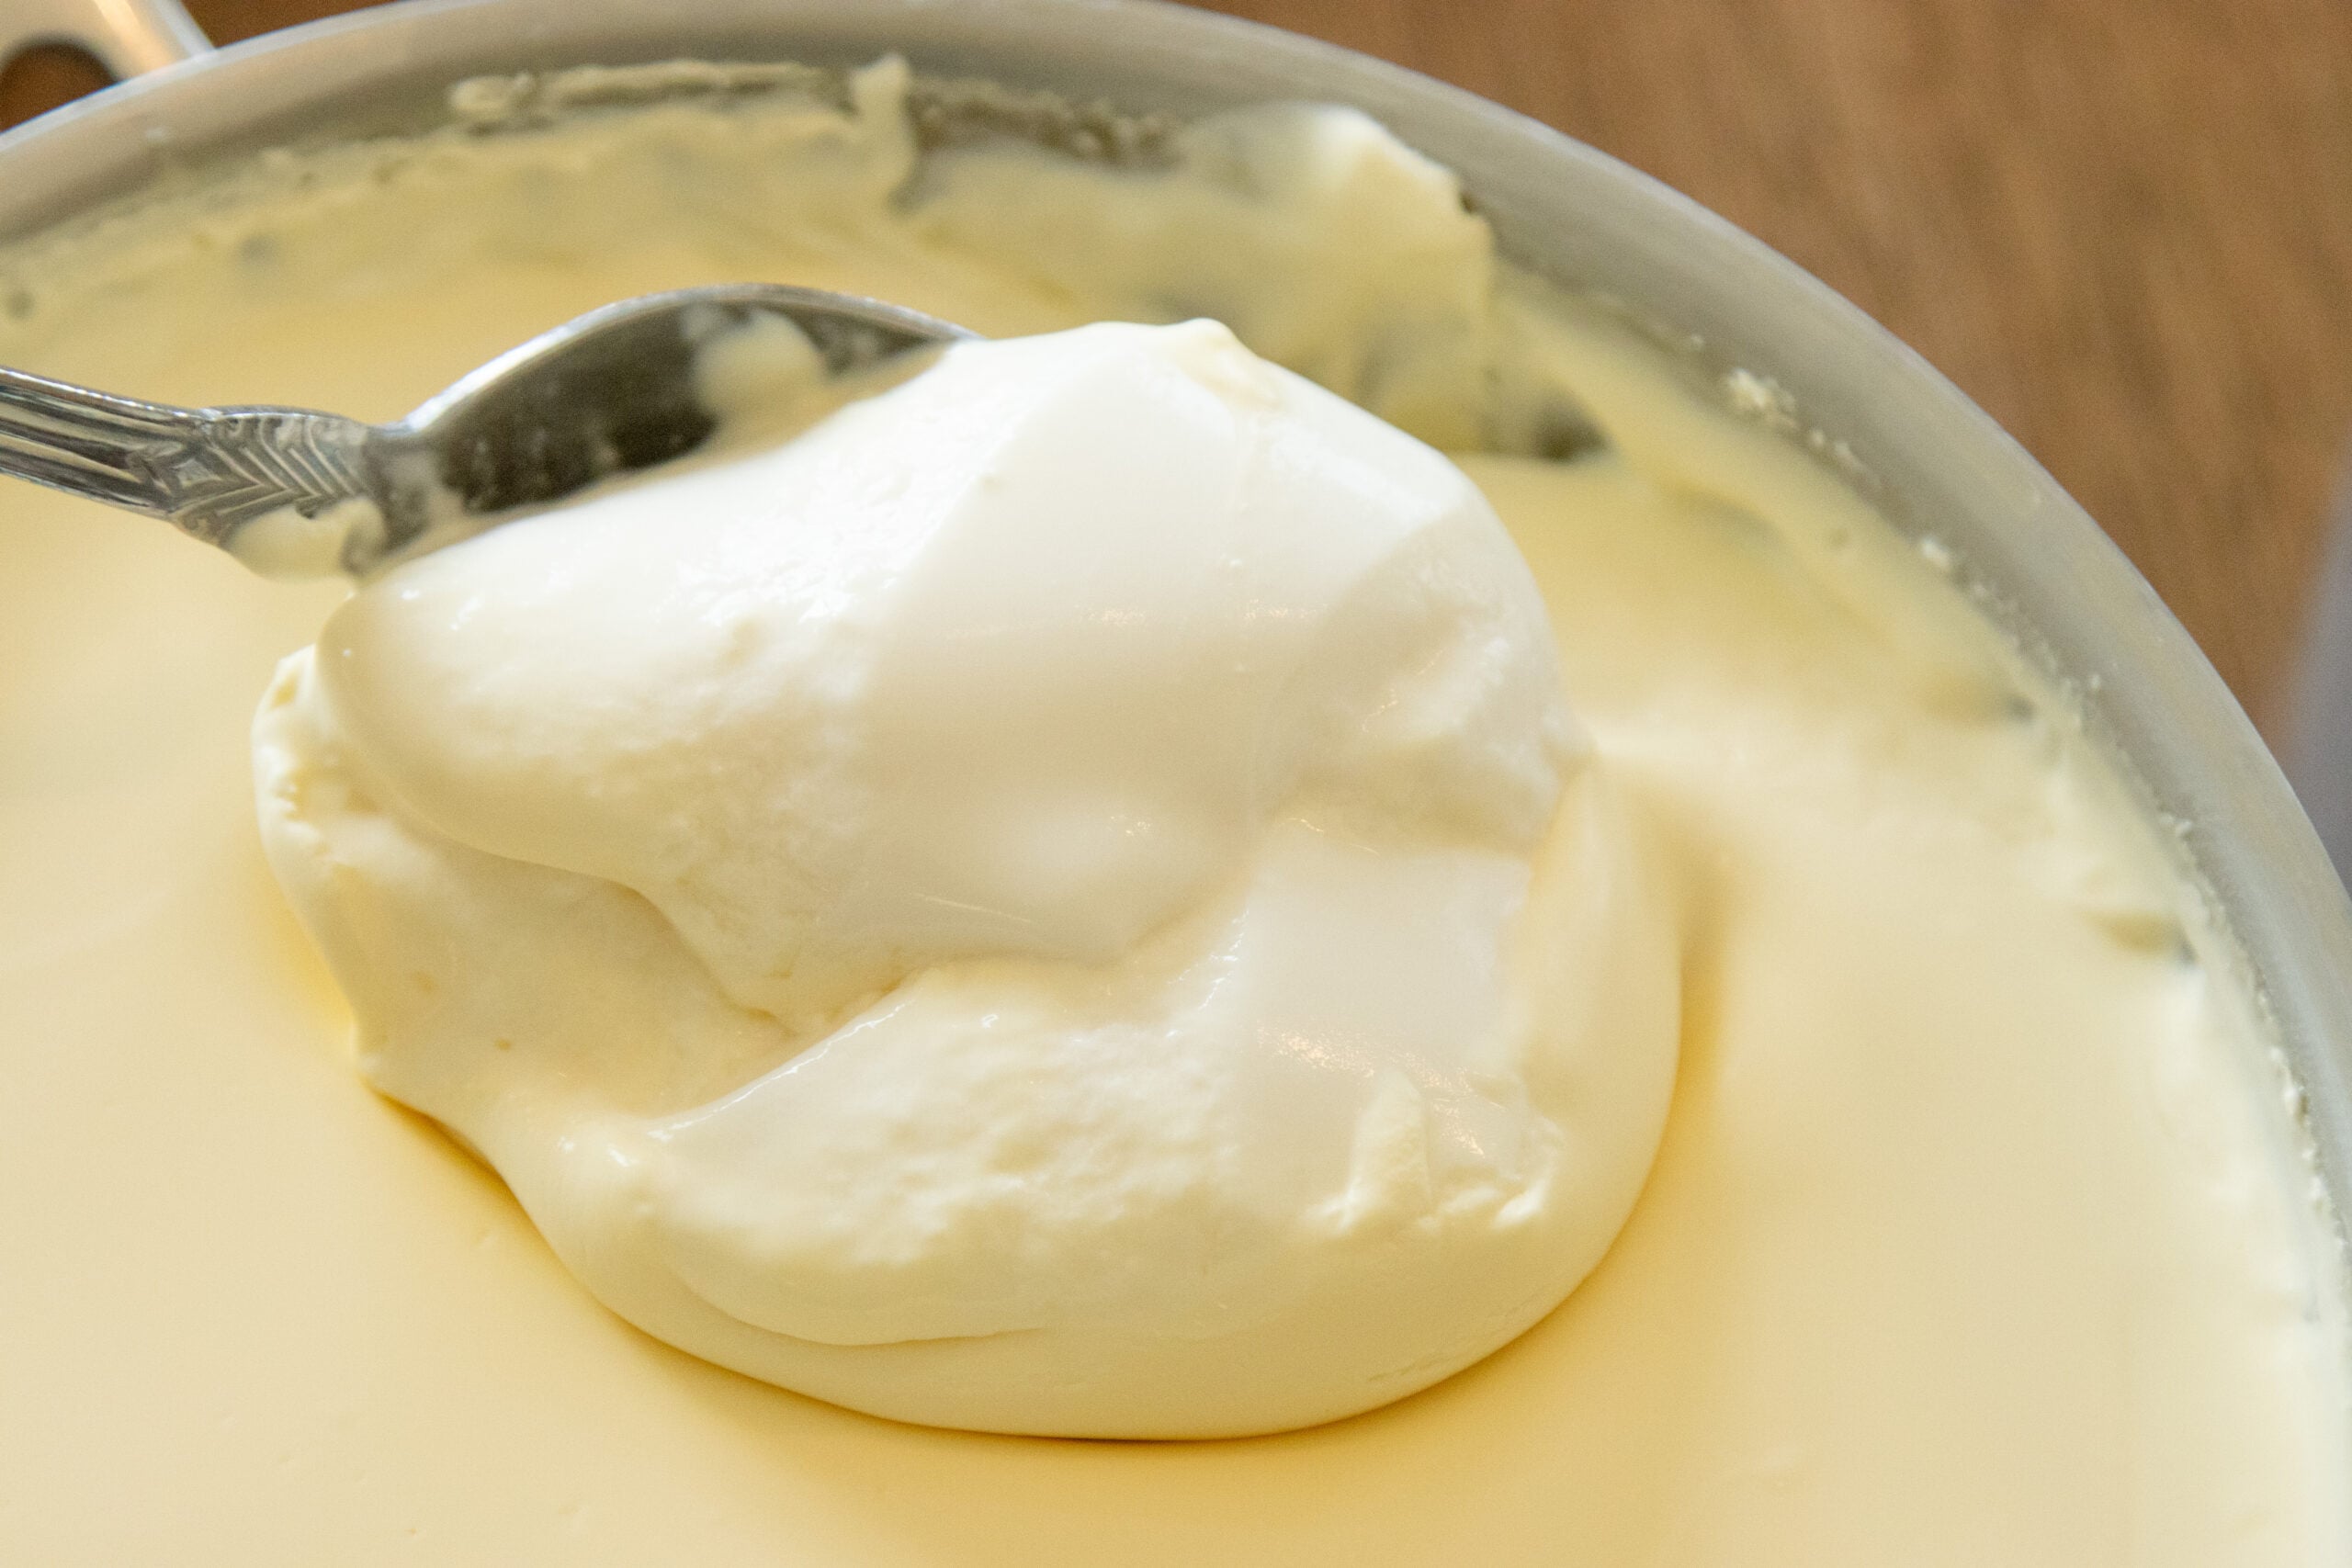
Let the yogurt sit undisturbed for about 6 hours. Then check it, to see if it has set up (tip the pot; if it pulls away from the side of the pot in a solid mass, it's set!) If it hasn't set yet, let it incubate longer, checking every half hour or so until it's set.
Set the yogurt out at room temperature for an hour or two before sticking in the fridge to cool completely.
Optional: strain the yogurt (keep the whey for baking, etc.)
Refrigerate for 4-6 hours.
Optional: whip the yogurt with a mixer and add sweetener.
Enjoy!
The Low Heat Method (Fully Raw Yogurt)
Pour the milk into a clean stainless steel pot. Heat on medium heat on the stovetop, stirring frequently with a metal spatula.
Once the milk reaches 110-112 degrees F, whisk in the yogurt starter culture. (It's ok if it's still a little lumpy.)It takes about 10 minutes to reach this temperature on my stovetop.

Place a lid on the pot and place in the oven with the light on. (Make a note, so you don't forget and accidentally start the oven!)
Let the yogurt sit undisturbed for about 6 hours. Then check it, to see if it has set up (tip the pot; if it pulls away from the side of the pot in a solid mass, it's set!) If it hasn't set yet, let it incubate longer, checking every half hour or so until it's set.
Set the yogurt out at room temperature for an hour or two before sticking in the fridge to cool completely.
Optional: strain the yogurt (keep the whey for baking, etc.)
Refrigerate for 4-6 hours.
Optional: whip the yogurt with a mixer and add sweetener.
Enjoy!
How to make Greek Yogurt
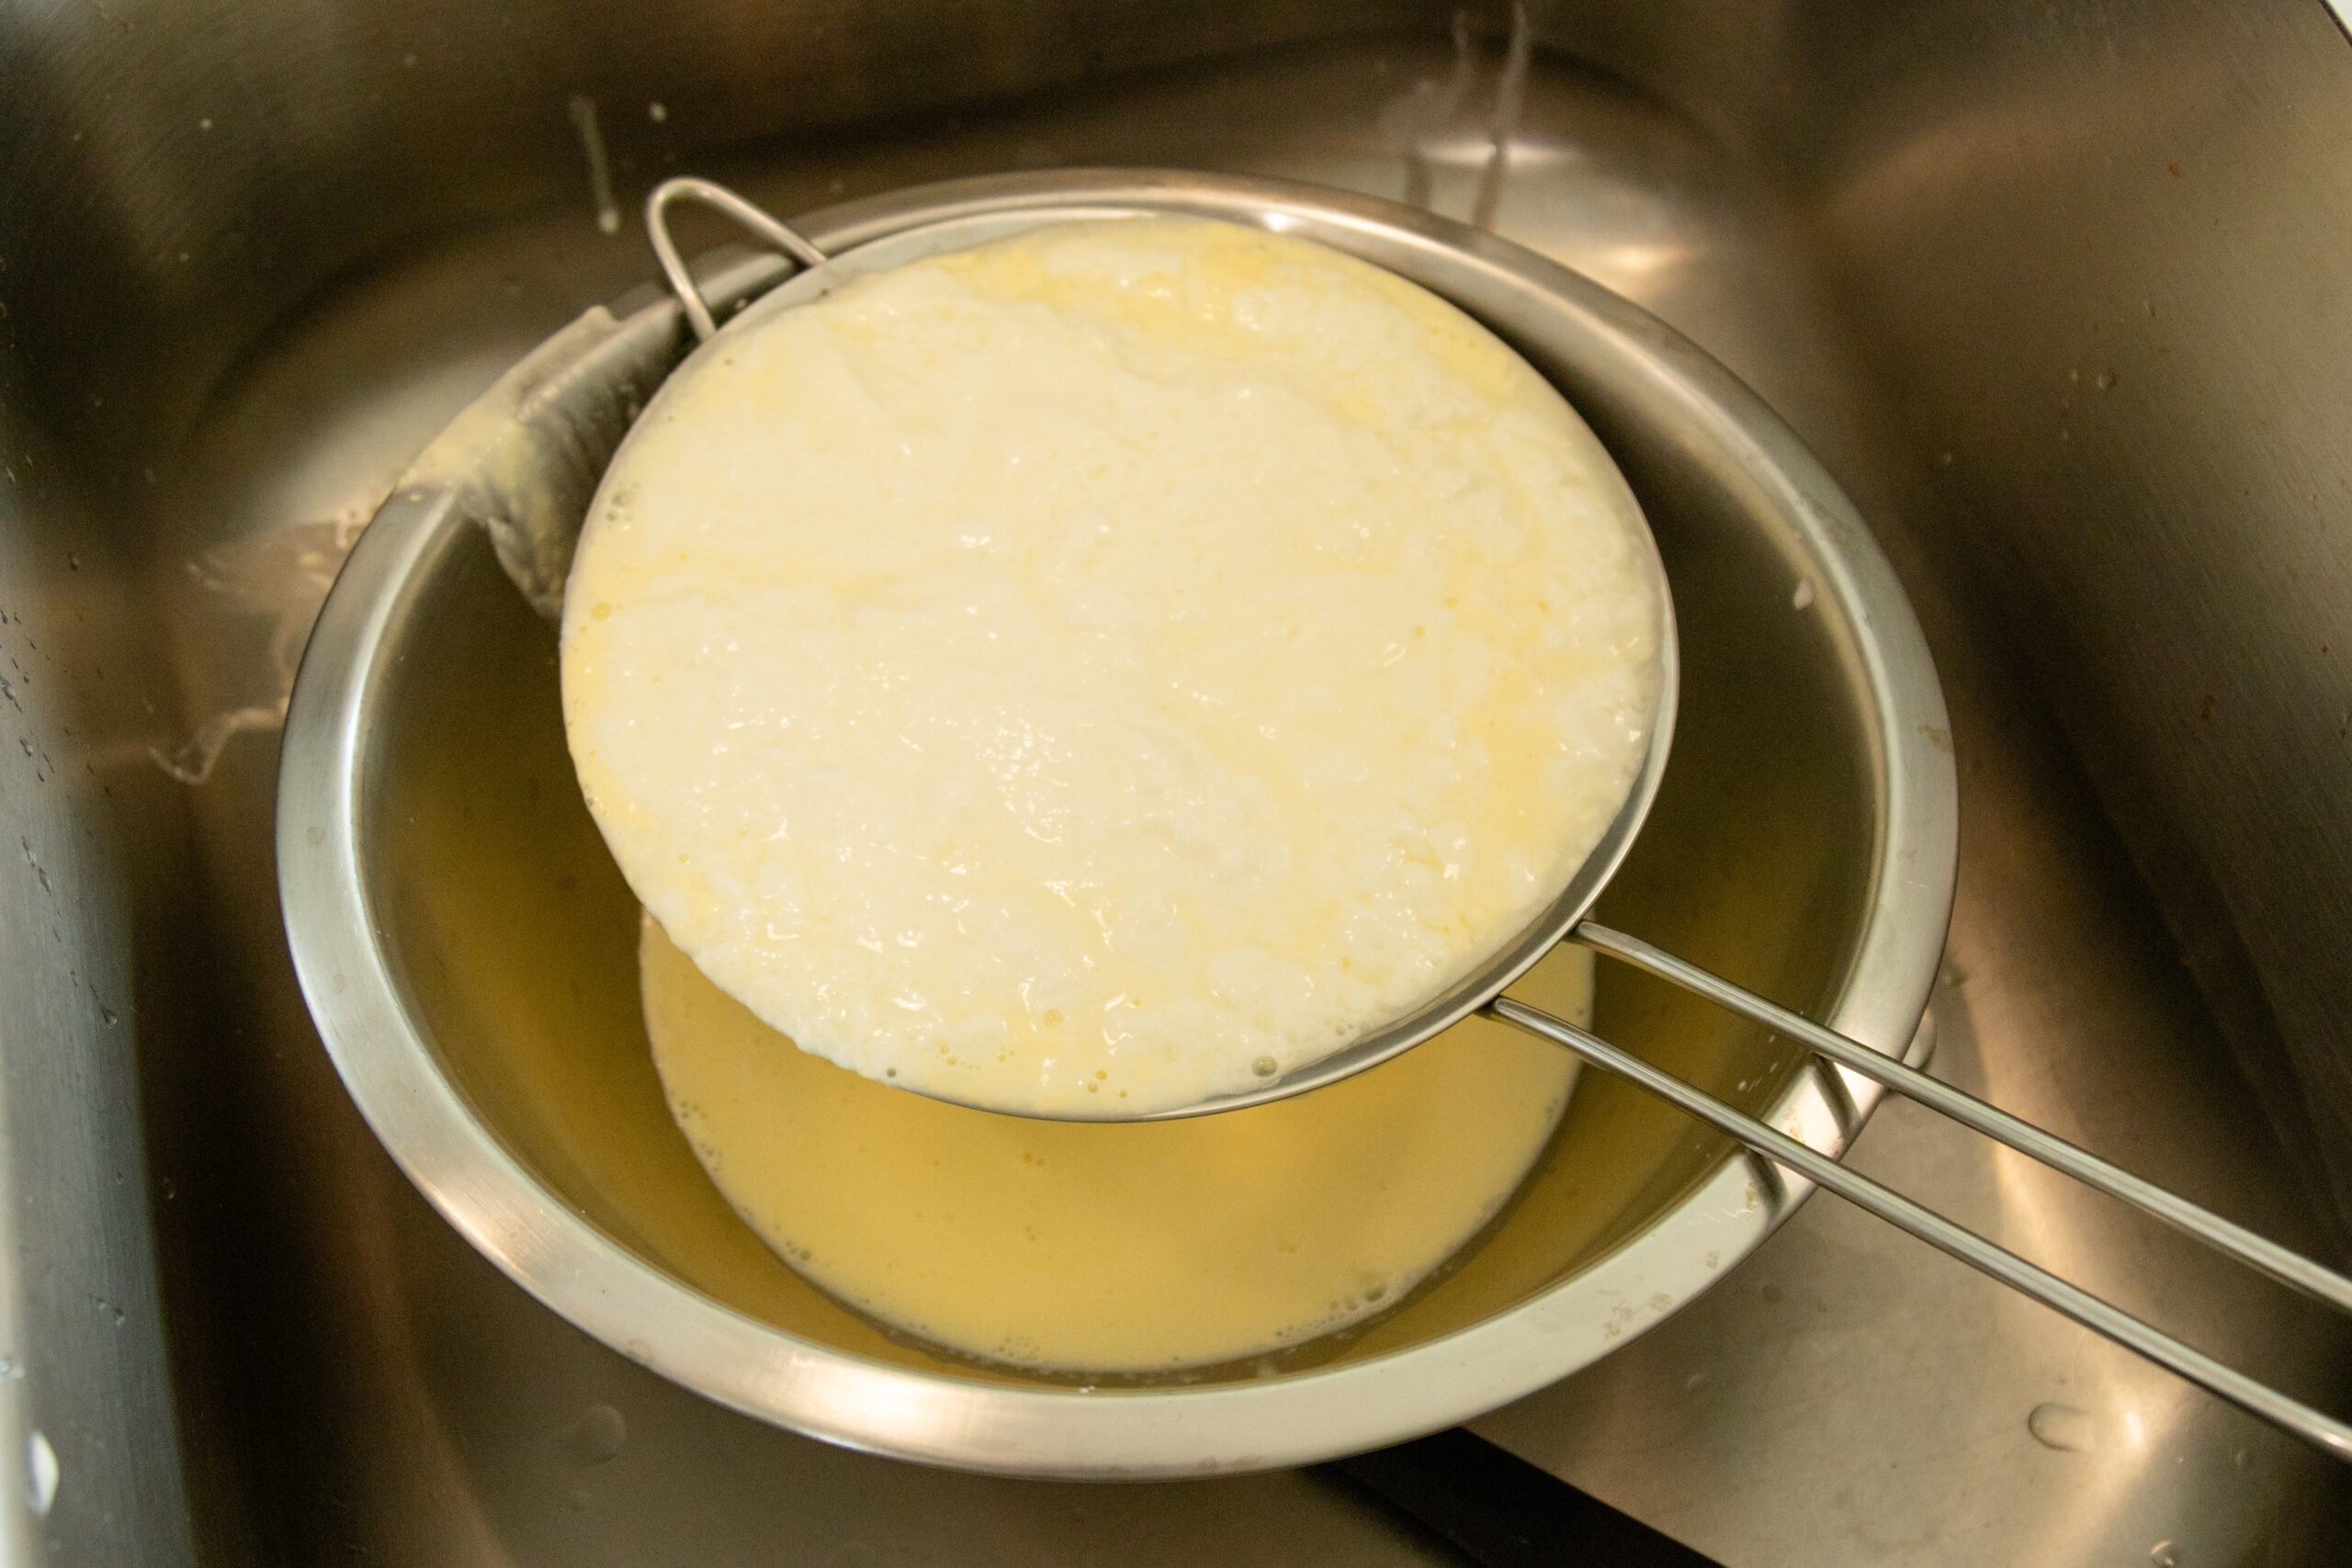
Greek yogurt is just regular yogurt that has been strained! The whey is drained off, so you're left with yogurt that is higher in protein and lower in sugar and fat. And thicker:)
To make Greek yogurt, strain the yogurt after culturing. You can use a yogurt strainer or a regular fine mesh strainer set over a large bowl.
Let the yogurt strain for several hours or overnight (in the fridge). The longer you strain it, the thicker it will be!
How to Store Homemade Yogurt
Plain yogurt (no sweetener or other stuff added) should keep well in an airtight container in the refrigerator for up to 1 week if you used the low heat method and up to 2 weeks if you used the heated method. (If they whey separates, you can stir it back in!)
Not sure if your homemade yogurt is still good? Smell it. If it smells sour, changes color, or turns moldy, it should probably be thrown out.
Tips, Tricks and Notes on making Raw Milk Yogurt
- Use fresh milk! This is always a good idea, but especially if you're making the low heat method of yogurt with raw milk.
- Heat the milk slowly. This is to keep the bottom form scorching, but also this gives the milk proteins time to change and bind properly with the caseins, resulting in a firmer set and no grainy grittiness.
- If you used the heated method (and didn't add any extras) you can save a half cup of yogurt to culture your next batch of yogurt! (It's not safe to use low heated raw yogurt to culture another batch, since the bad bacteria was never killed.) The culture will weaken with time, to you'll want to buy more from the grocery store after a few batches.
- The yogurt should set up within about 6 hours, though you can let it culture for longer if you want. The longer it cultures, the tangier it gets! It also gets more firm. (I've done 24 hours already with the heated method of yogurt:) Note: if you let it culture too long, it can separate fully into curds and whey (not what we want)! A little bit of separation is fine.
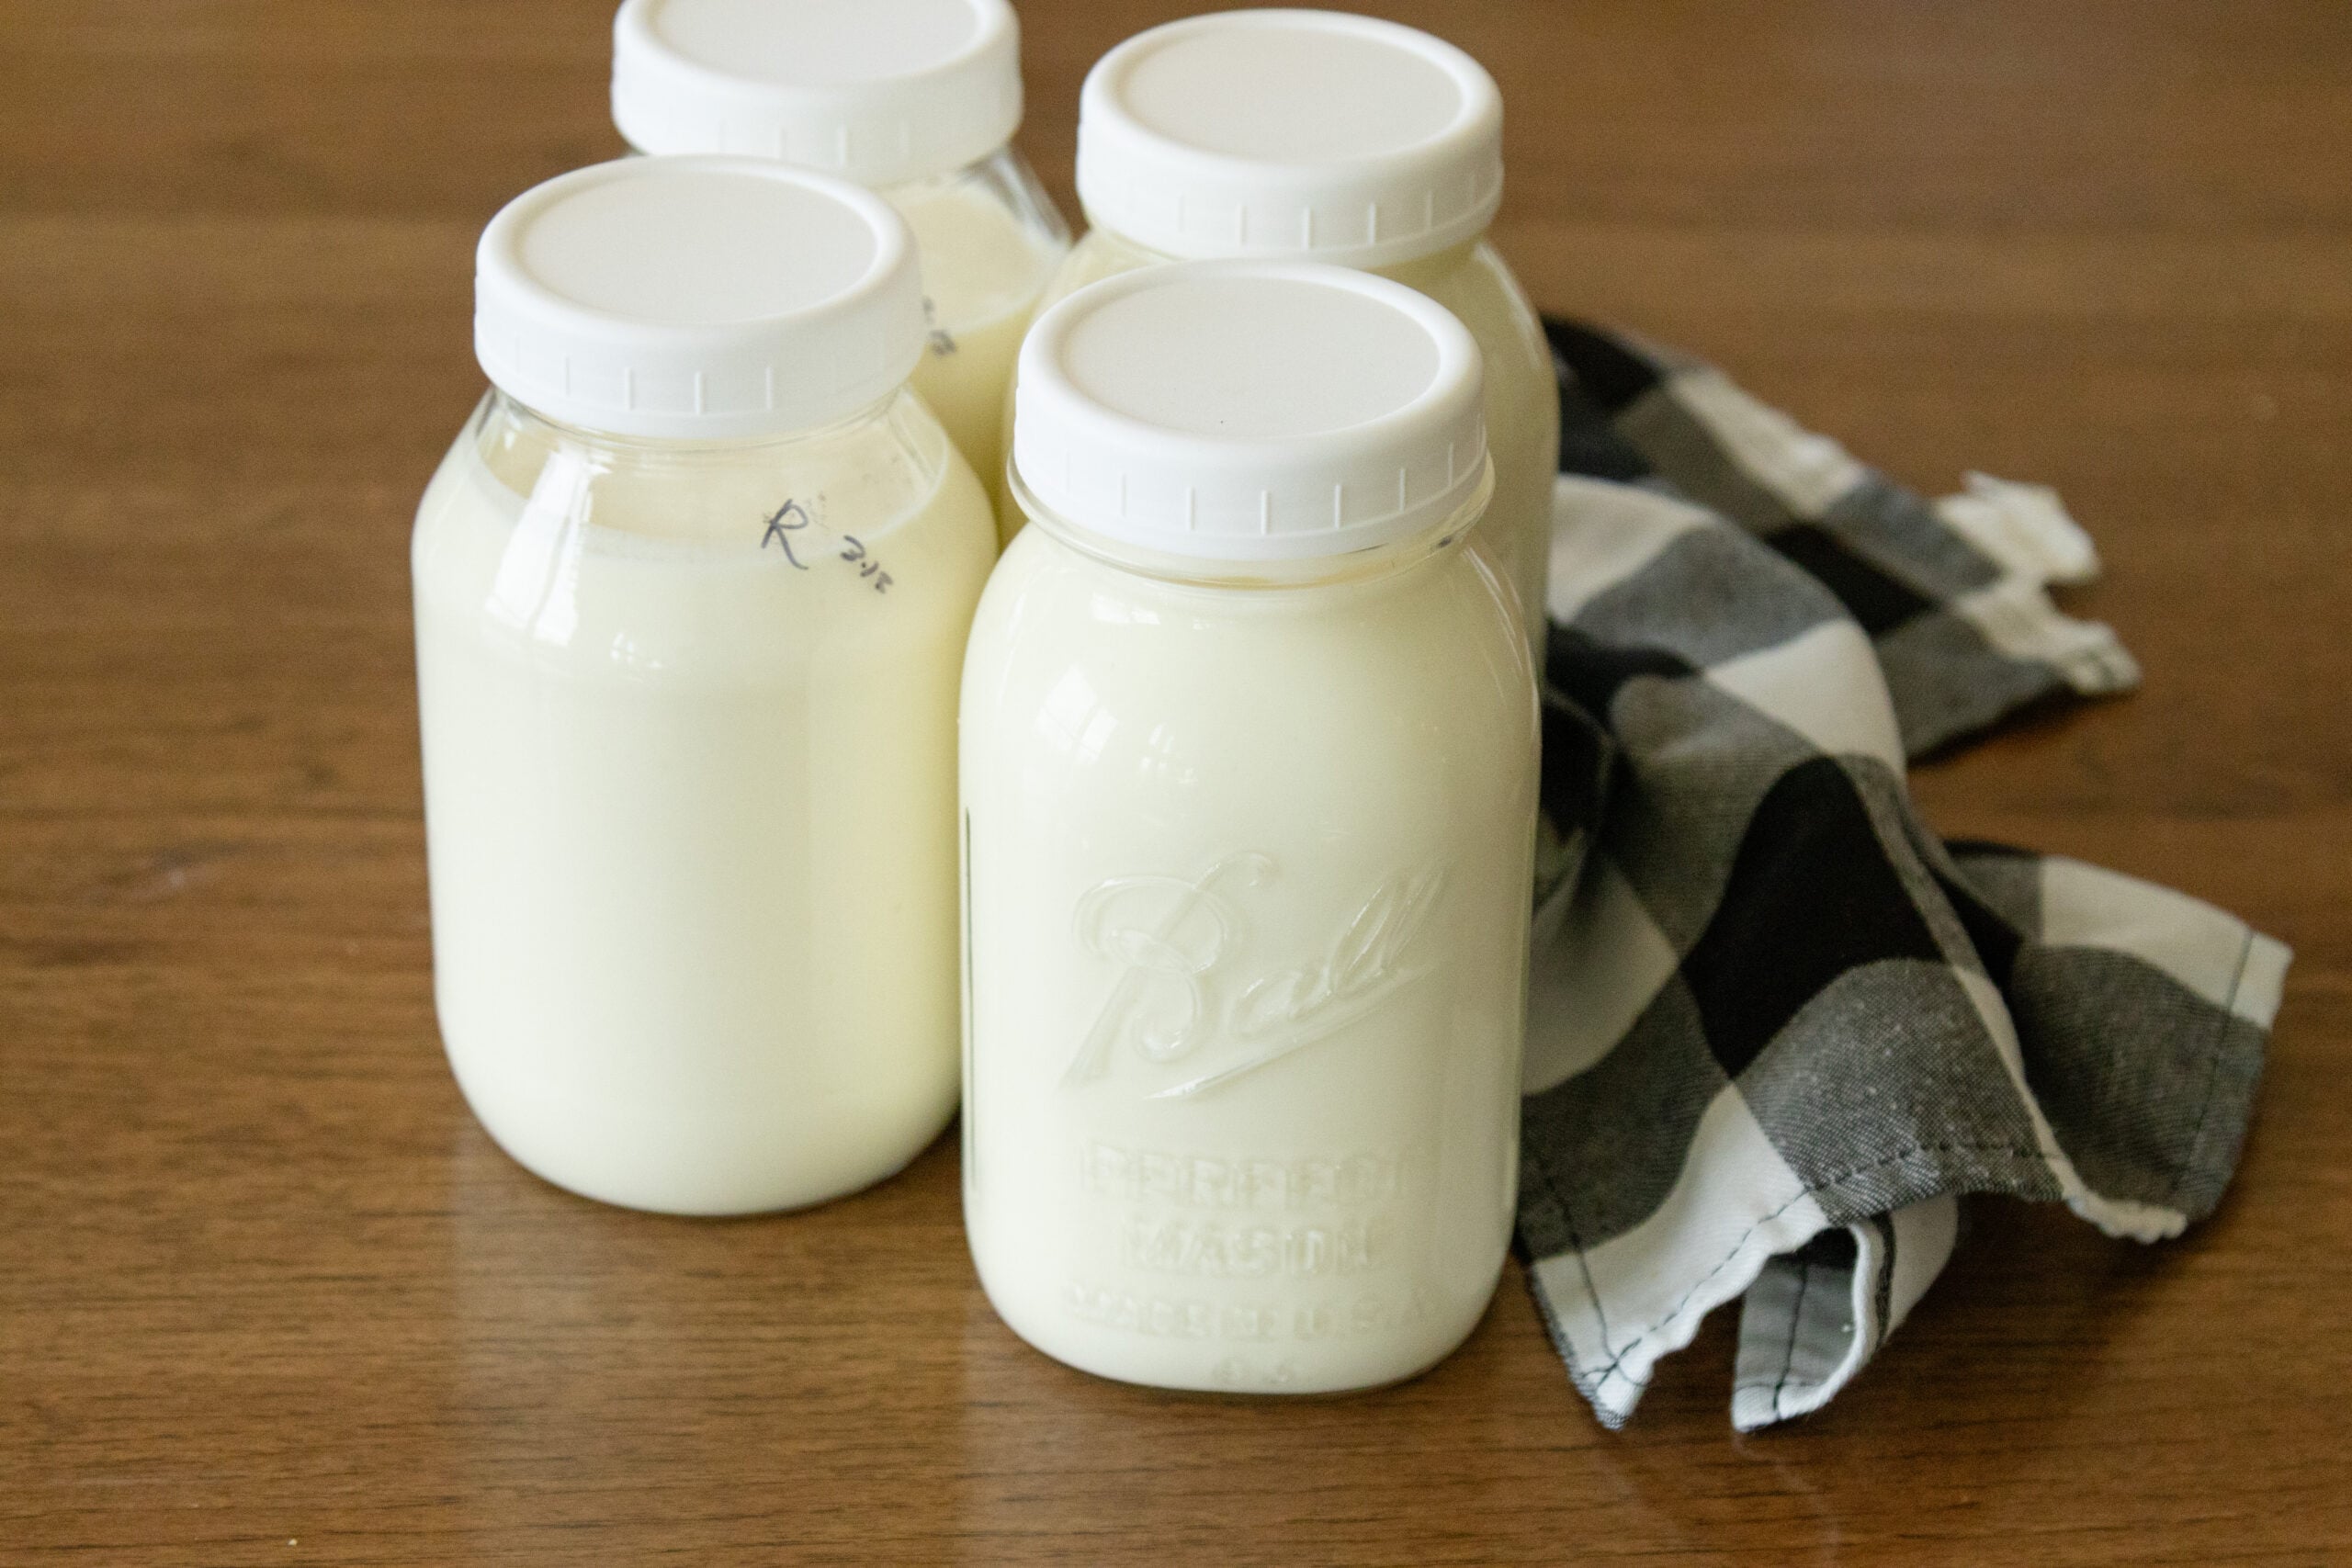
- After adding the yogurt culture, you can transfer the yogurt to a glass jar or dish (with lid) of choice, instead of leaving it in the pot. Then after it's all cultured and cooled, it's already in a storage container! (I like to strain and/or whip my yogurt, so I usually just let it in the pot.)
More Ways to Incubate Yogurt
The easiest way for me is to just stick the whole pot (with the lid on) into the oven with the light on. If that's not an option you can also do one of these:
- Wrap the pot in a towel and place in an ice chest (and close the lid)
- Set the yogurt in a food dehydrator set at 110 degrees F
And I saw online that you can actually buy a yogurt maker. Do these work well? Let me know if you have one:)
If you like this post...
...you might also like:
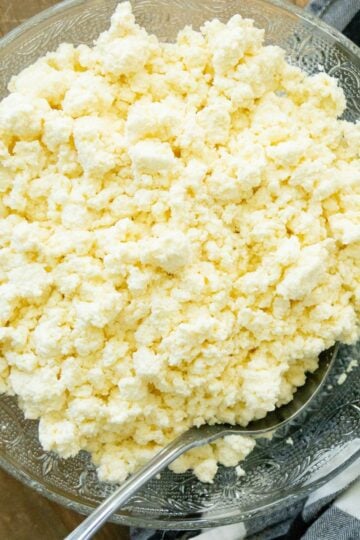
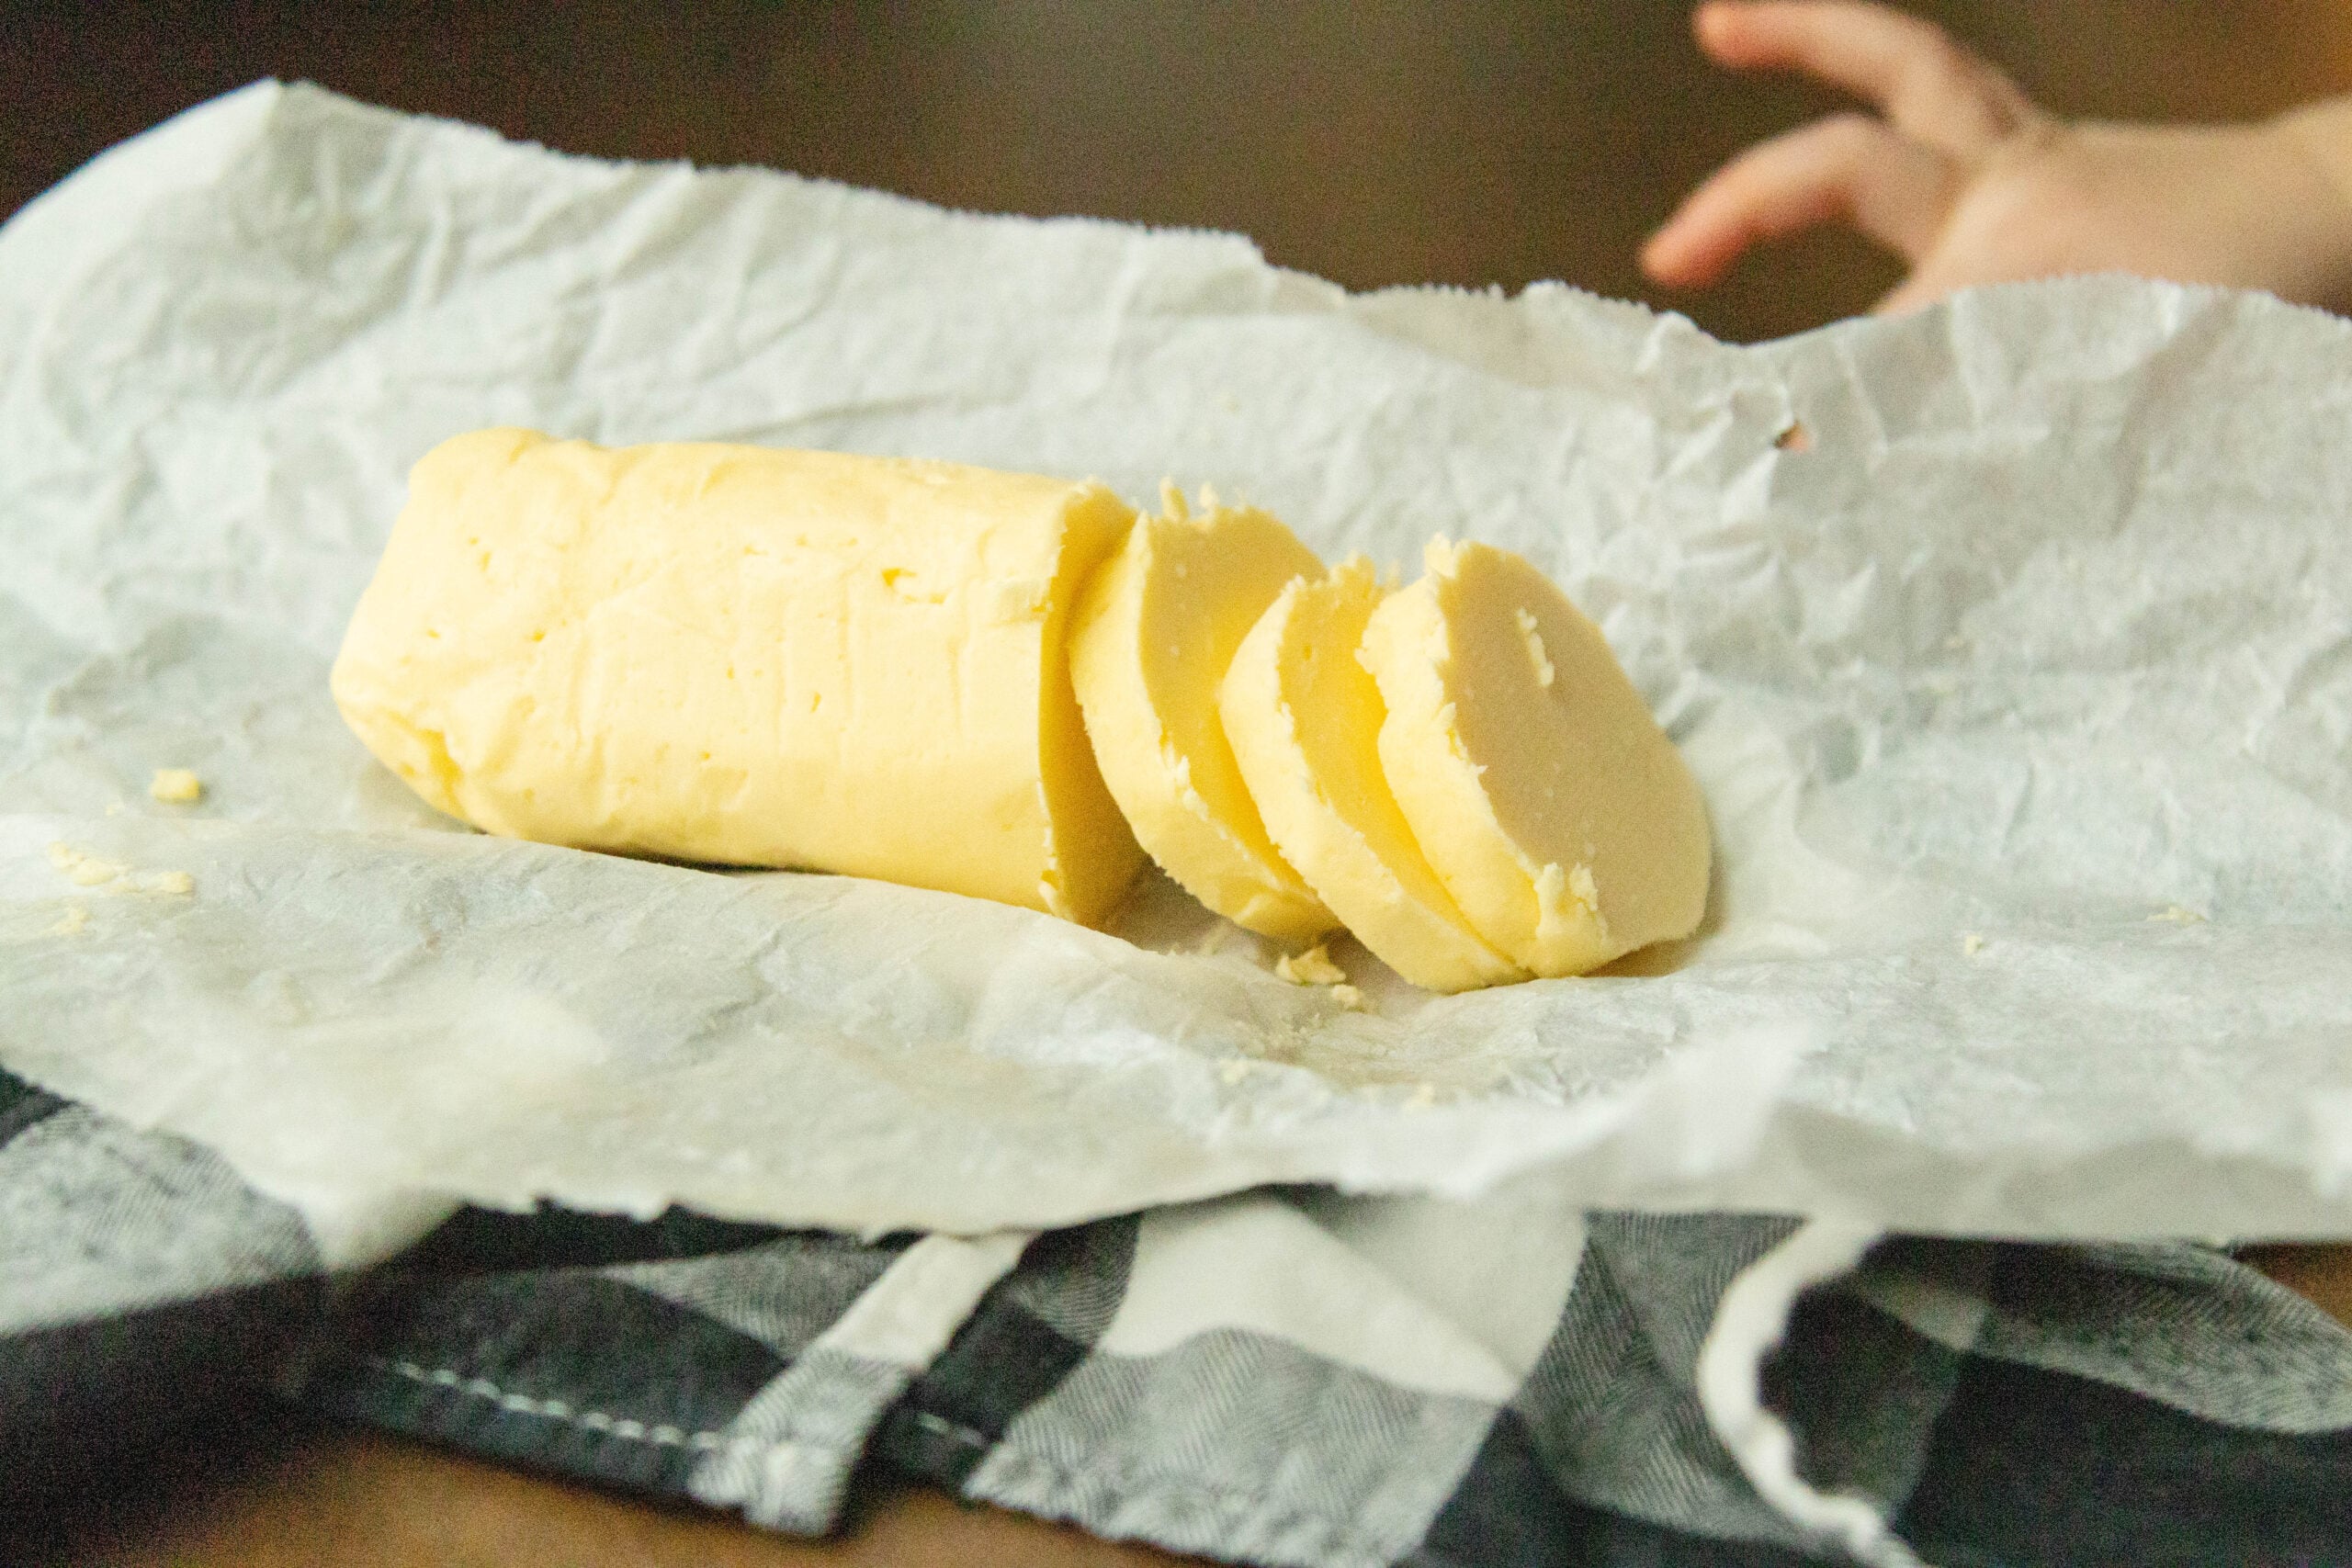
- How to make BUTTER from raw milk and Cottage Cheese from Raw Milk - another 2 uses for raw milk
- Maple Cinnamon Granola and Peanut Butter Granola - to go with your yogurt
- Crock Pot Chicken Chili - a crockpot meal for the day you make yogurt and can't use the oven:)
Pin this "How to make Yogurt from Raw Milk" post for later!

How to make Yogurt with Raw Milk (Heated Method)
Learn how to make yogurt from raw milk at home following these simple steps! This is a very traditional, easy way to make yogurt - heat to kill bacteria, cool somewhat, then add good bacteria and let the milk culture into yogurt!
Ingredients
- 2 quarts (½ gallon) raw milk
- ½ cup plain yogurt
Instructions
- Pour the milk into a clean stainless-steel pot. Heat on medium heat on the stovetop, stirring frequently with a metal spatula.
- Once the milk reaches 175-180 degrees F, pull the pot of milk off the burner and let it cool down. (Keep stirring and checking temperature now and then.) It takes about 30-45 minutes to reach this temperature on my stovetop!
- When the milk temperature reaches 110-115 degrees F, whisk in the yogurt starter culture. (It's ok if it's still a little lumpy.) It usually takes another 30 minutes or so to get back down to 115 degrees. You can speed this up by setting the whole pot of milk in ice water!
- Place a lid on the pot and place in the oven with the light on. (Make a note, so you don't forget and accidentally start the oven!)
- Let the yogurt sit undisturbed for about 6 hours. Then check it, to see if it has set up (tip the pot; if it pulls away from the side of the pot in a solid mass, it's set!) If it hasn't set yet, let it incubate longer, checking every half hour or so until it's set. (It will get more firm as it cools, too.)
- Set the yogurt out at room temperature for an hour or two before sticking in the fridge to cool completely.
- Optional: strain the yogurt (keep the whey for baking, etc.)
- Refrigerate for 4-6 hours.
- Optional: whip the yogurt with a mixer and add sweetener.
- Enjoy!
Notes
- Use fresh milk! This is always a good idea, but especially if you're making the low heat method of yogurt with raw milk.
- Heat the milk slowly. This is to keep the bottom form scorching, but also this gives the milk proteins time to change and bind properly with the caseins, resulting in a firmer set and no grainy grittiness.
- If you used the heated method, you can save some of the finished yogurt to culture your next batch of homemade yogurt! (It's not safe to use low heated raw yogurt to culture another batch, since the bad bacteria was never killed.) The culture will weaken with time, to you'll want to buy more from the store after a few batches.
- The yogurt should set up within about 6 hours, though you can let it culture for longer if you want. The longer it cultures, the tangier it gets! (I've done 24 hours already with the heated method of yogurt:) Note: if you let it culture too long, it can separate fully into curds and whey (not what we want)! A little bit of separation is fine.
- After adding the yogurt culture, you can transfer the yogurt to a glass jar or dish (with lid) of choice, instead of leaving it in the pot. Then after it's all cultured and cooled, it's already in a storage container! (I like to strain and/or whip my yogurt, so I usually just let it in the pot.)
Storage: Plain yogurt (no sweetener or other stuff added) should keep well in an airtight container in the refrigerator for up to 2 weeks. (If they whey separates, you can stir it back in!)
Not sure if your homemade yogurt is still good? Smell it:) If it smells sour, changes color, or turns moldy, it should probably be thrown out.
Nutrition Information:
Yield:
8Serving Size:
1 cupAmount Per Serving: Calories: 138Total Fat: 5gSaturated Fat: 3gUnsaturated Fat: 2gCholesterol: 21mgSodium: 143mgCarbohydrates: 13gSugar: 1gProtein: 10g
Nutritional information is based on third-party calculations and should be considered an estimate only. Actual nutritional content will vary based upon brands used, measuring methods, cooking method, portion sizes, and more.
How to make Yogurt with Raw Milk (Low Heat Method)
Learn how to make yogurt from raw milk at home following these simple steps! This is a low heat method, making actual raw milk yogurt, health benefits still intact.
Ingredients
- 2 quarts (½ gallon) raw milk
- ½ cup plain yogurt
Instructions
- Pour the milk into a clean stainless steel pot. Heat on medium heat on the stovetop, stirring frequently with a metal spatula.
- Once the milk reaches 110-112 degrees F, whisk in the yogurt starter culture. (It's ok if it's still a little lumpy.) It takes about 10-15 minutes to reach this temperature on my stovetop!
- Place a lid on the pot and place in the oven with the light on. (Make a note, so you don't forget and accidentally start the oven!)
- Let the yogurt sit undisturbed for about 6 hours. Then check it, to see if it has set up (tip the pot; if it pulls away from the side of the pot in a solid mass, it's set!) If it hasn't set yet, let it incubate longer, checking every half hour or so until it's set. (It will get more firm as it cools, too.)
- Set the yogurt out at room temperature for an hour or two before sticking in the fridge to cool completely.
- Optional: strain the yogurt (keep the whey for baking, etc.)
- Refrigerate for 4-6 hours.
- Optional: whip the yogurt with a mixer and add sweetener.
- Enjoy!
Notes
Storage: Plain raw milk yogurt (no sweetener or other stuff added) should keep well in an airtight container in the refrigerator for up to 1 week. (If they whey separates, you can stir it back in!)
Not sure if your homemade yogurt is still good? Smell it:) If it smells sour, changes color, or turns moldy, it should probably be thrown out.
- Use fresh milk! This is always a good idea, but especially if you're making this low heat method of yogurt with raw milk. Also, it's a good idea to know how the raw milk was handled (like how fast it was cooled down, how clean the milking system was, etc.) before attempting to make this raw milk yogurt.
- Heat the milk slowly. This is to keep the bottom form scorching, but also this gives the milk proteins time to change and bind properly with the caseins, resulting in a firmer set and no grainy grittiness.
- It's not safe to use low heated raw yogurt to culture another batch, since the bad bacteria was never killed.
- The yogurt should set up within about 6 hours, though you can let it culture for longer if you want. The longer it cultures, the tangier it gets! Note: if you let it culture too long, it can separate fully into curds and whey (not what we want)! A little bit of separation is fine.
- After adding the yogurt culture, you can transfer the yogurt to a glass jar or dish (with lid) of choice, instead of leaving it in the pot. Then after it's all cultured and cooled, it's already in a storage container! (I like to strain and/or whip my yogurt, so I usually just let it in the pot.)
Nutrition Information:
Yield:
8Serving Size:
1 cupAmount Per Serving: Calories: 138Total Fat: 5gSaturated Fat: 3gUnsaturated Fat: 2gCholesterol: 21mgSodium: 143mgCarbohydrates: 13gSugar: 1gProtein: 10g
Nutritional information is based on third-party calculations and should be considered an estimate only. Actual nutritional content will vary based upon brands used, measuring methods, cooking method, portion sizes, and more.
As always...
Thanks so much for being here. You're welcome to stay awhile and explore! Did you try our homemade raw milk yogurt recipe? If so, leave a comment! I'd love to hear how it went for you.
'til next time, we love you and we'll be praying for you,
-Julie
Leave a Reply