
Learn how to can pears at home so you can enjoy the sweet and juicy flavors of this lovely fruit all year round!
The Easy (Mennonite) Way of Preserving Pears by Canning
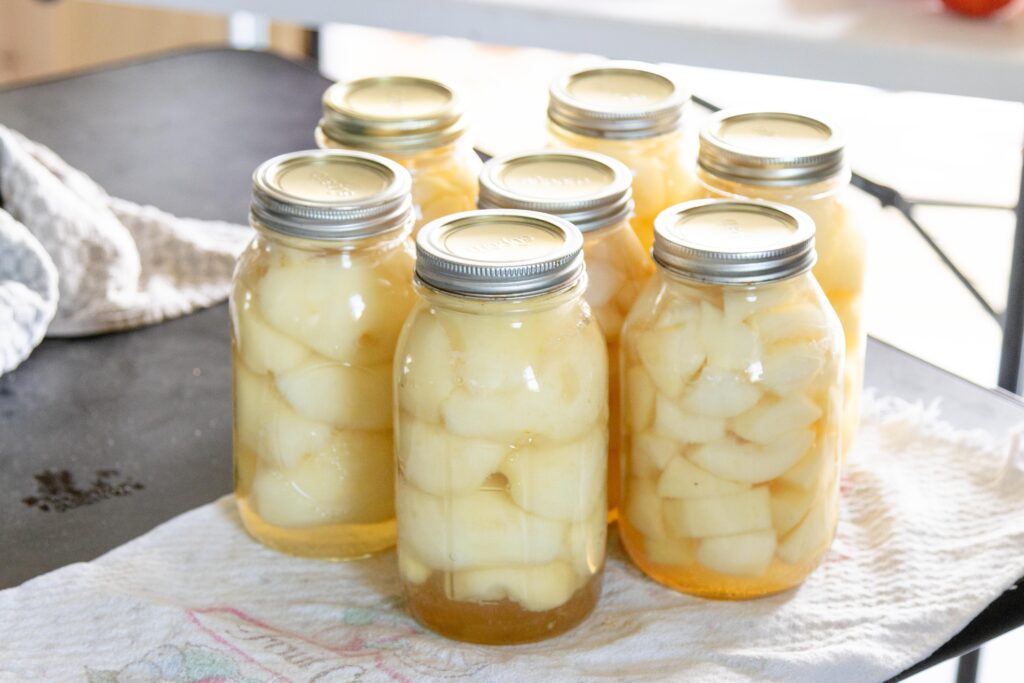
There is something so satisfying about preparing the jars, hearing the pop of the lids sealing, and arranging the jars on the pantry shelves... Bonus perks if the food itself is home-grown!
Hey there, and welcome to my kitchen!
Today, I'm canning pears, and no, they're not homegrown. Maybe someday! Also, I'm not going to make a sugar syrup first. I'm doing raw pack canning, which means everything is put in the jars as is, without being heated first.
Another plus, no pressure canner required! I'm using my boiling water canner. And this recipe is for regular canned pears, which is just plain pears in sugar water. I've never actually tried those spicy canned pears with cinnamon sticks and things. Are they good?
Anyway, if canning food at home is like uncharted territory for you, don’t worry. With this guide I'm going to walk you through the details of pear canning so you can preserve fresh pears safely, deliciously, and with confidence.
Canning is fun!
Which variety of pears is best for canning?
Bartlett pears are an excellent pear for canning, and one of the most popular varieties. Other common varieties of pears for canning are:
- Anjou
- Bosc
- Comice
Stay away from Asian pears if you're planning to water bath can them using this method. Asian pears are low acid, and not safe for water bath canning without adding some sort of acidity, according to NCHFP.
Where can I find pears for canning?
If you’re like me, you might not have your own pear tree (yet) so you’ll need to buy pears if you want to can them.
Here’s a few places to check if you’re not sure where to source pears:
- Local farms, farmstands, or farmer’s markets (and here’s the link to the USDA Local Food Directory to check for one nearby) If you live in a very rural area like I do, this website might not be too helpful!
- A “u-pick” patch (click here to see if there’s one near you). Again, might not be a great help for rural folks.
- Azure Standard
- Local bulk food store - if you live near a Mennonite or Amish bulk food store, there’s a good chance they’ll get loads of pears in during the summer. Yes, I'm a Mennonite, so this is my source for pears!
Supplies You Will Need
- Jars - glass canning jars, lids and rings. You'll want good quality jar lids such as Ball or Superb.
- Sugar - white granulated sugar (see the Alternative Sweeteners section below if you'd rather not use sugar)
- Water - I use plain water to top off the jars
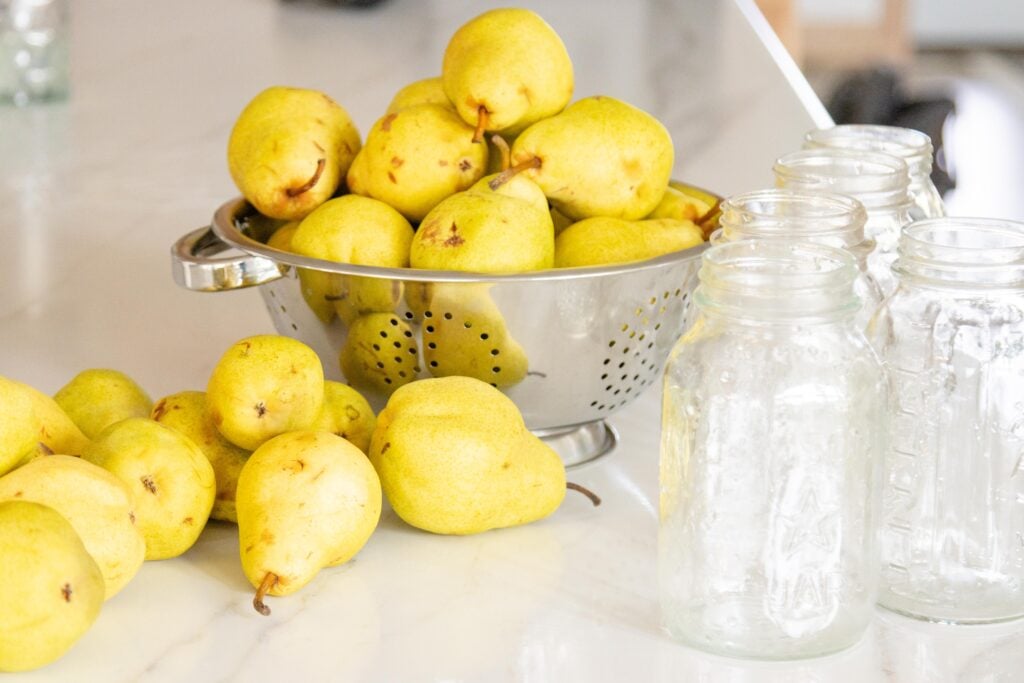
- Pears - I bought a bushel of Bartlett pears at a local bulk food grocery store
- Knife + peeler - I use my little Wusthof paring knife and OXO peeler
- Water Bath Canner - I have one similar to this and I especially like the little feature on the knob that takes the guesswork out of knowing when to start timing the canning process!
- Jar lifter - you'll need a jar lifter thingy to remove jars from the hot water
- Canning funnel - I also like my wide mouth funnel when it comes to filling jars!
This post contains affiliate links. As Amazon Associates, we may earn a small commission at no extra cost to you, if you make a purchase through one of our links.
How to Can Pears
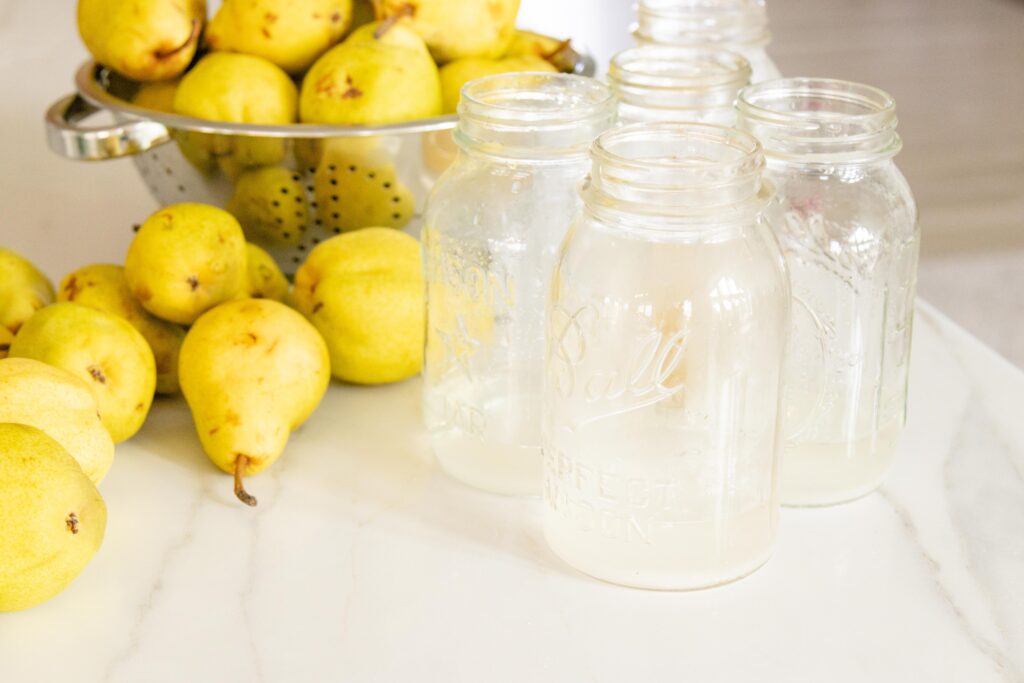
Wash and prep your jars.
Wash the jars (a dishwasher works great for washing and sanitizing jars) then add a fourth cup of sugar to each quart jar. (I do them in batches of seven quarts, which is a canner full.) Then add about an inch of hot water to each jar and stir until the sugar dissolves. (If it's not quite all dissolved, that's ok.)

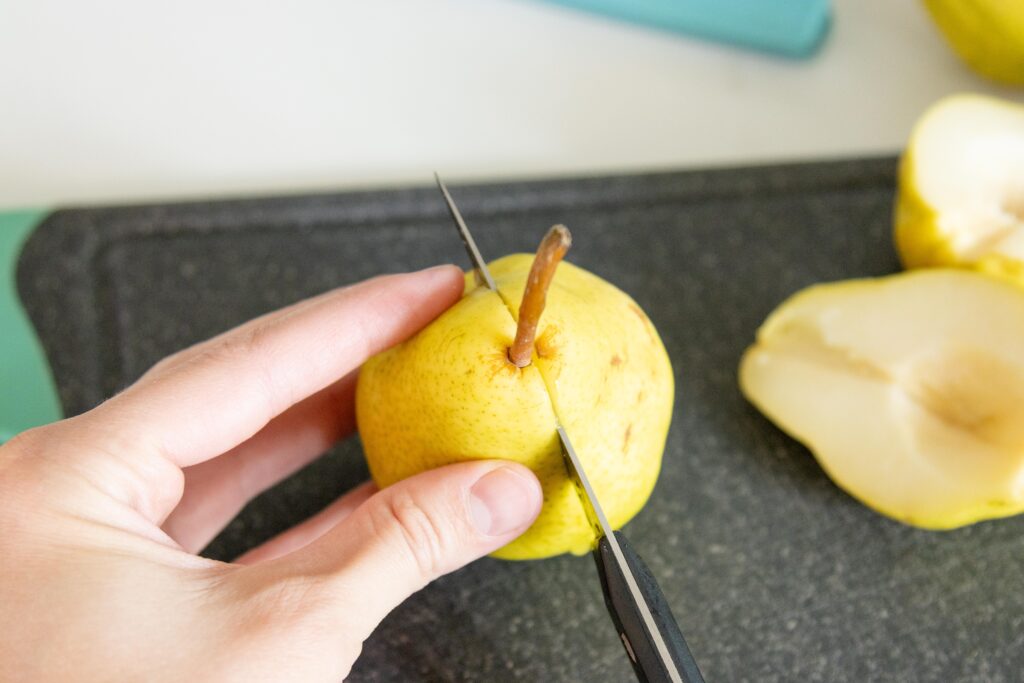
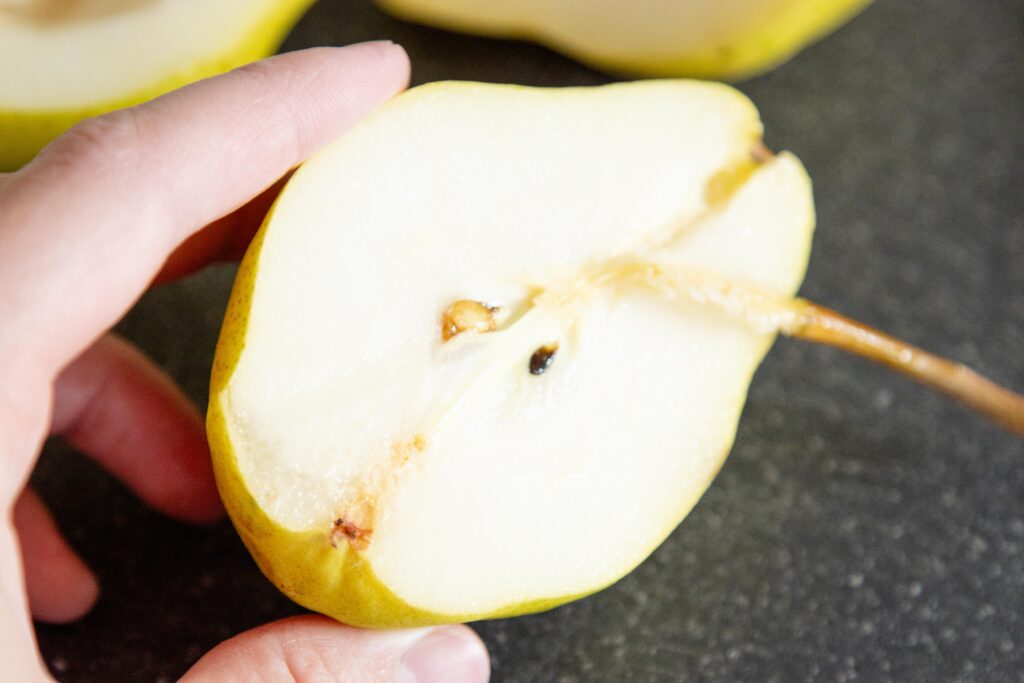
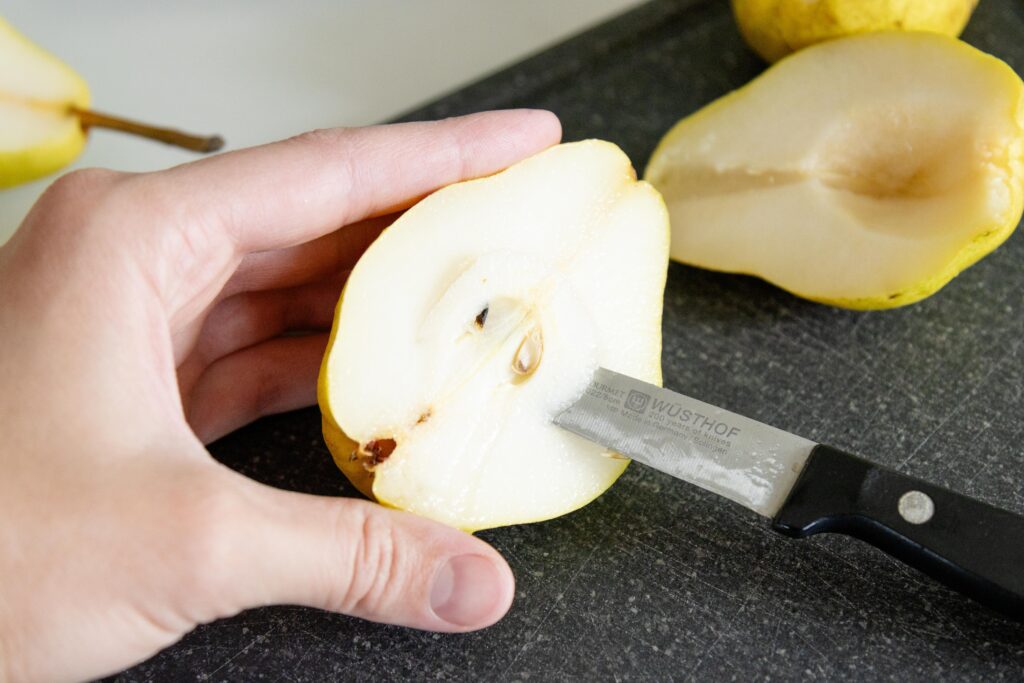
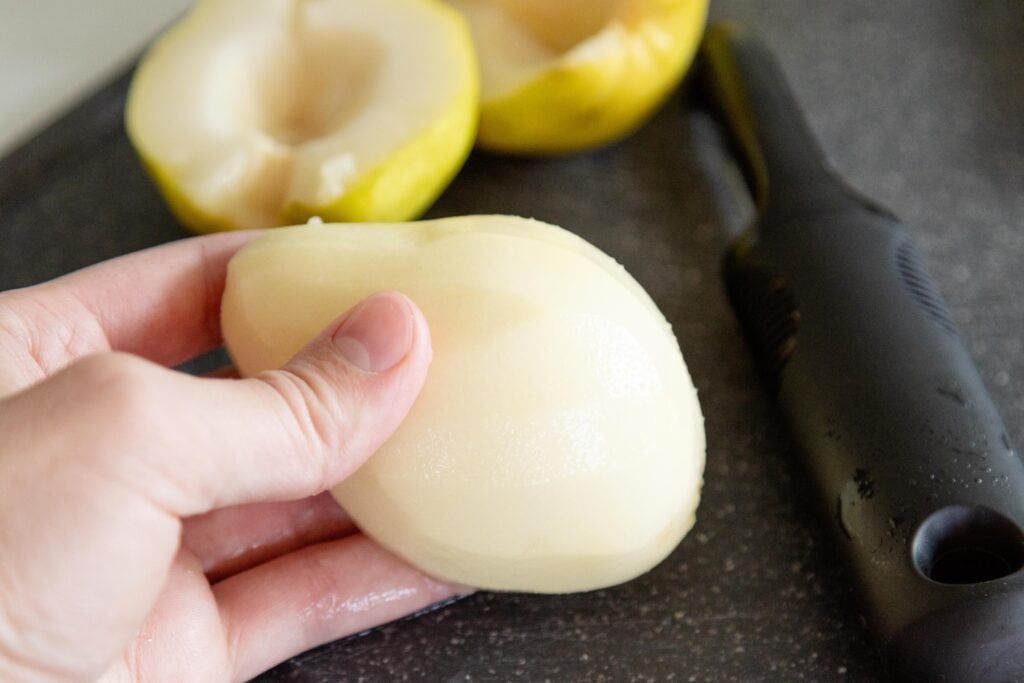
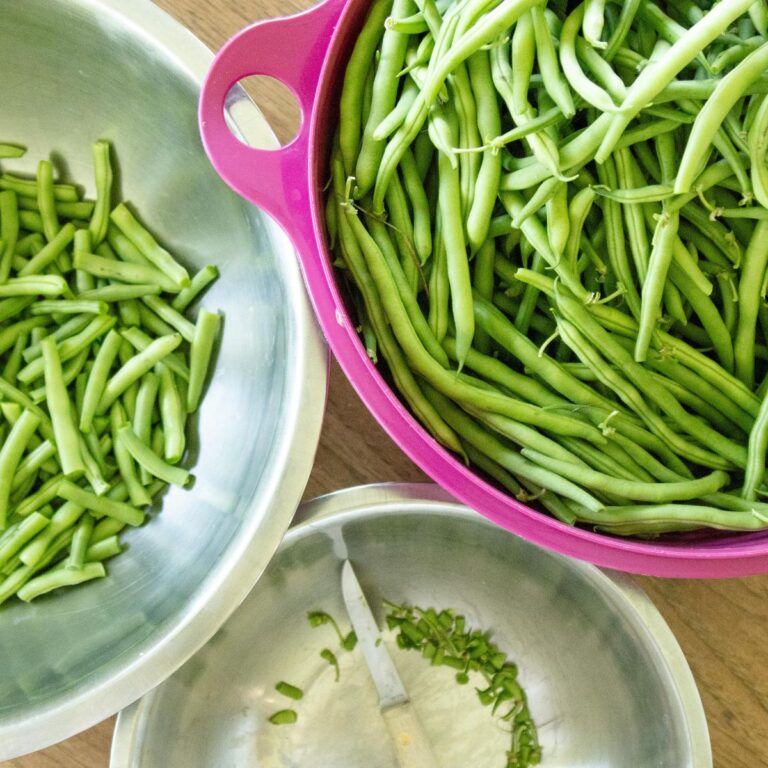
Halve, core, & peel the pears.
Cut each pear in half, remove the stem, cut out the seeds, then peel the pear halves. (A melon baller would work good to remove the seeds, but I don't have one!)

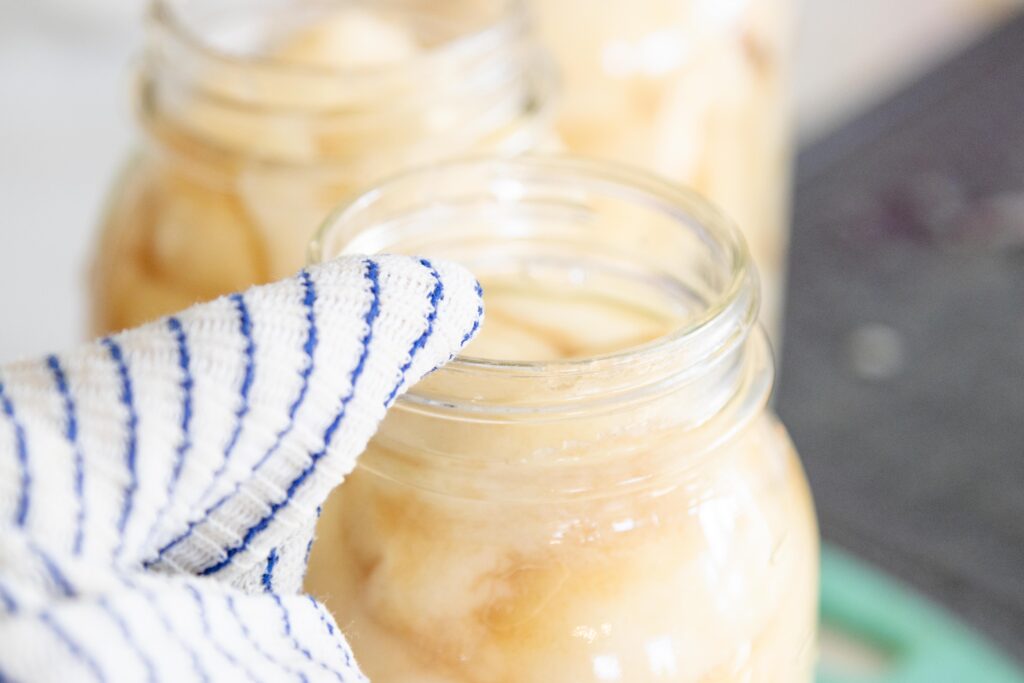
Fill the jars with pears. You can either cut them in blocks, slice them or let them in halves. Fill the jars to the bottom ring on the jar neck, leaving about ½" headspace. Add water to each jar up to the bottom ring on the neck of the jar. If you're worried about air bubbles in the jar, lightly tap on the side of the jar, or use a bubble remover.

Place lids on the jars. Wipe the jar rims with a damp cloth and place a lid on each one, then screw bands on each jar just until it's "finger tight". (No need to tighten it as hard as you can!)

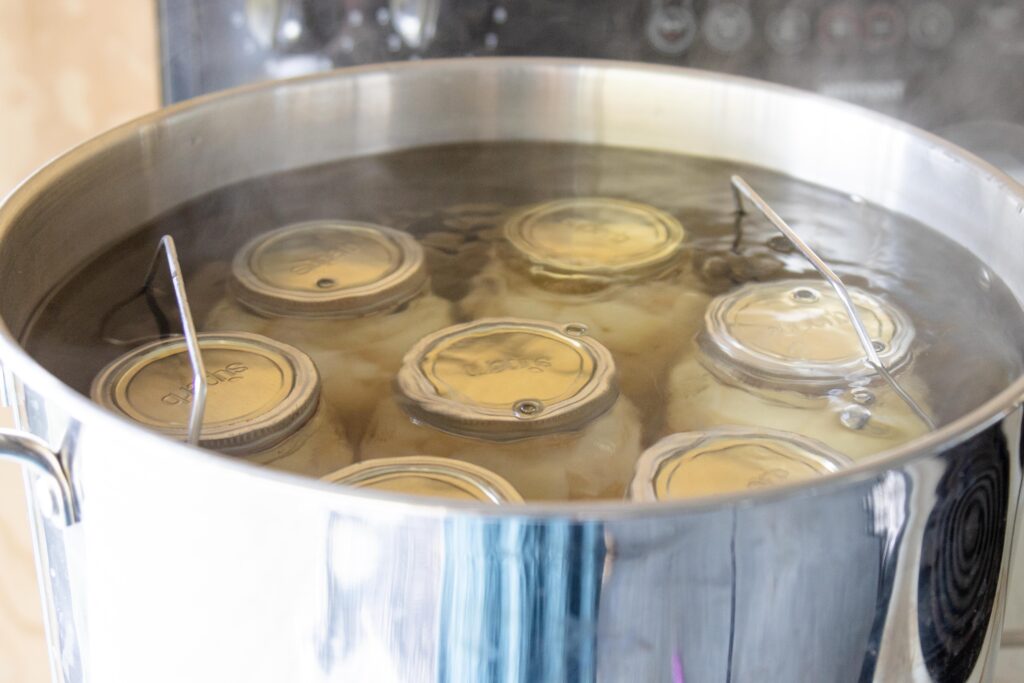
Water bath canning the pears.
Place the canner on a large burner on the stovetop, place jars into the canner, add enough water to cover the jars by 1-2 inches, then turn the burner on high until the water reaches a full rolling boil. (This takes a while!) Once the water is really boiling, start timing, and turn the burner back just a little to maintain a gentle boil. Time the canning process for 7* minutes.
After 7 minutes, turn the burner off, scoot the canner off the hot burner, remove the canner lid and time another 5 minutes. (This rest is to help avoid "siphoning" or juice leaking out of the jars.) Then take the jar lifter and remove all the hot jars from the canner and let them rest on a towel on the counter.


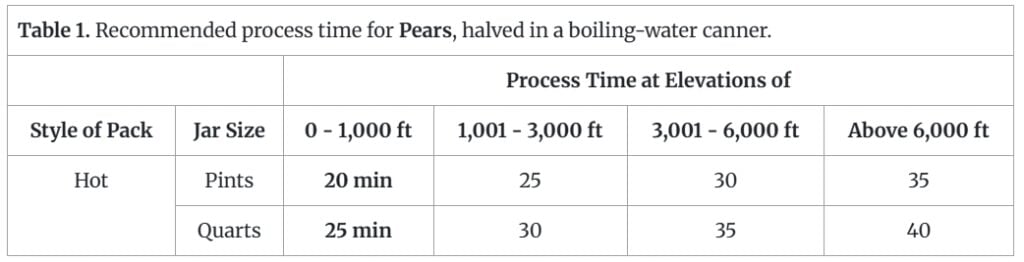
*Just so you know: the NCHFP recommends canning pears according to the chart below. (And my processing time is shorter than theirs.) So, to be on the safe side, you can always follow this chart and can your pears the process time they recommend for your area! Visit the National Center of Home Food Preservation to learn more.
Let the jars cool.
Soon you should start to hear the ping of the lids sealing! Let those jars set there and cool for 12-24 hours before removing the rings, wiping any stickiness off the jars with a wet rag and storing on your can shelf. I like to check after an hour or two, just to make sure they all sealed! You can tell if a jar isn't sealed by pressing on it. If it "pops" and isn't sucked down tight on top of the jar, it didn't seal. Refrigerate any unsealed jars and eat those pears within a week.
Repeat the process until all the pears are canned! After taking a batch of jars out of the canner, take a pitcher and scoop out some of the boiling water and add a pitcher of cool or room temperature water to temper the water in the canner. Then proceed to fill the canner with more filled jars!
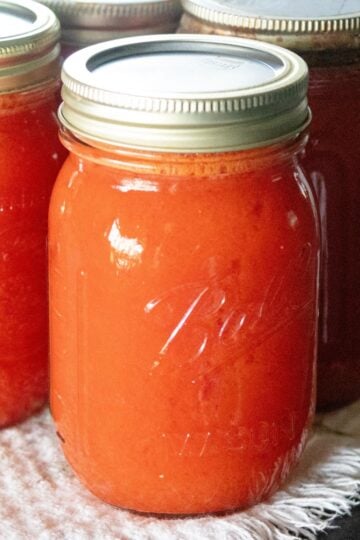
Store the pears and enjoy!
Store the canned pears in a cool, dry place. (I store mine on shelves in my pantry.) Canned pears should be good for a year (or more!).
Alternative Sweeteners for Canning Pears
Looking for a sugar free way to can pears? Here are two options to try so you can skip the sugar.
- Fruit juice - mix white grape juice or pineapple juice half and half with water and fill the jars with pears first, then top with this juice/water mixture. For a sweeter flavor, use straight juice, undiluted with water.
- Stevia - I’d recommend the KAL brand of stevia (and I’d get the liquid version). For liquid, add ¼ tsp. per quart of peaches (instead of sugar) and for powdered, it’d be a very tiny amount like dividing ⅓ teaspoon of stevia among 4 quart jars of peaches.
Tips and Tricks, & Notes
- Just so you know: the NCHFP recommends canning pears longer, like 20 minutes or more. So, to be on the safe side, you can always follow their chart and can your pears the right length of time for your area! Visit the National Center of Home Food Preservation to learn more. In the Mennonite culture, pear processing times are all over the place. I've heard of people doing 3, 5, 13, and 20 minutes of canning time for pears.
- Fifty pounds of pears (one bushel) usually yields about 20-25 quarts of canned pears.
- Optional add-in: I've seen people add Vitamin C powder to pears to keep their color nice and white, even after canning! Use a pinch of vitamin c per quart. And I haven't tried this (yet) so if you do, let me know how it turned out!
- Typically, I use quart jars to can pears, but I've already done pint jars following these same steps.
Hot Packing vs. Raw Packing
This method of canning pears is also known as raw pack water bath canning. I'd say it's easier and faster than the hot pack method, which is when you heat the pears in a simple syrup and dump the hot syrup and pears into the jars and can them right away. I'd also say the raw pack method is less stressful, since dumping hot pears and syrup into jars doesn't sound like a great idea with littles around!
But, some folks say that hot packing pears results in nicer pears that last longer, and also that hot packing might be safer.
Share this "How to Can Pears" post!
Thanks, we appreciate it.
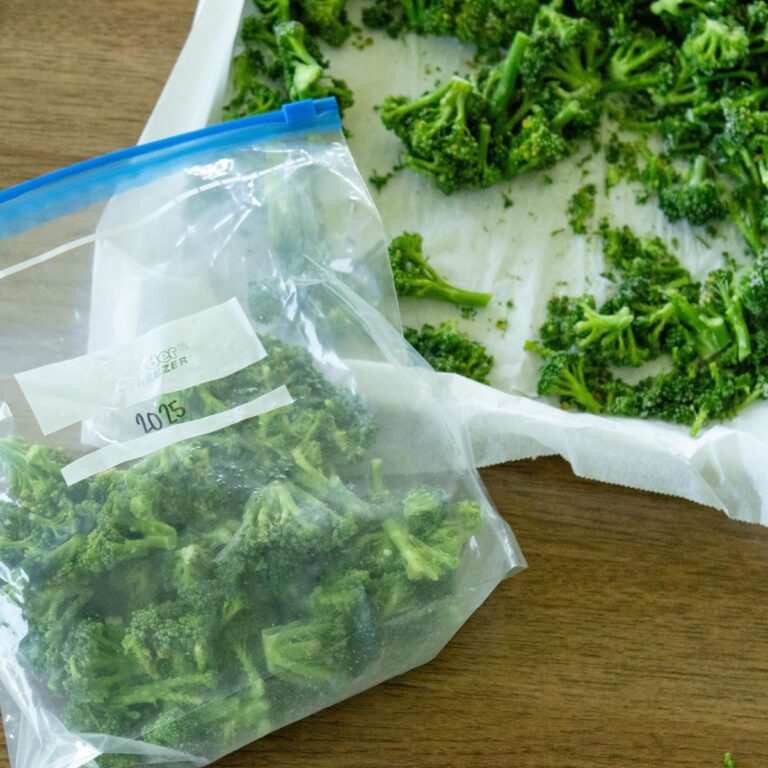
More Food Preservation Ideas:


How to Can Pears
Learn how to can pears at home so you can enjoy their delightful flavor well beyond the harvest season!
Materials
- Pears
- Sugar
- Water
Tools
- Water bath canner
- Jars, lids and rings
- Jar lifter
- Knife
- Peeler
Instructions
- Wash and prep your jars. Wash each jar (a dishwasher works great for washing and sanitizing jars) then add a fourth cup of sugar to each jar. (I do them in batches of seven quarts, which is a canner full.) Then add about an inch of hot water to each jar and stir to dissolve the sugar.
- Halve, Core, & Peel. Cut each pear in half, remove the stem, cut out the seeds, then peel the pear halves.
- Fill the jars with pears. You can either cut the pears in blocks, slice them or let them in halves and fill the jars to the bottom ring on the jar neck, leaving about ½" headspace. Add water to each jar up to the bottom ring on the neck of the jar. If you're worried about air bubbles in the jar, lightly tap on the side of the jar, or use a bubble remover.
- Place lids on the jars. Wipe each jar rim with a damp cloth and place a lid on each one, then screw bands on each jar just until it's "finger tight". (No need to tighten it as hard as you can!)
- Water bath can the pears. Place the canner on a large burner on the stovetop, place jars into the canner, add enough water to cover the jars by 1-2 inches, then turn the burner on high until the water reaches a rolling boil. (This takes a while!) Once the water is really boiling, start timing, and turn the burner back just a little. Time the pears for 7 minutes. After 7 minutes, turn the burner off, scoot the canner off the hot burner, remove the lid and time another 5 minutes. Then take the jar lifter and remove all the jars from the canner and let them rest on a towel on the counter.
- Let the jars cool. Soon you should start to hear the ping of the lids sealing! Let those jars set there and cool for 12-24 hours before removing the rings, wiping any stickiness off the jars with a wet rag and storing on your can shelf. I like to check after an hour or two, just to make sure they all sealed! You can tell if a jar isn't sealed by pressing on it. If it "pops" and isn't sucked down tight on top of the jar, it didn't seal. Refrigerate any unsealed jars and eat those pears within a week.
- Repeat the process until all the pears are canned! After taking a batch of canned pears out of the canner, take a pitcher and scoop out some of the boiling water and add a pitcher of cool or slightly warm water to temper the water in the canner. Then proceed to fill the canner with filled jars of pears!
- Store the pears and enjoy! Store the canned pears in a cool, dry place. (I store mine on shelves in my pantry.) Canned pears should be good for a year (or more!).
Notes
Just so you know: the National Center for Food Preservation recommends canning pears longer, like 20 minutes, or even longer. And as you can see, my processing time is a little shorter than what they recommend. (Like always!) Anyway, this method has worked for my family and me for years, but you can do more research over on the NCHFP website and make your own decision on canning time.
When you open a jar, the lid should come off with a "pop" as the jar unseals. If it doesn't, and you suspect the jar wasn't sealed, it might be best to throw it out. If you smell an odd smell, see signs of mold or if the pears are discolored, they are probably spoiled and should be discarded!
Recommended Products
As an Amazon Associate and member of other affiliate programs, I earn from qualifying purchases.
-
 WÜSTHOF Gourmet 3" Spear Point Paring Knife, Black
 -
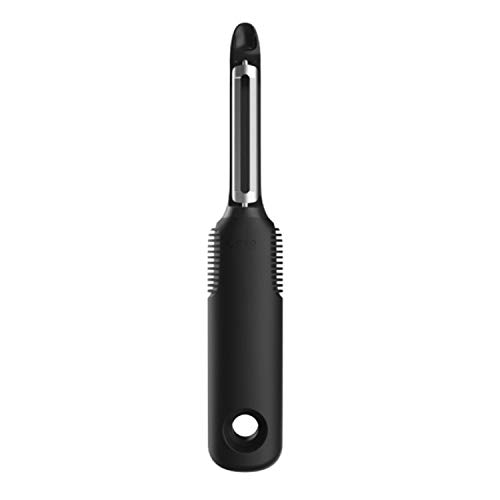 OXO Good Grips Swivel Vegetable Peeler
 -
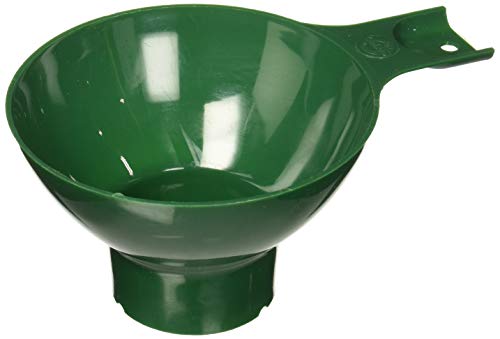 Norpro Wide Mouth Plastic Funnel, Green
 -
 Eeoyu Canning Jar Lifter Tongs Stainless Steel Jar Lifter with Grip Handle for Home Kitchen (Green)
 -
 Harvest Stainless Steel 20 Qt Canning Pot with Rack | Water Bath or Steam Canning | Works on All Stovetops Including Induction, Glass, Gas (Stainless Steel Canner + Tools) (Stainless Steel Canner)
 -
 Ball Regular Mouth Mason Glass Jar Lids (24-Count), Silver
As always...
Thanks for visiting our small town! We're delighted to have you and you're more than welcome to stay awhile and explore!
'til next time,
We love you and we’ll be praying for you,
Julie


Leave a Reply