
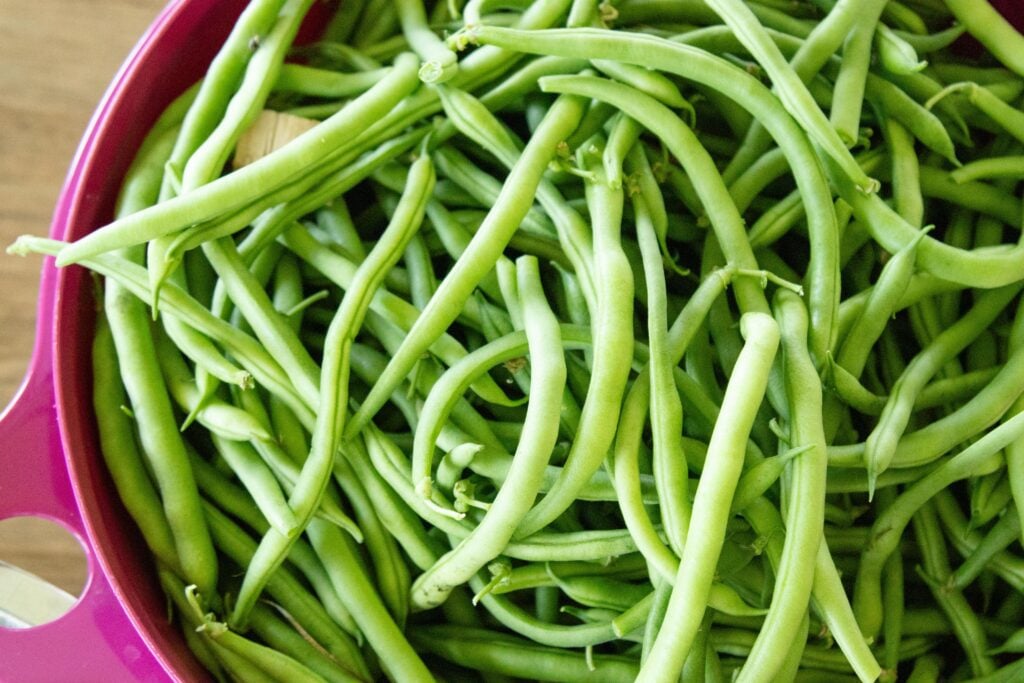
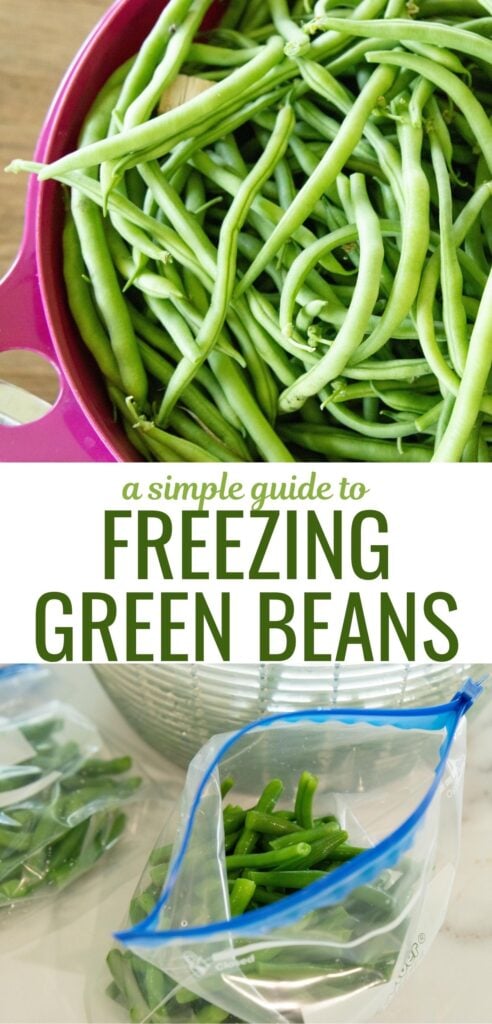
Here's our simple guide to blanching and freezing green beans to lock in their bright green color, texture, and nutritional benefits! Whether you’re preparing a healthy side dish or want to add green beans to soups and casseroles or simply want to freeze your green beans for later, blanching helps make sure your green beans look and taste their best.
A Simple Guide to Blanching and Freezing your Green Bean Harvest
If there's one thing that grows good in gardens here in the Midwest, it's green beans. A standard Mennonite garden isn't complete without a couple rows of green beans!
Fresh garden produce is so delicious and homegrown green beans are no exception! There are people who will eat raw green beans straight from the plant, like a snack. I don't like them quite well enough for that, though.
And it just so happens to be green bean season here again! I have 2 rows of Jade bush beans in my own garden this year and so far I have about 30 pints of beans in the freezer. The bean plants are still blooming and I'm hoping to get about twice that many beans in the freezer until the season's over!
Blanching and freezing is the easiest way I know of to preserve the fresh beans, and that's what today's post is all about: the simple blanching process and freezing method I use to preserve my green beans for the coming months!
This post contains affiliate links, which means we may make a small commission at no extra cost to you if you make a purchase through one of our links.
Do you need to blanch green beans before freezing?
The answer is no. You can totally freeze green beans without blanching them first. But should you?
There’s a couple reasons why I choose to blanch my green beans (and most other vegetables) before sticking them in the freezer.
Here’s what blanching does to vegetables:
- Deactivates the enzyme actions found in vegetables, preventing the vegetables from discoloring, turning mushy, or tasting bad.
- Brightens the vibrant color of vegetables and helps maintain their crisp textures, which can otherwise be lost in the freezer.
- Gets rid of unwanted bacteria, dirt or mold that might be on the vegetables.
- Softens the vegetables slightly. It’s important to blanch certain vegetables for certain lengths of time, to avoid under or over blanching, since over-blanching can result in loss of flavor and nutrients and under blanching can fail to stop the enzymes, resulting in off-tasting veggies.
So, it kind of comes down to your personal preference, whether you blanch your beans or not before freezing. I've read that unblanched beans don't last as long in the freezer; so it could be ok to skip blanching if you're planning to eat them before long. I'm going to be blanching my green beans, because I want them to last up to a year (or longer) in the freezer!
If you've tried it both ways, we'd love it if you'd let us know which you liked better, and why!
What You Will Need
- 1 pound of fresh green beans
- 1 large pot (for boiling a gallon of water)
- 1 bowl of ice water (to stop the cooking process)
- Cutting board
- Sharp knife - this little paring knife is my favorite for trimming bean ends!
- Colander or strainer (for draining the green beans) one large strainer holds about a pound of beans, the perfect amount for blanching in one quart of water!
- Freezer boxes or bags - I usually use quart-size freezer bags to package my beans in meal-sized portions.
Blanching Green Beans
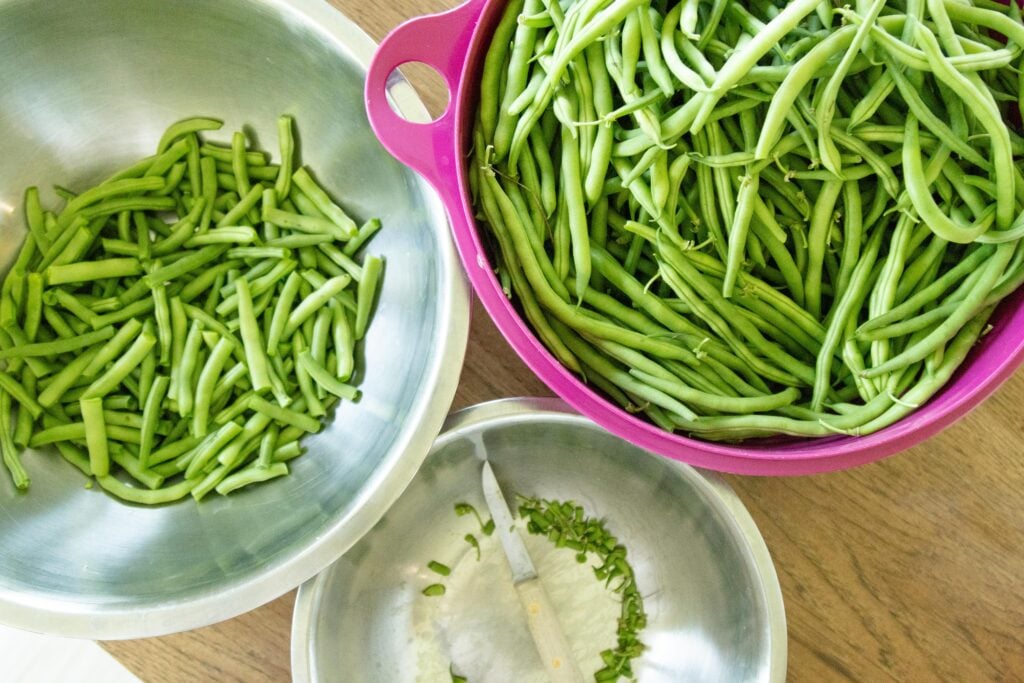
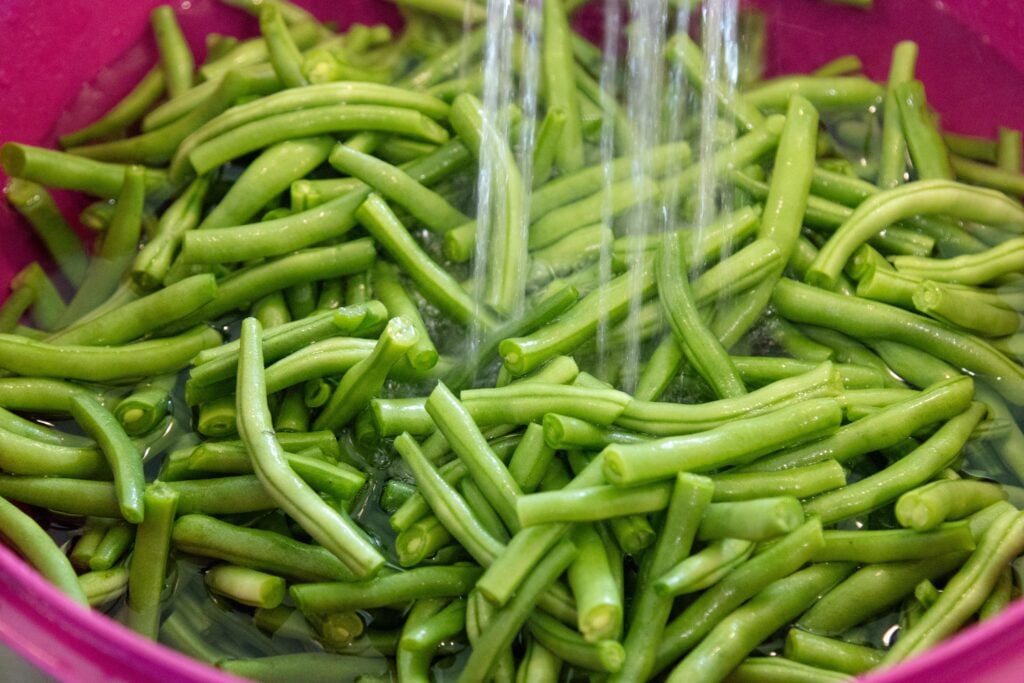
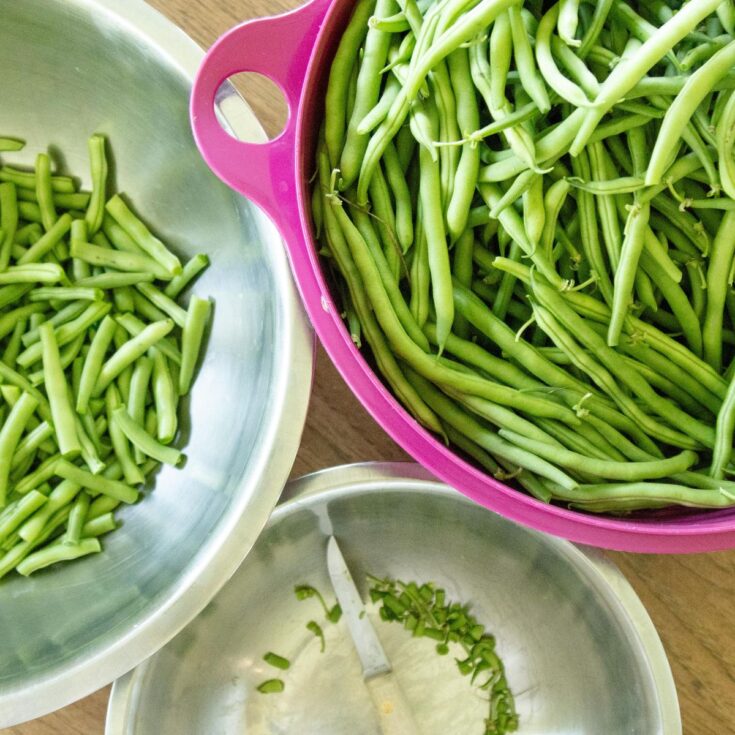
Prepare the green beans. I like to trim the ends and cut the beans into approximately 2-inch pieces, or maybe a little longer. Some folks only cut off the stem end and let the tails on, so do it however you prefer! Then rinse the fresh green beans under cool water.
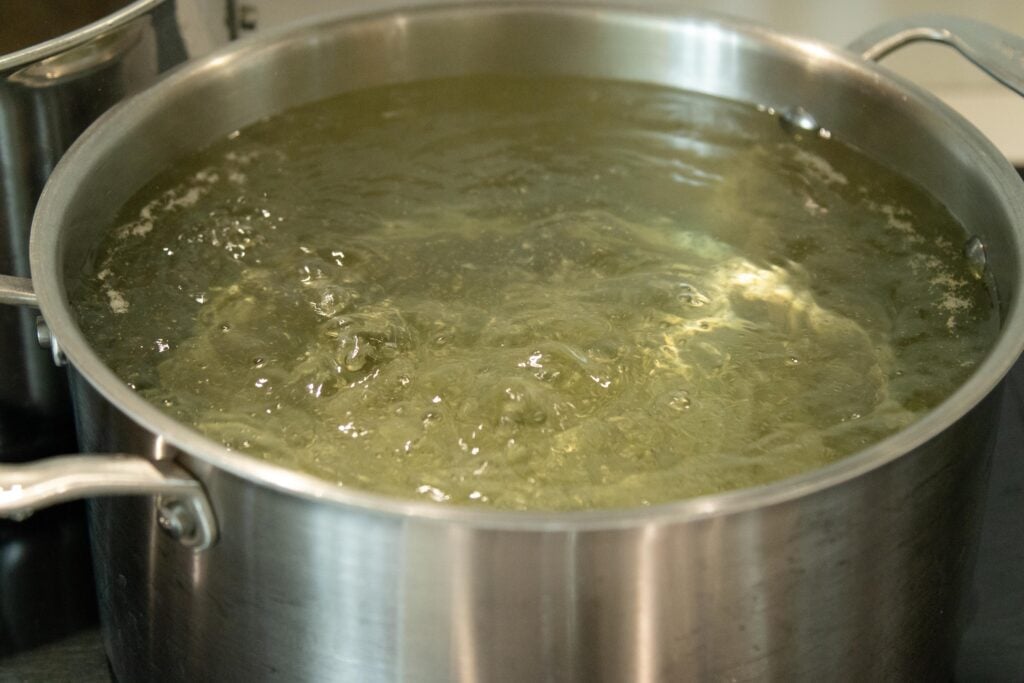
Boil a large pot of water. Fill a large pot with a gallon of water and bring it to a rolling boil.
Prepare ice bath. While waiting for the water to boil, prepare a bowl filled with ice water. This important step will stop the cooking process immediately after blanching!
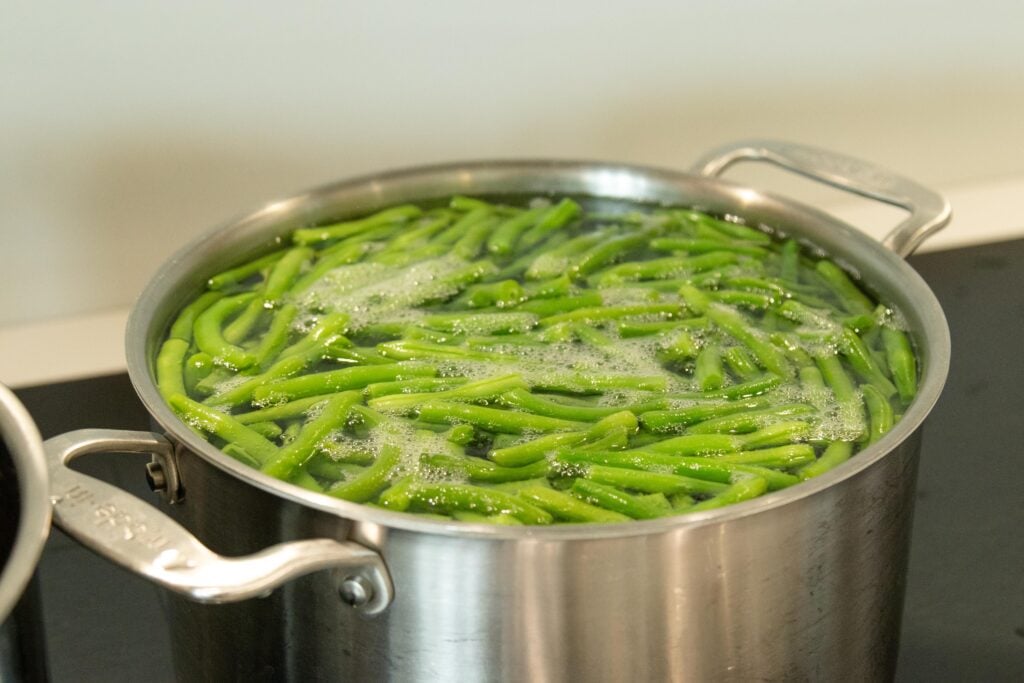
Blanch the green beans. Carefully add about a pound of prepared green beans to the boiling water. Once the water returns to a boil, time them and let them cook for 3 minutes.
Transfer to ice bath. Immediately transfer the blanched green beans to the ice cold water bath. Give them a stir and let them sit in the ice water for a couple minutes.

Drain the beans. Once they’ve cooled in the ice bath, drain the beans in a colander.
Freezing Green Beans
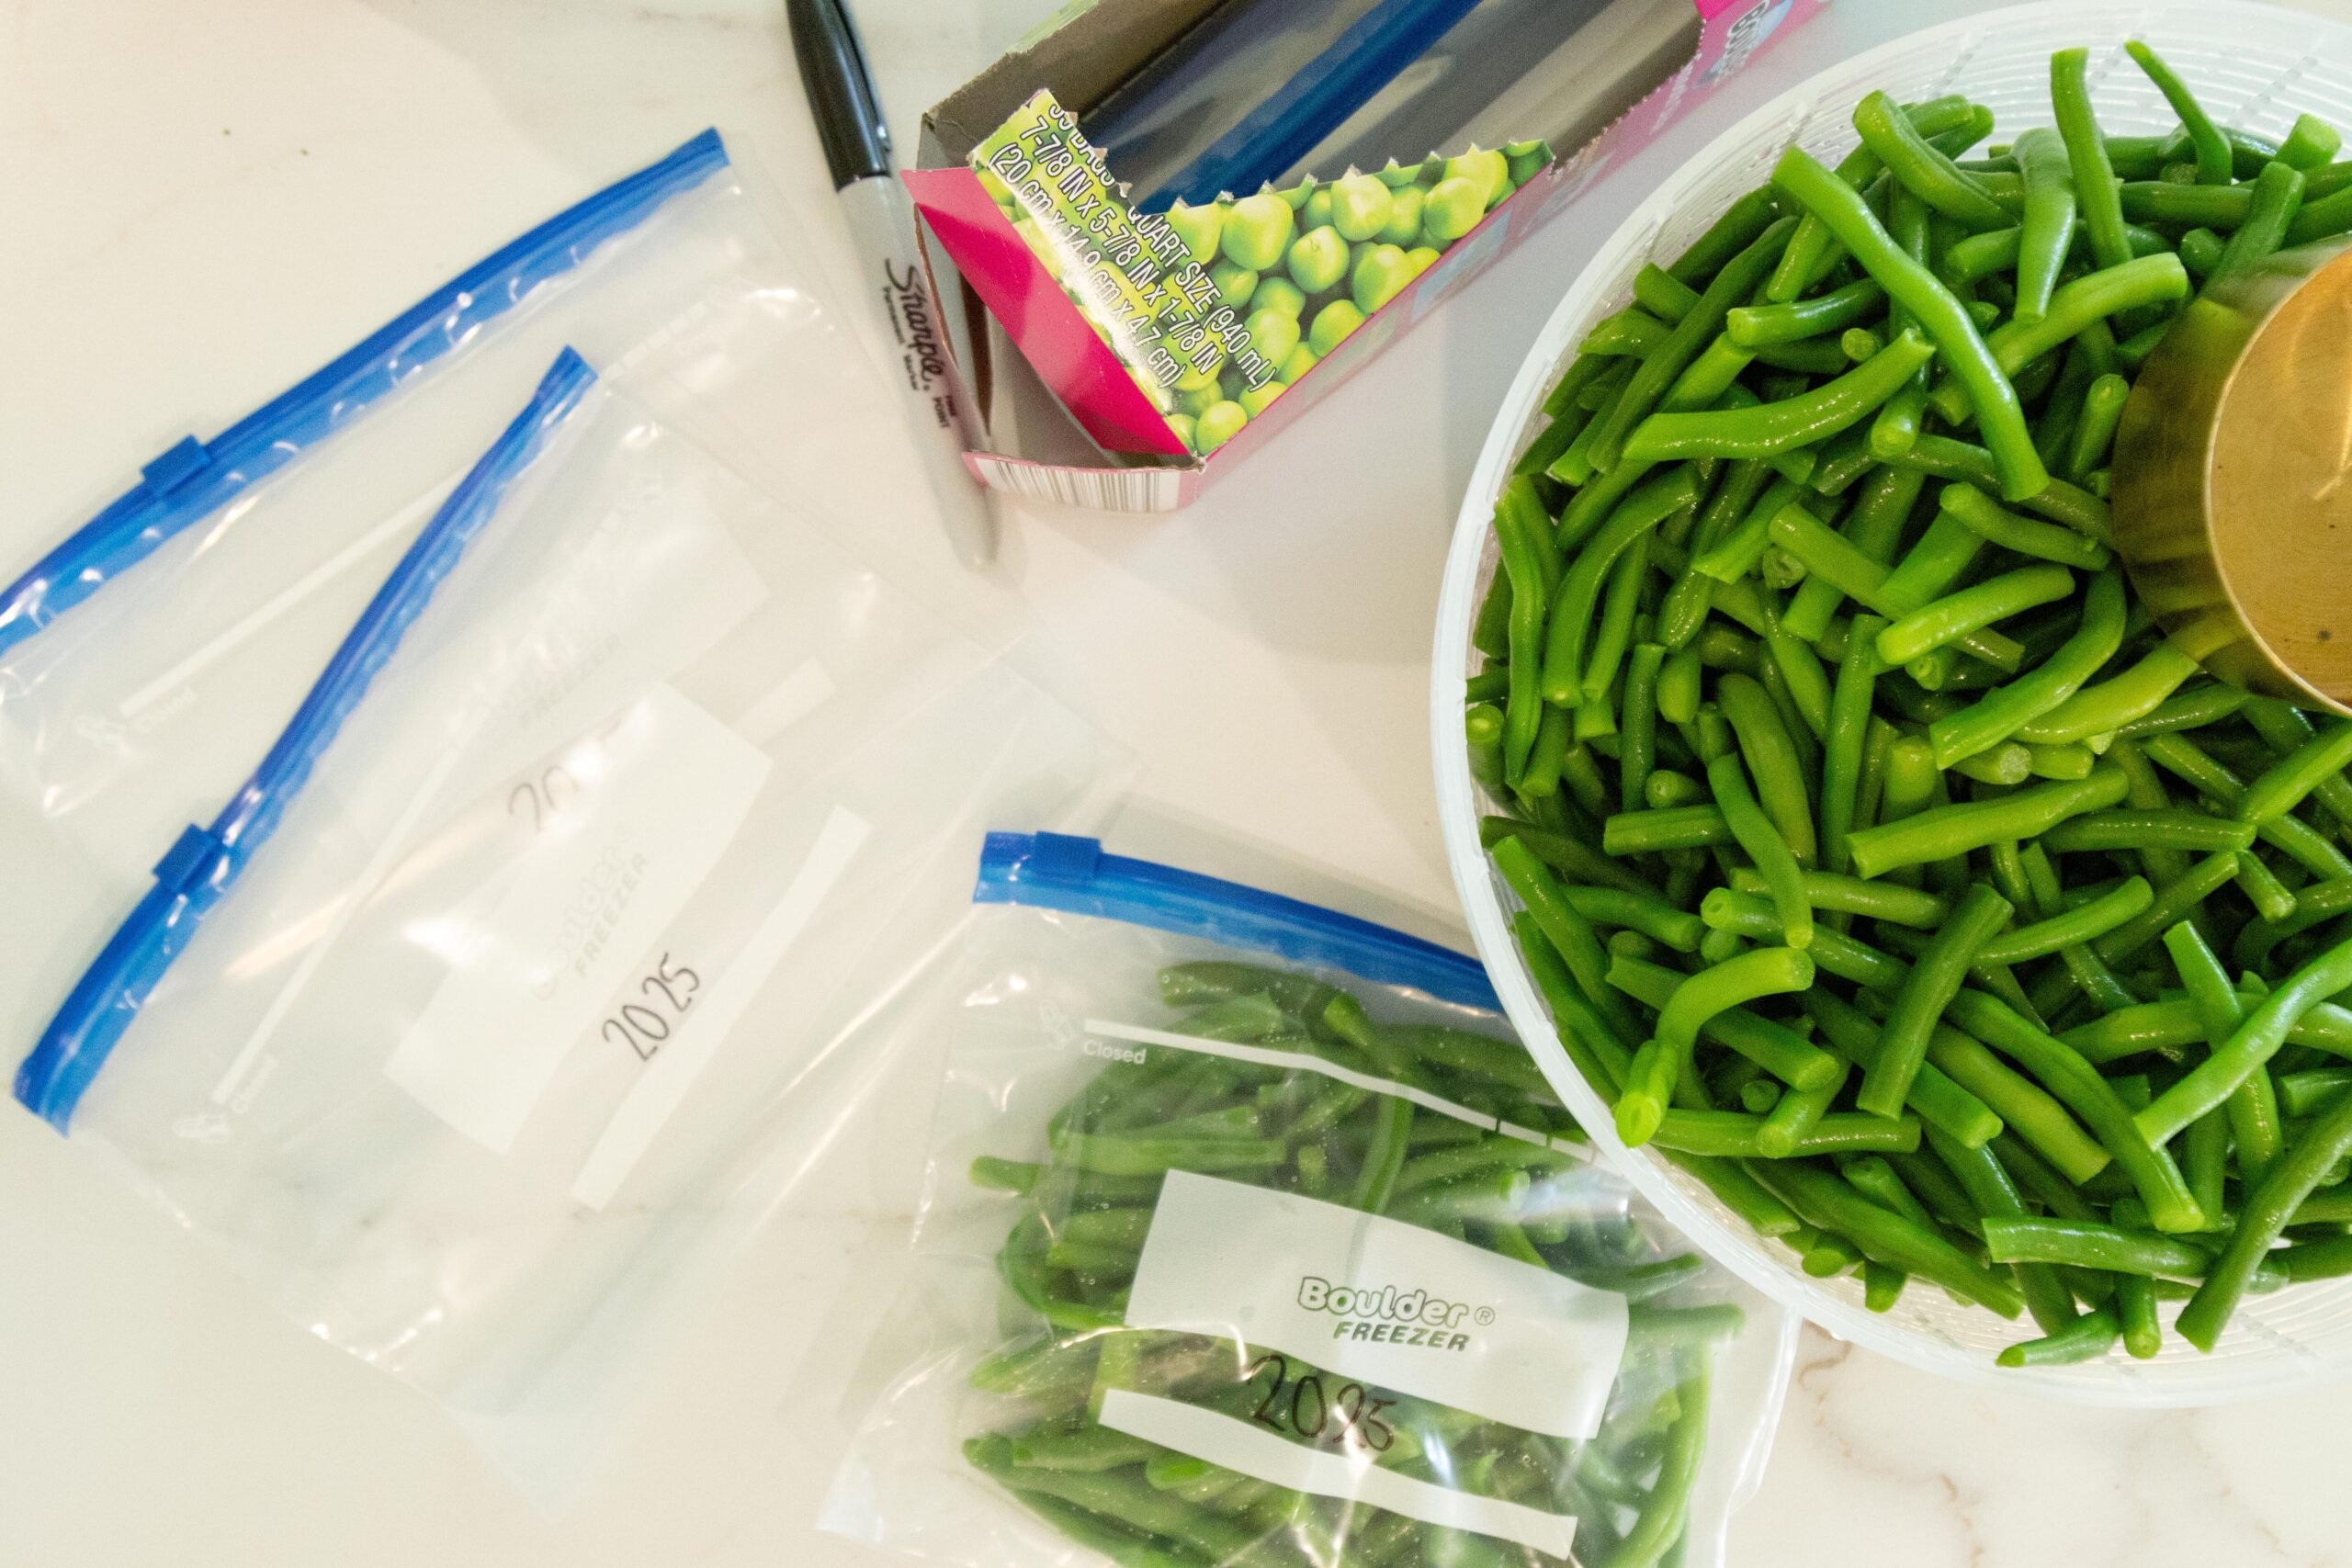
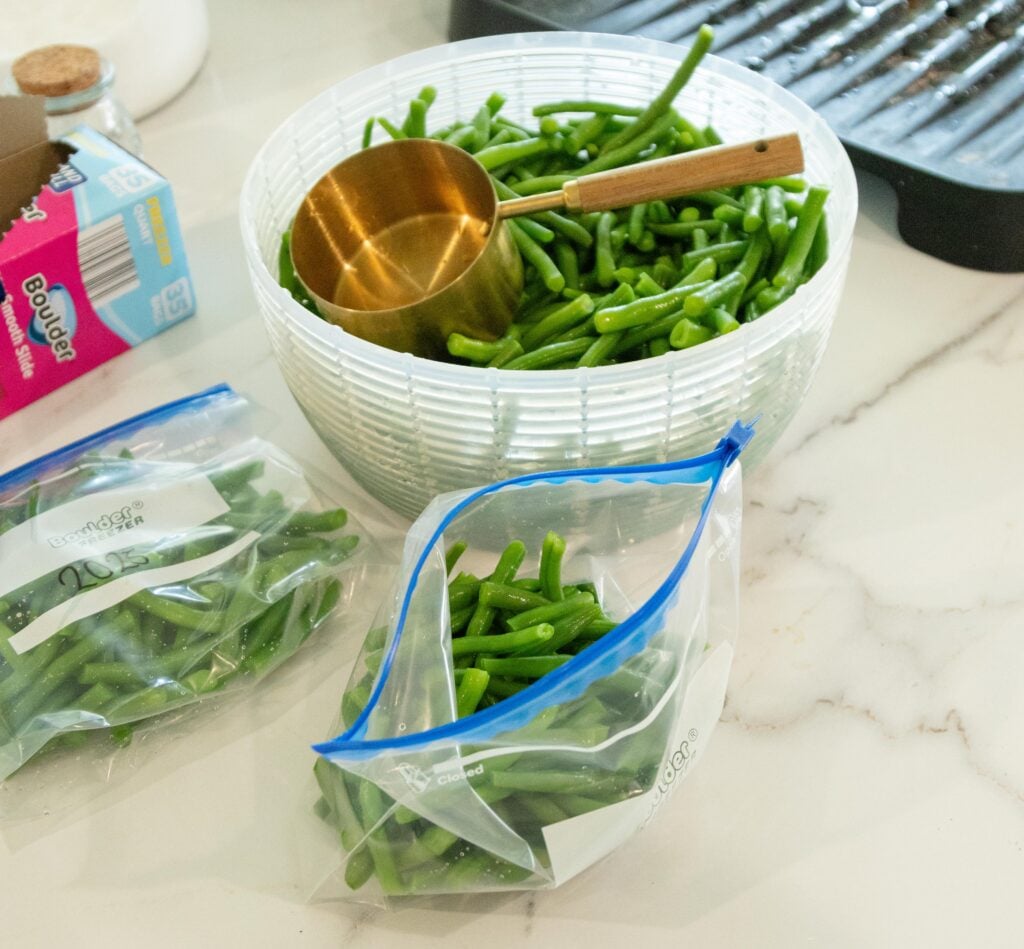
Package for freezing. Place the green beans into freezer-safe bags or containers. Remove as much excess air as possible to help prevent freezer burn and seal them tightly. Oh, and if you have a vacuum sealer, definitely use it! Vacuum sealed items last better and longer.
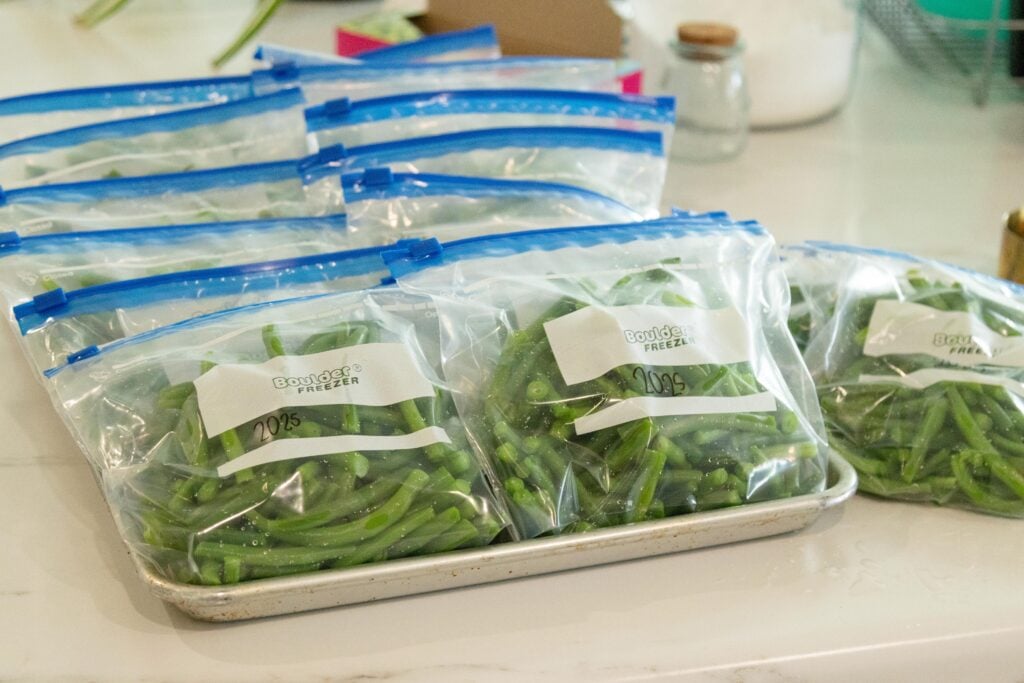
Label and freeze. Label the bags with the date and contents, if you wish. Then lay them flat in the freezer for easy stacking and storage.
How to Flash Freeze Green Beans
Here's another great way to freeze green beans (whether or not they're blanched) if you'd like to store them in a large bulk container without having them stick together.
You will need:
Line a baking sheet with parchment paper and lay the green beans in a single layer on the prepared tray. Place the baking sheet in the freezer until the green beans are firm, usually around 1 to 2 hours. Then place in a freezer containers or bags and freeze. This way they won't stick together in a large frozen chunk!
Tips & Tricks for Success!
- Fresh green beans will yield the best flavor and texture after blanching, and it's best to process as soon as possible after picking. If you can't blanch and freeze the green beans right away, stick them in the fridge! (And they can be in the refrigerator for a couple of days, if necessary!)
- Don’t overcrowd the pot. If you're blanching more than one batch, blanch in smaller groups (less than 1 pound at a time) to ensure even cooking.
- Keep everything cold. Make sure you have plenty of ice in the ice water bath! The temperature contrast is key to preserving freshness. I like to freeze water in old sour cream or Cool Whip containers, since my fridge ice maker can't make enough. Then when I'm ready to ice water bath veggies, I can pop the ice chunks out into the ice water bath!
- On big green bean harvest days like today, I like to set up my blanching system, which consists of two large pots, a strainer and a large bowl of ice water. After the beans are cut and rinsed, I blanch them, then dump the beans and hot water into a strainer set in another large pot. The hot water is saved to use again, and I can easily transfer the beans to the ice bath! Some folks discourage re-using water though, so do it at your own risk.

Green Bean Recipes
My most common way of preparing these frozen green beans for dinner, is to simply cook them in salt water for 10 minutes or so. Super easy and yummy!
Share this post!
Know someone who might be interested in this post? Share it!
Thanks, we appreciate it.
How to Blanch and Freeze Green Beans
Here's our simple guide to blanching and freezing green beans to lock in their bright green color, texture, and nutritional benefits!
Materials
- Green beans
Tools
- 1 large pot (for boiling a gallon of water)
- 1 bowl of ice water (to stop the cooking process)
- Cutting board
- Sharp knife
- Colander (for draining the green beans)
- Freezer boxes or bags - I usually use quart-size freezer bags
Instructions
- Prepare the green beans. I like to trim the ends and cut the beans into approximately 1-inch pieces, or maybe a little longer. Some folks only cut off the stem end and let the tails on, so do it however you prefer! Then rinse the fresh green beans under cool water.
- Boil a large pot of water. Fill a large pot with a gallon of water and bring it to a rolling boil.
- Prepare ice bath. While waiting for the water to boil, prepare a bowl filled with ice water. This important step will stop the cooking process immediately after blanching!
- Blanch the green beans. Carefully add about a pound of prepared green beans to the boiling water. Once the water returns to a boil, time them and let them cook for 3 minutes.
- Transfer to ice bath. Immediately transfer the blanched green beans to the ice-cold water bath. Give them a stir and let them sit in the ice water for a couple minutes.
- Drain the beans. Once they’ve cooled in the ice bath, drain the beans in a colander.
- Package for freezing. Place the green beans into freezer-safe bags or containers. Remove as much excess air as possible to help prevent freezer burn and seal them tightly. Oh, and if you have a vacuum sealer, definitely use it! Vacuum sealed items last better and longer.
- Label and freeze. Label the bags with the date and contents, if you wish. (Sometimes I do the labeling first, before filling the bag!) Then lay them flat in the freezer for easy stacking and storage.
Notes
- Fresh green beans will yield the best flavor and texture after blanching, and it's best to process as soon as possible after picking. If you can't blanch and freeze the green beans right away, stick them in the fridge! (And they can be in the refrigerator for a couple of days, if necessary!)
- Don’t overcrowd the pot. If you're blanching more than one batch, blanch in smaller groups (less than 1 pound at a time) to ensure even cooking.
- Keep everything cold. Make sure you have plenty of ice in the ice water bath! The temperature contrast is key to preserving freshness. I like to freeze water in old sour cream or Cool Whip containers, since my fridge ice maker can't make enough. Then when I'm ready to ice water bath veggies, I can pop the ice chunks out into the ice water bath!
- On big green bean harvest days like today, I like to set up my blanching system, which consists of two large pots, a strainer and a large bowl of ice water. After the beans are cut and rinsed, I blanch them, then dump the beans and hot water into a strainer set in another large pot. The hot water is saved to use again, and I can easily transfer the beans to the ice bath! Some folks discourage re-using water though, so do it at your own risk.
As always...
Thanks for visiting our small town! We're delighted to have you and you're more than welcome to stay awhile and explore!
'til next time,
We love you and we’ll be praying for you,
-Julie


Leave a Reply