
Making Homemade Tomato Juice is a great way to turn your tomato harvest into a simple juice to use for cooking all throughout the winter. And, it's easy and fun! I love the smell of my kitchen, when canning a batch of tomato juice in early fall.

Canning Tomato Juice from Fresh or Frozen Tomatoes
In the Mennonite culture, it's very common to grow tomatoes in your garden in the summer. Lots of tomatoes. I'm talking enough to make your own pizza sauce, salsa, juice and any other canned tomato product you can think of, to stock your pantry for a year.
Today I'm sharing my homemade tomato juice recipe! (it's actually probably more of a method than a recipe, but anyway.) If you have an abundance of tomatoes and some clean canning jars on hand, it's a great time to make your own tomato juice! We'll be using the hot water bath canning method, so no pressure canner needed.
Home canning tomato juice is a messy process, but a fun one! (And if you happen to have an outdoor kitchen area, now might be a good time to use it.)
What kind of tomatoes are best for tomato juice?
Any kind of red tomato will work for juice, actually.
Paste tomatoes have less seeds and aren't quite as watery, so that makes them a great choice. Here's a few popular red tomato varieties for making canned tomato juice:
- Amish Paste
- Big Mama
- Fresh Salsa
- Roma
- Super Sauce
This year I planted Super Sauce, Supersonic and Goliath tomatoes, so that's what I'm using today!

Ingredients for Homemade Canned Tomato Juice
- Tomatoes.
- Salt. To enhance that lovely rich tomato flavor. You can use canning salt, or Kosher salt and sea salt is great too if it's pure, with no additives which can discolor your juice.
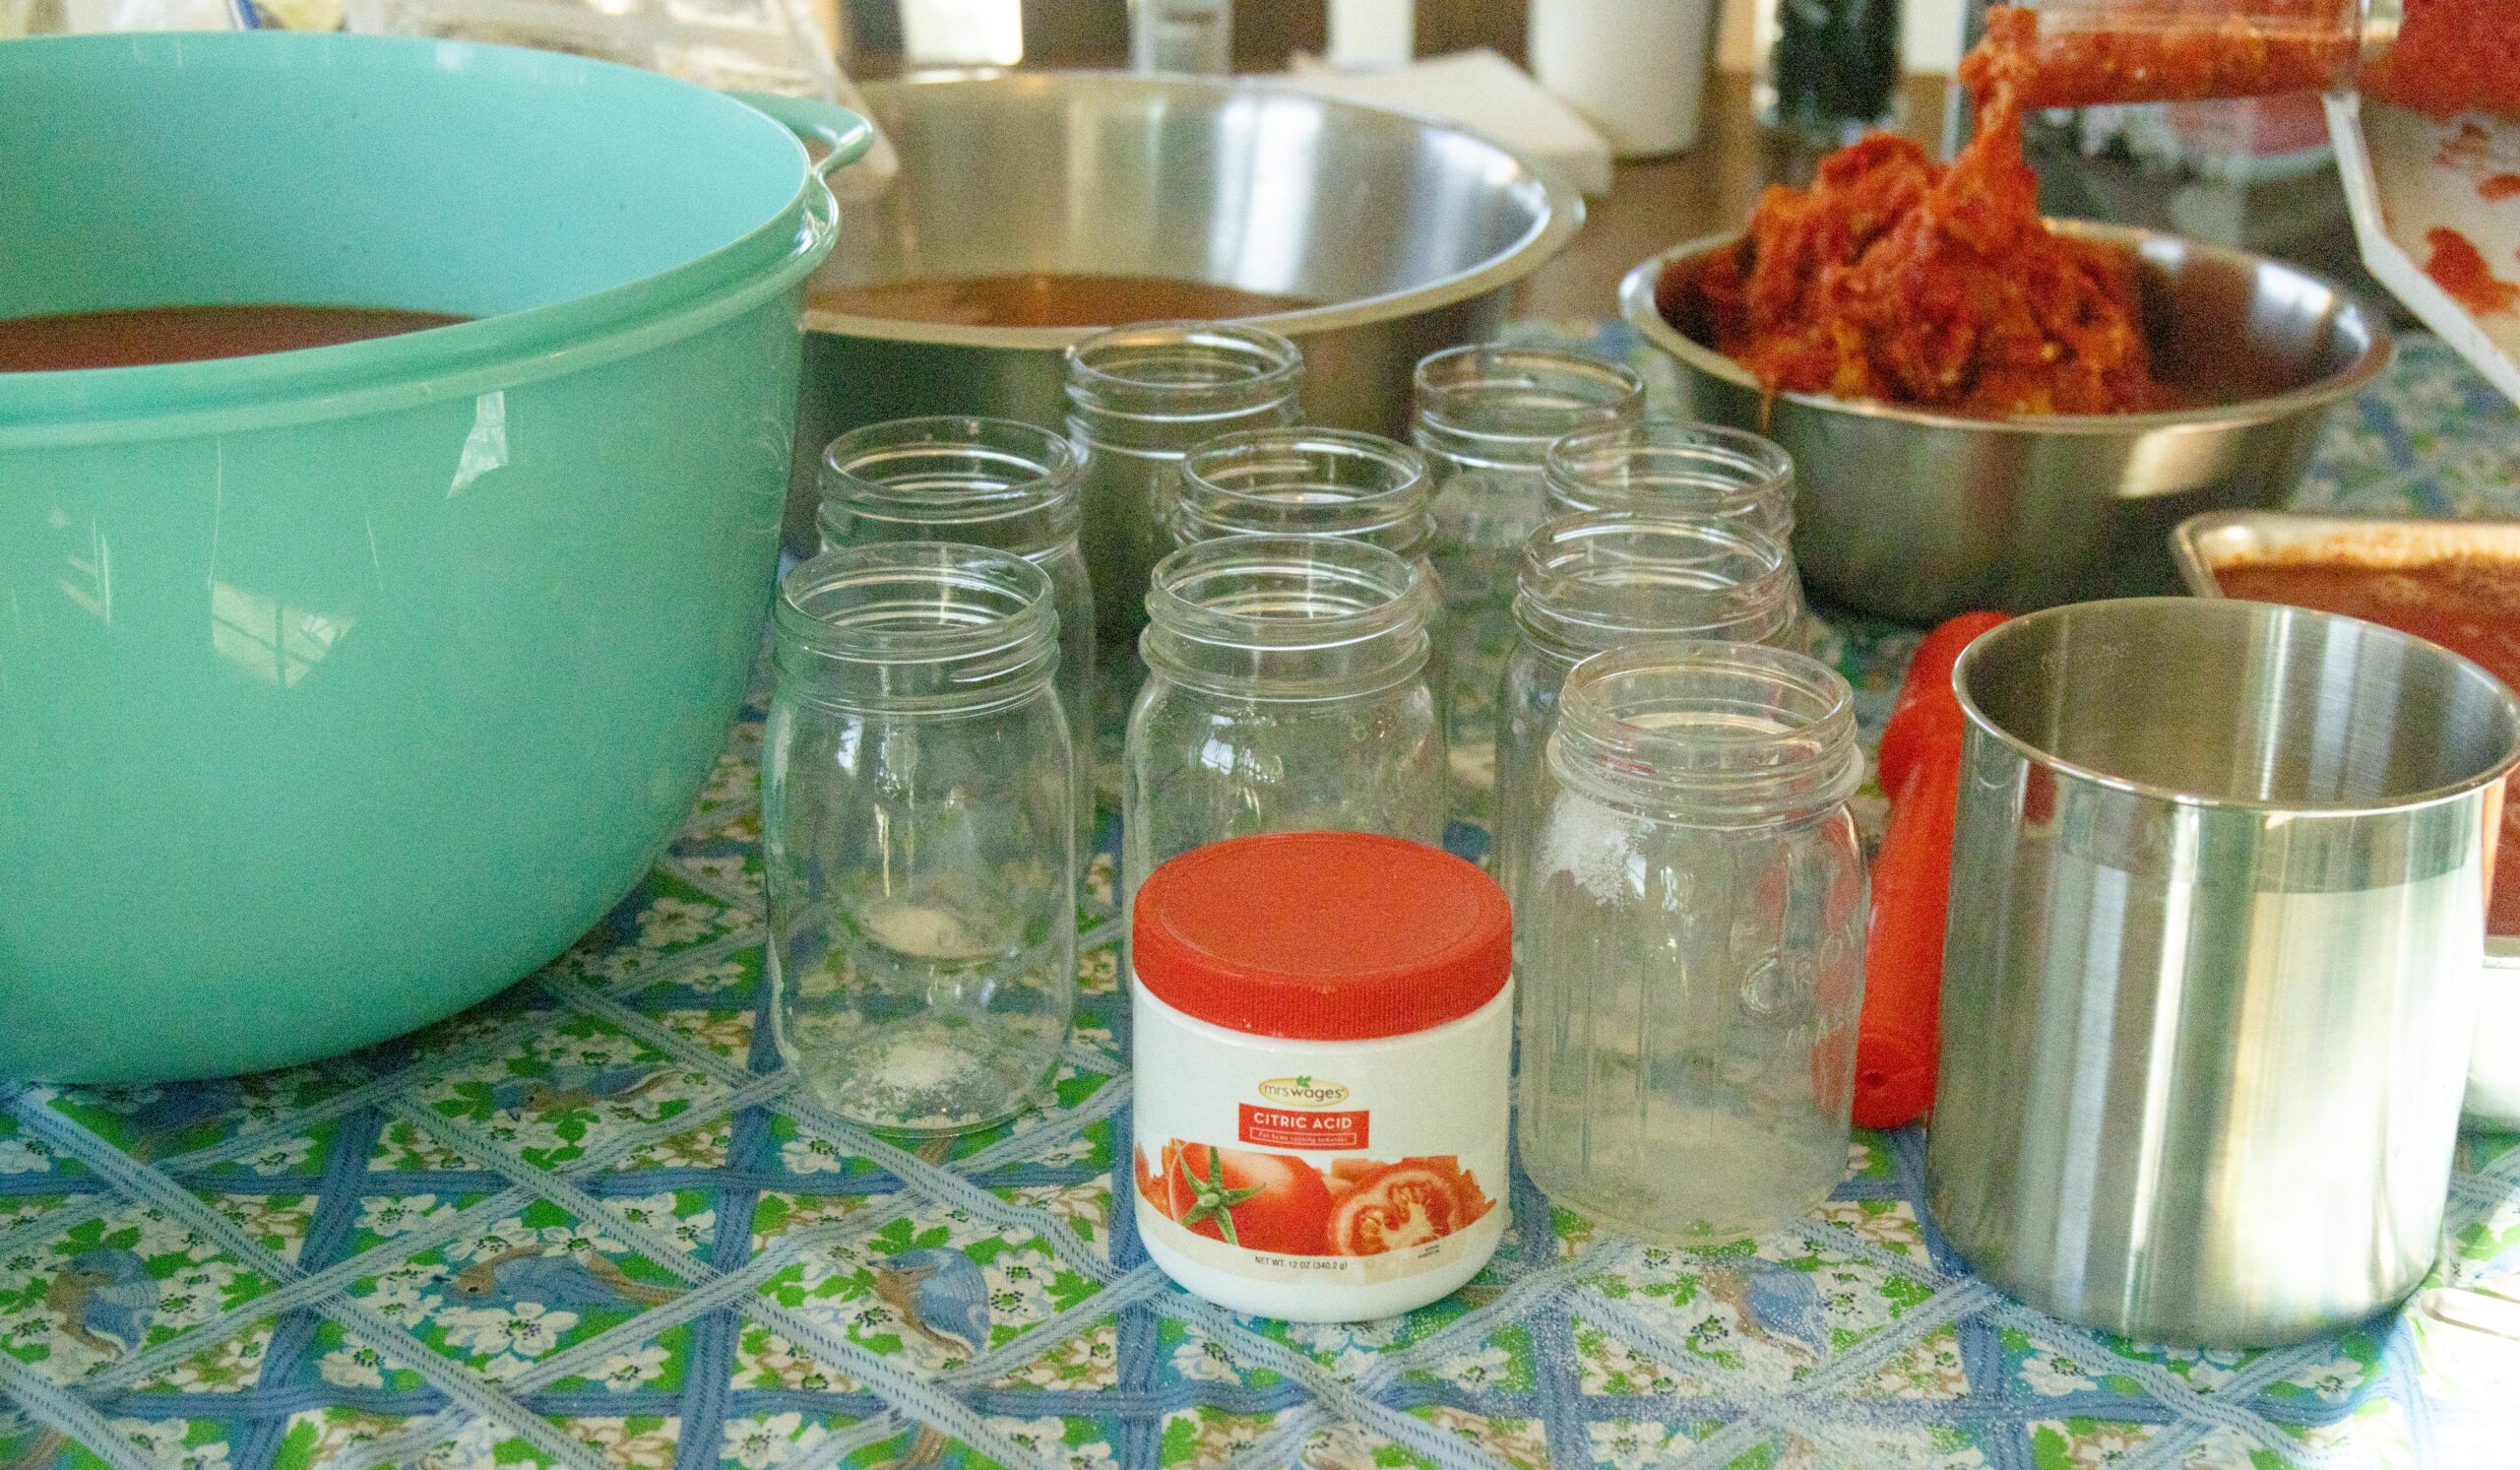
- Citric acid (or bottled lemon juice) to make sure the juice is acidic enough to be safely water bath canned.
Where can I find tomatoes for homemade tomato juice?
If you don't have your own garden, no worries! You'll most likely be able to locate fresh tomatoes somewhere in your area. Here's a few places to check:
- A neighbor. Check with your neighbors or family members to see if they have extra tomatoes, or know of someone who does.
- Local farms, farmstands, or farmer's markets (and here's the link to the USDA Local Food Directory to check for one nearby). Though if you live in a rural area like we do, this might not help you out too much!
- Azure Standard
- Local bulk food store - if you live near a Mennonite or Amish bulk food store, there's a good chance they'll get a variety of fresh produce in during the summer.
This post contains affiliate links. As Amazon Associates, we may earn a small commission at no extra cost to you when you purchase through our links. Thanks for supporting our little family!
Supplies You Will Need
- Cutting board and knife - to quarter the tomatoes, if you're starting with whole tomatoes anyway.
- Large stock pot - to cook those tomatoes
- Large bowl - to hold all of the juice
- Food strainer mill - a strainer to easily turn the tomatoes into juice. I have the Weston Roma Tomato Press and Sauce Maker and it works great!
- Measuring spoons
- Jars - glass canning jars, lids and rings. And you'll want high quality canning lids such as Ball, Superb, or ForJars.
- Dish cloth - to wipe the jar rims
- Water Bath Canner - I have one similar to this and I especially like the little feature on the knob that takes the guesswork out of knowing when to start timing the canning process!
- Jar Lifter - you'll need a jar lifter thingy to remove jars from the hot water
- Funnel - I also like my wide mouth funnel when it comes to canning!
- Small pitcher - I like to use my small Pyrex measuring cup to pour the juice into the jars.
How to Make and Can Homemade Tomato Juice
1. First, wash your jars.
(A dishwasher works great for washing and sanitizing jars!)
2. Cook and strain the tomatoes.
Wash tomatoes, quarter them, remove any bad spots and place them in a large pot. Add a little bit of water in the bottom to keep the tomatoes from burning and cook them on the stovetop until they're foamy and soft.


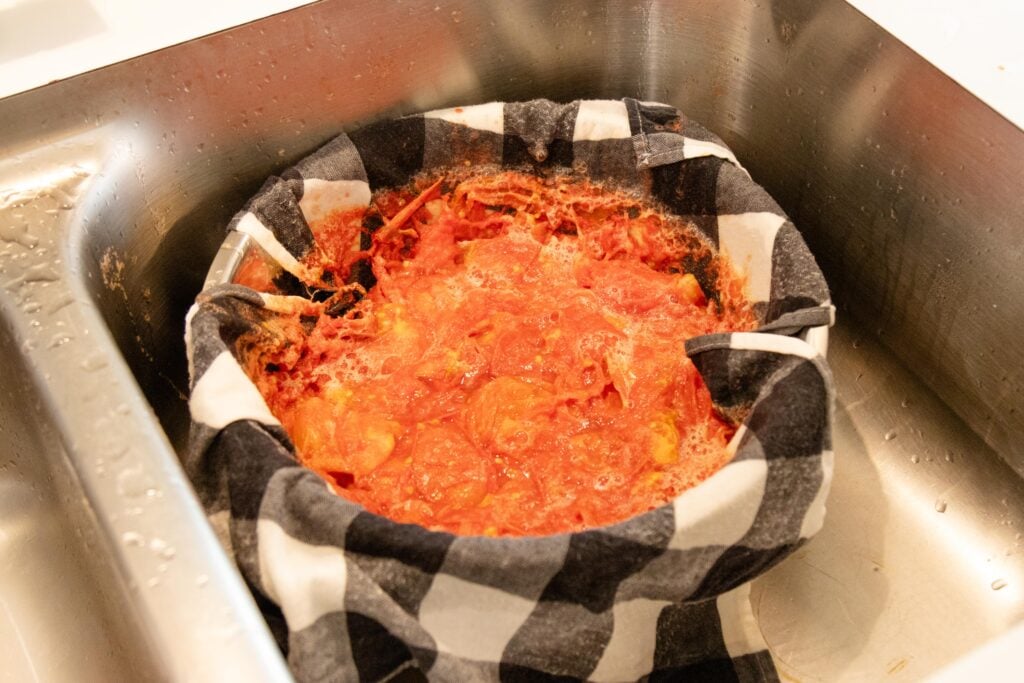
Meanwhile, set up the food strainer and prepare a draining system by lining a large strainer or colander with a thin cotton kitchen towel. When the tomatoes are soft, dump them into the colander to drain away excess water then dump them into the hopper of the food strainer.


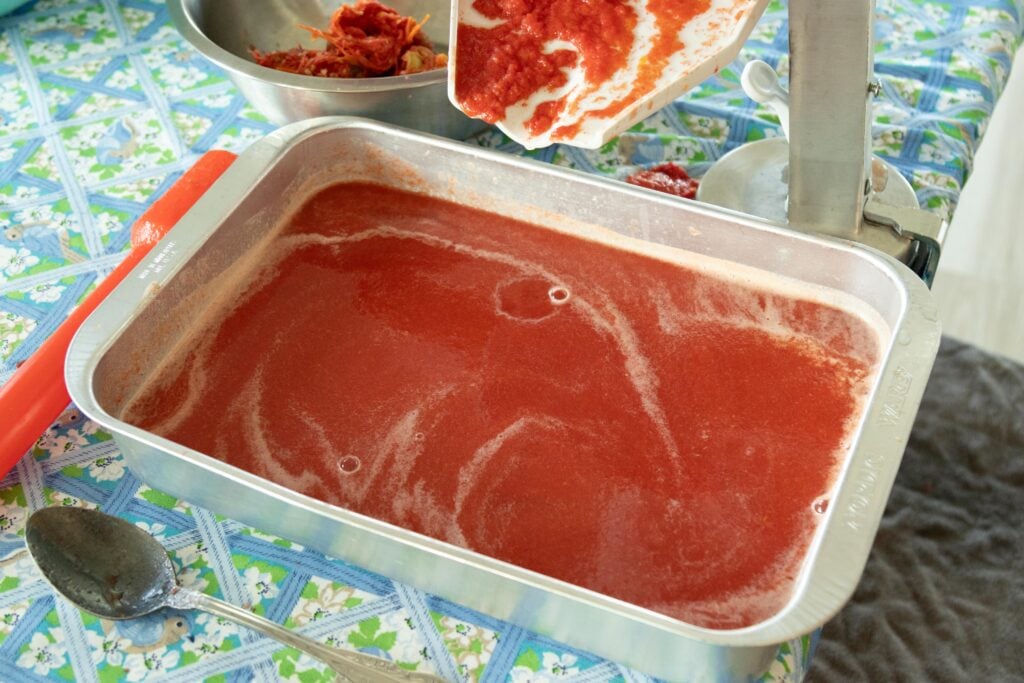
Strain the tomatoes, and repeat the cooking and straining process until all of your remaining tomatoes are turned into juice!

You can also just dump the cooked tomatoes straight into the hopper of the food mill, and let the water drain out through there before cranking the tomatoes through. Just make sure you empty the receiving pan each time before dumping more tomatoes into the hopper, or all that excess water will flow straight through into the thick tomato juice and make it watery! (which is not what we're after)
3. Fill your jars!
If you're planning to water bath can this tomato juice, it is recommended to add acid of some kind. Either bottled lemon juice (1 tbsp. per pint and 2 tbsp. per quart) to each jar of juice, or citric acid (¼ teaspoon of citric acid per pint and ½ tsp. per quart).
I also like to add a half teaspoon of salt to pint jars and a full teaspoon of salt to each quart jar of tomato juice. (And if you do this first, before filling the jars, you can see where you went and aren't quite as likely to skip a jar!)
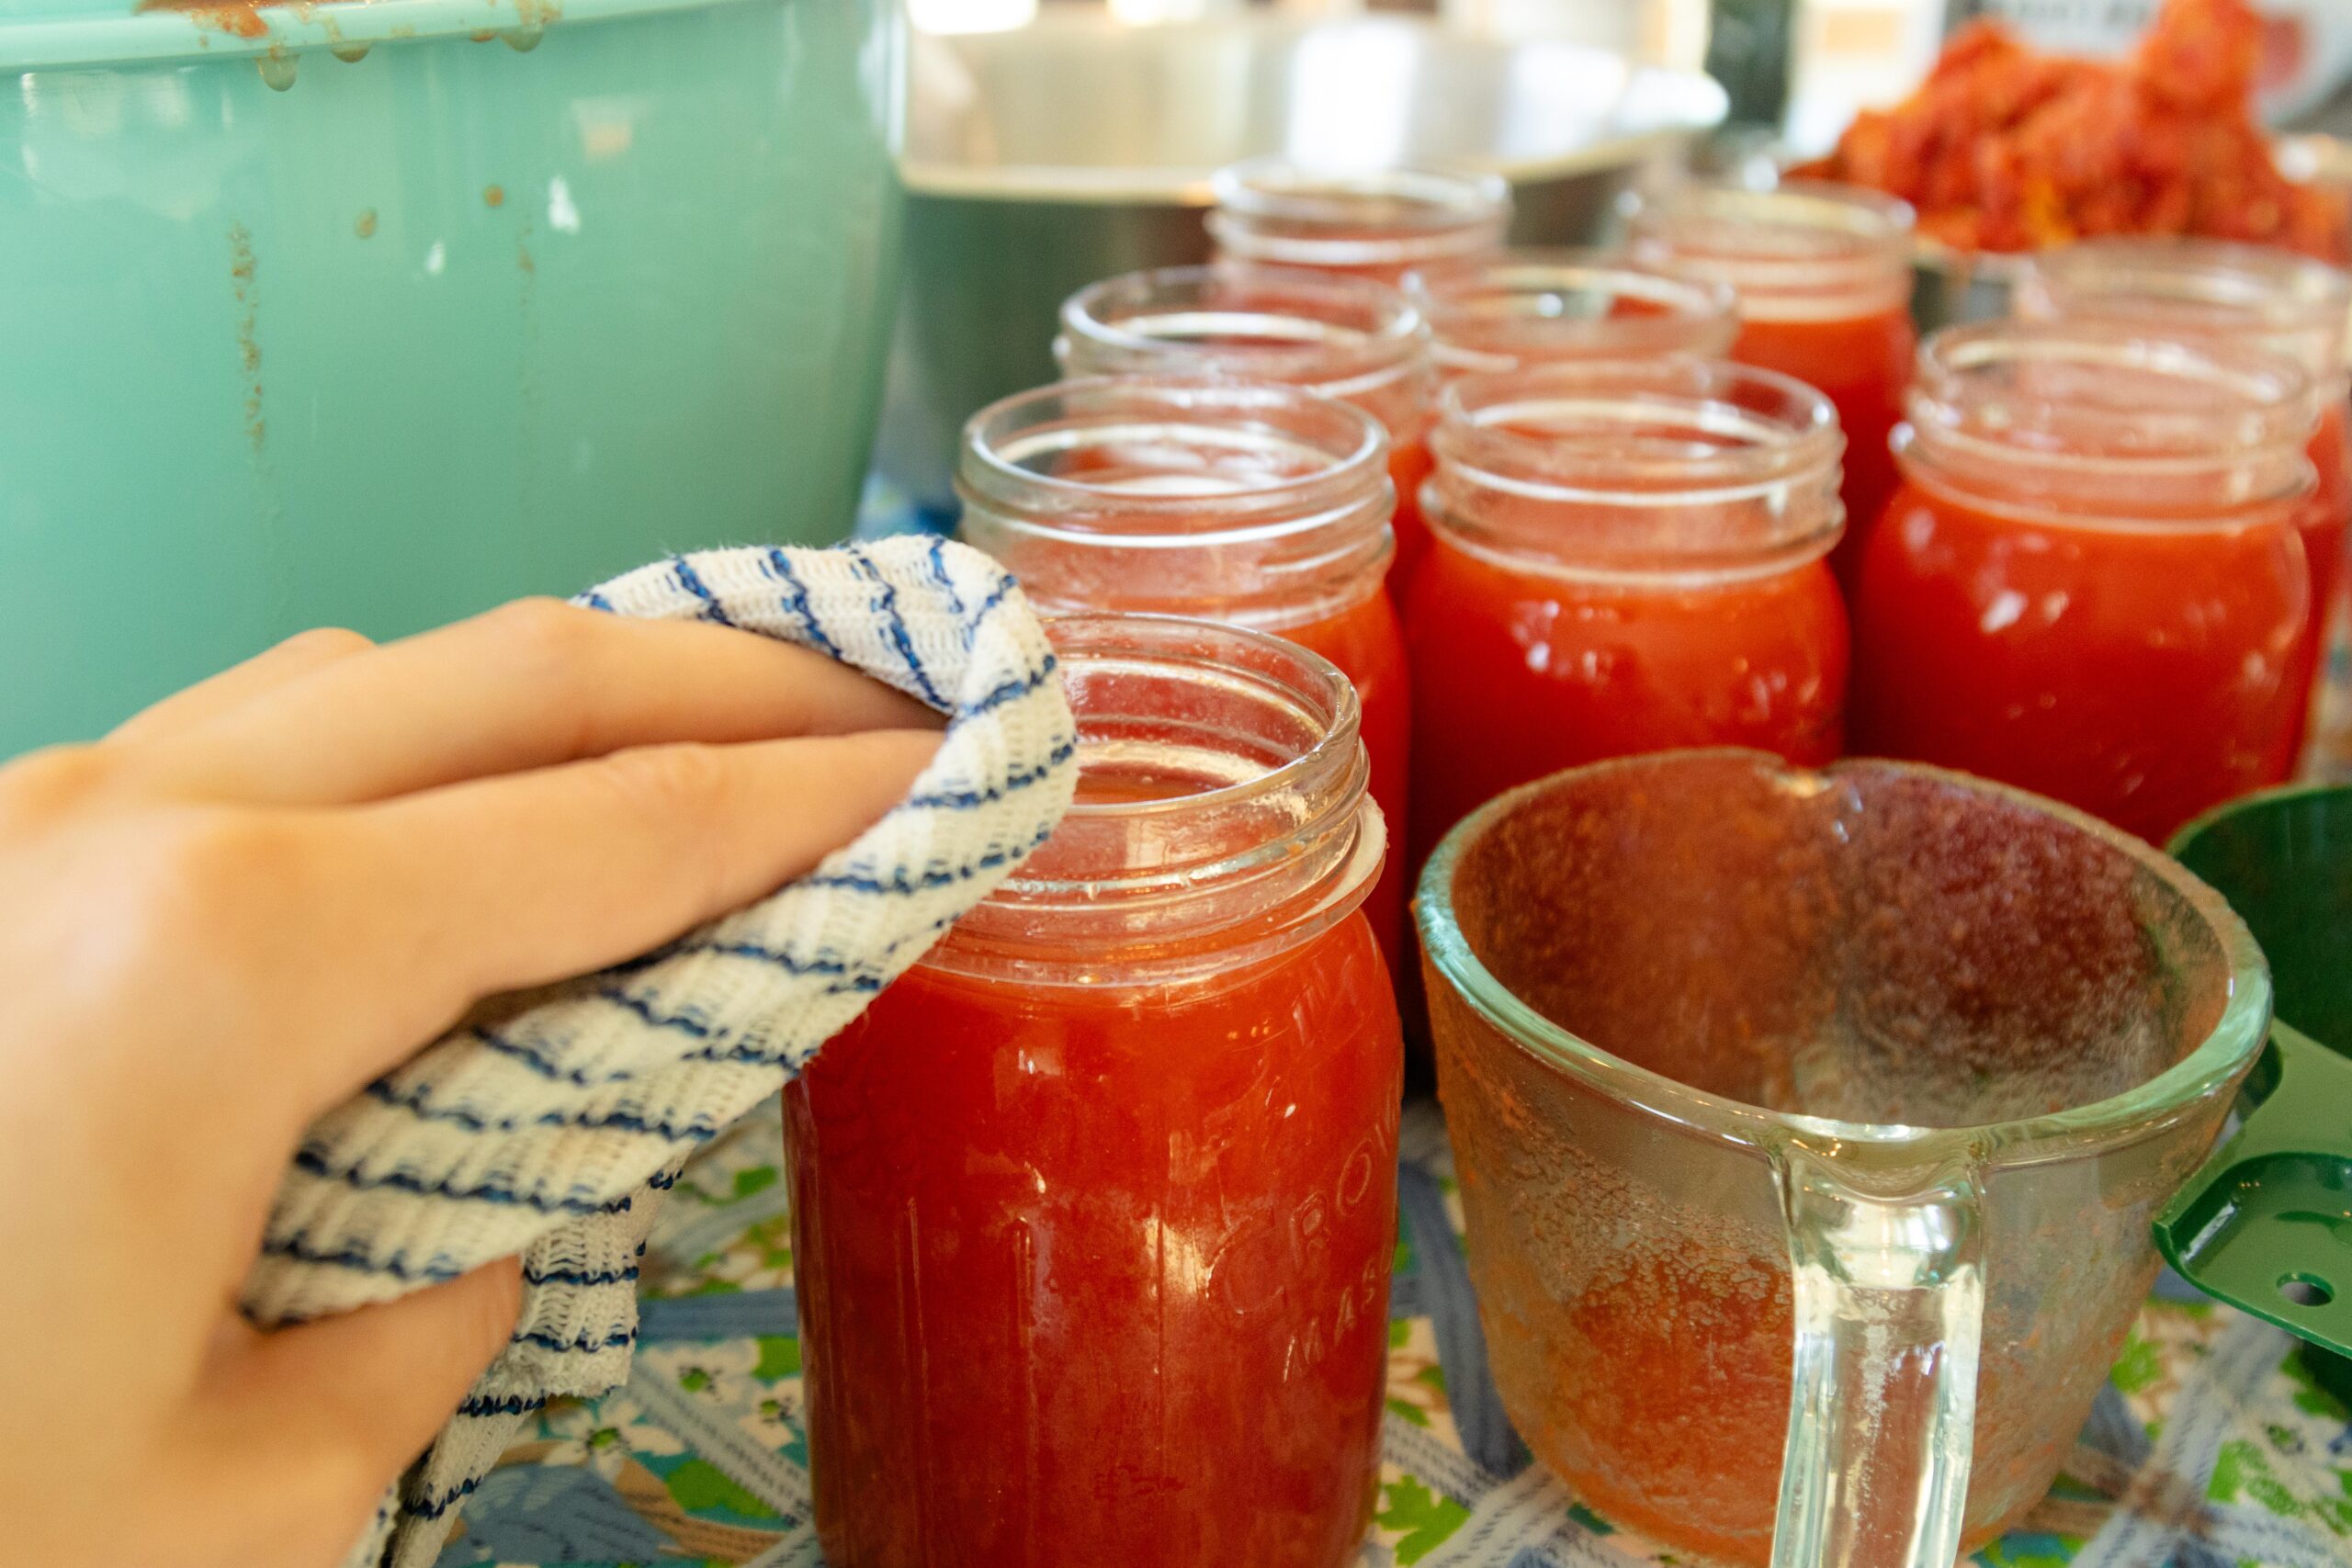
Then fill the jars with tomato juice, leaving about a half inch headspace. (I just fill to the bottom ring on the neck of the jar.)
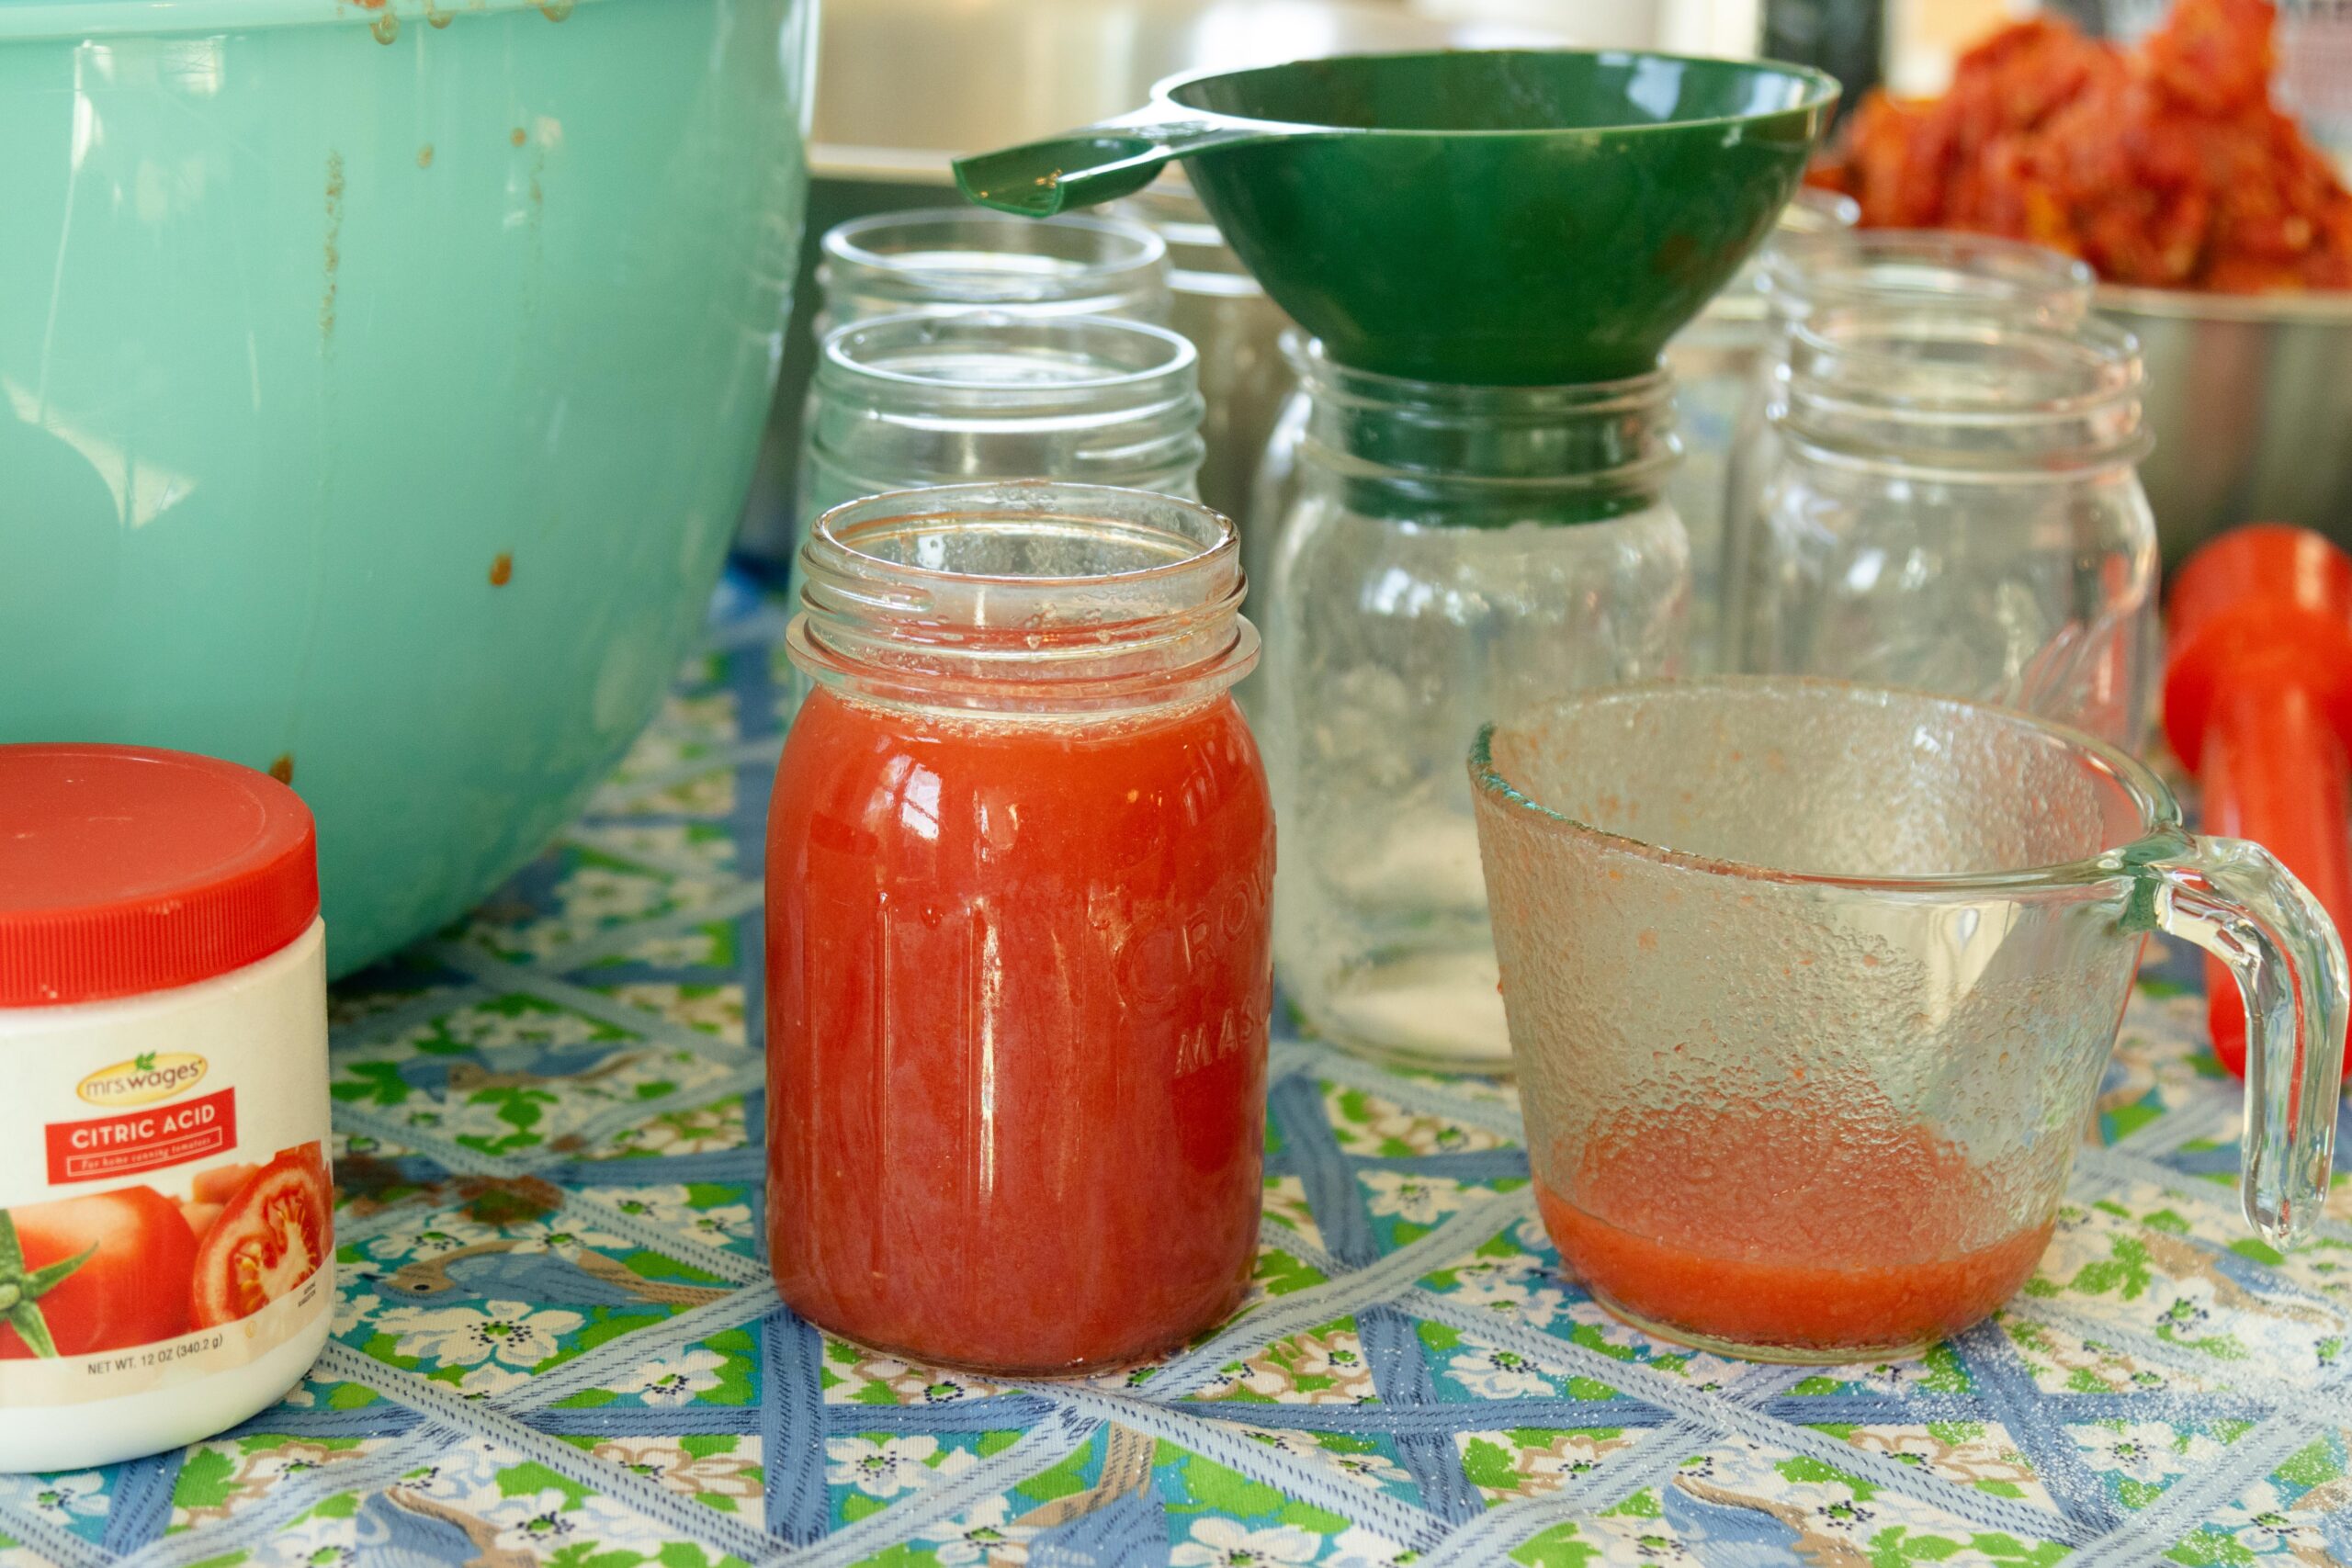
Wipe the rim of each jar with a damp cloth and then place lids and screw rings on each one.
4. Water Bath Canning the homemade tomato juice:
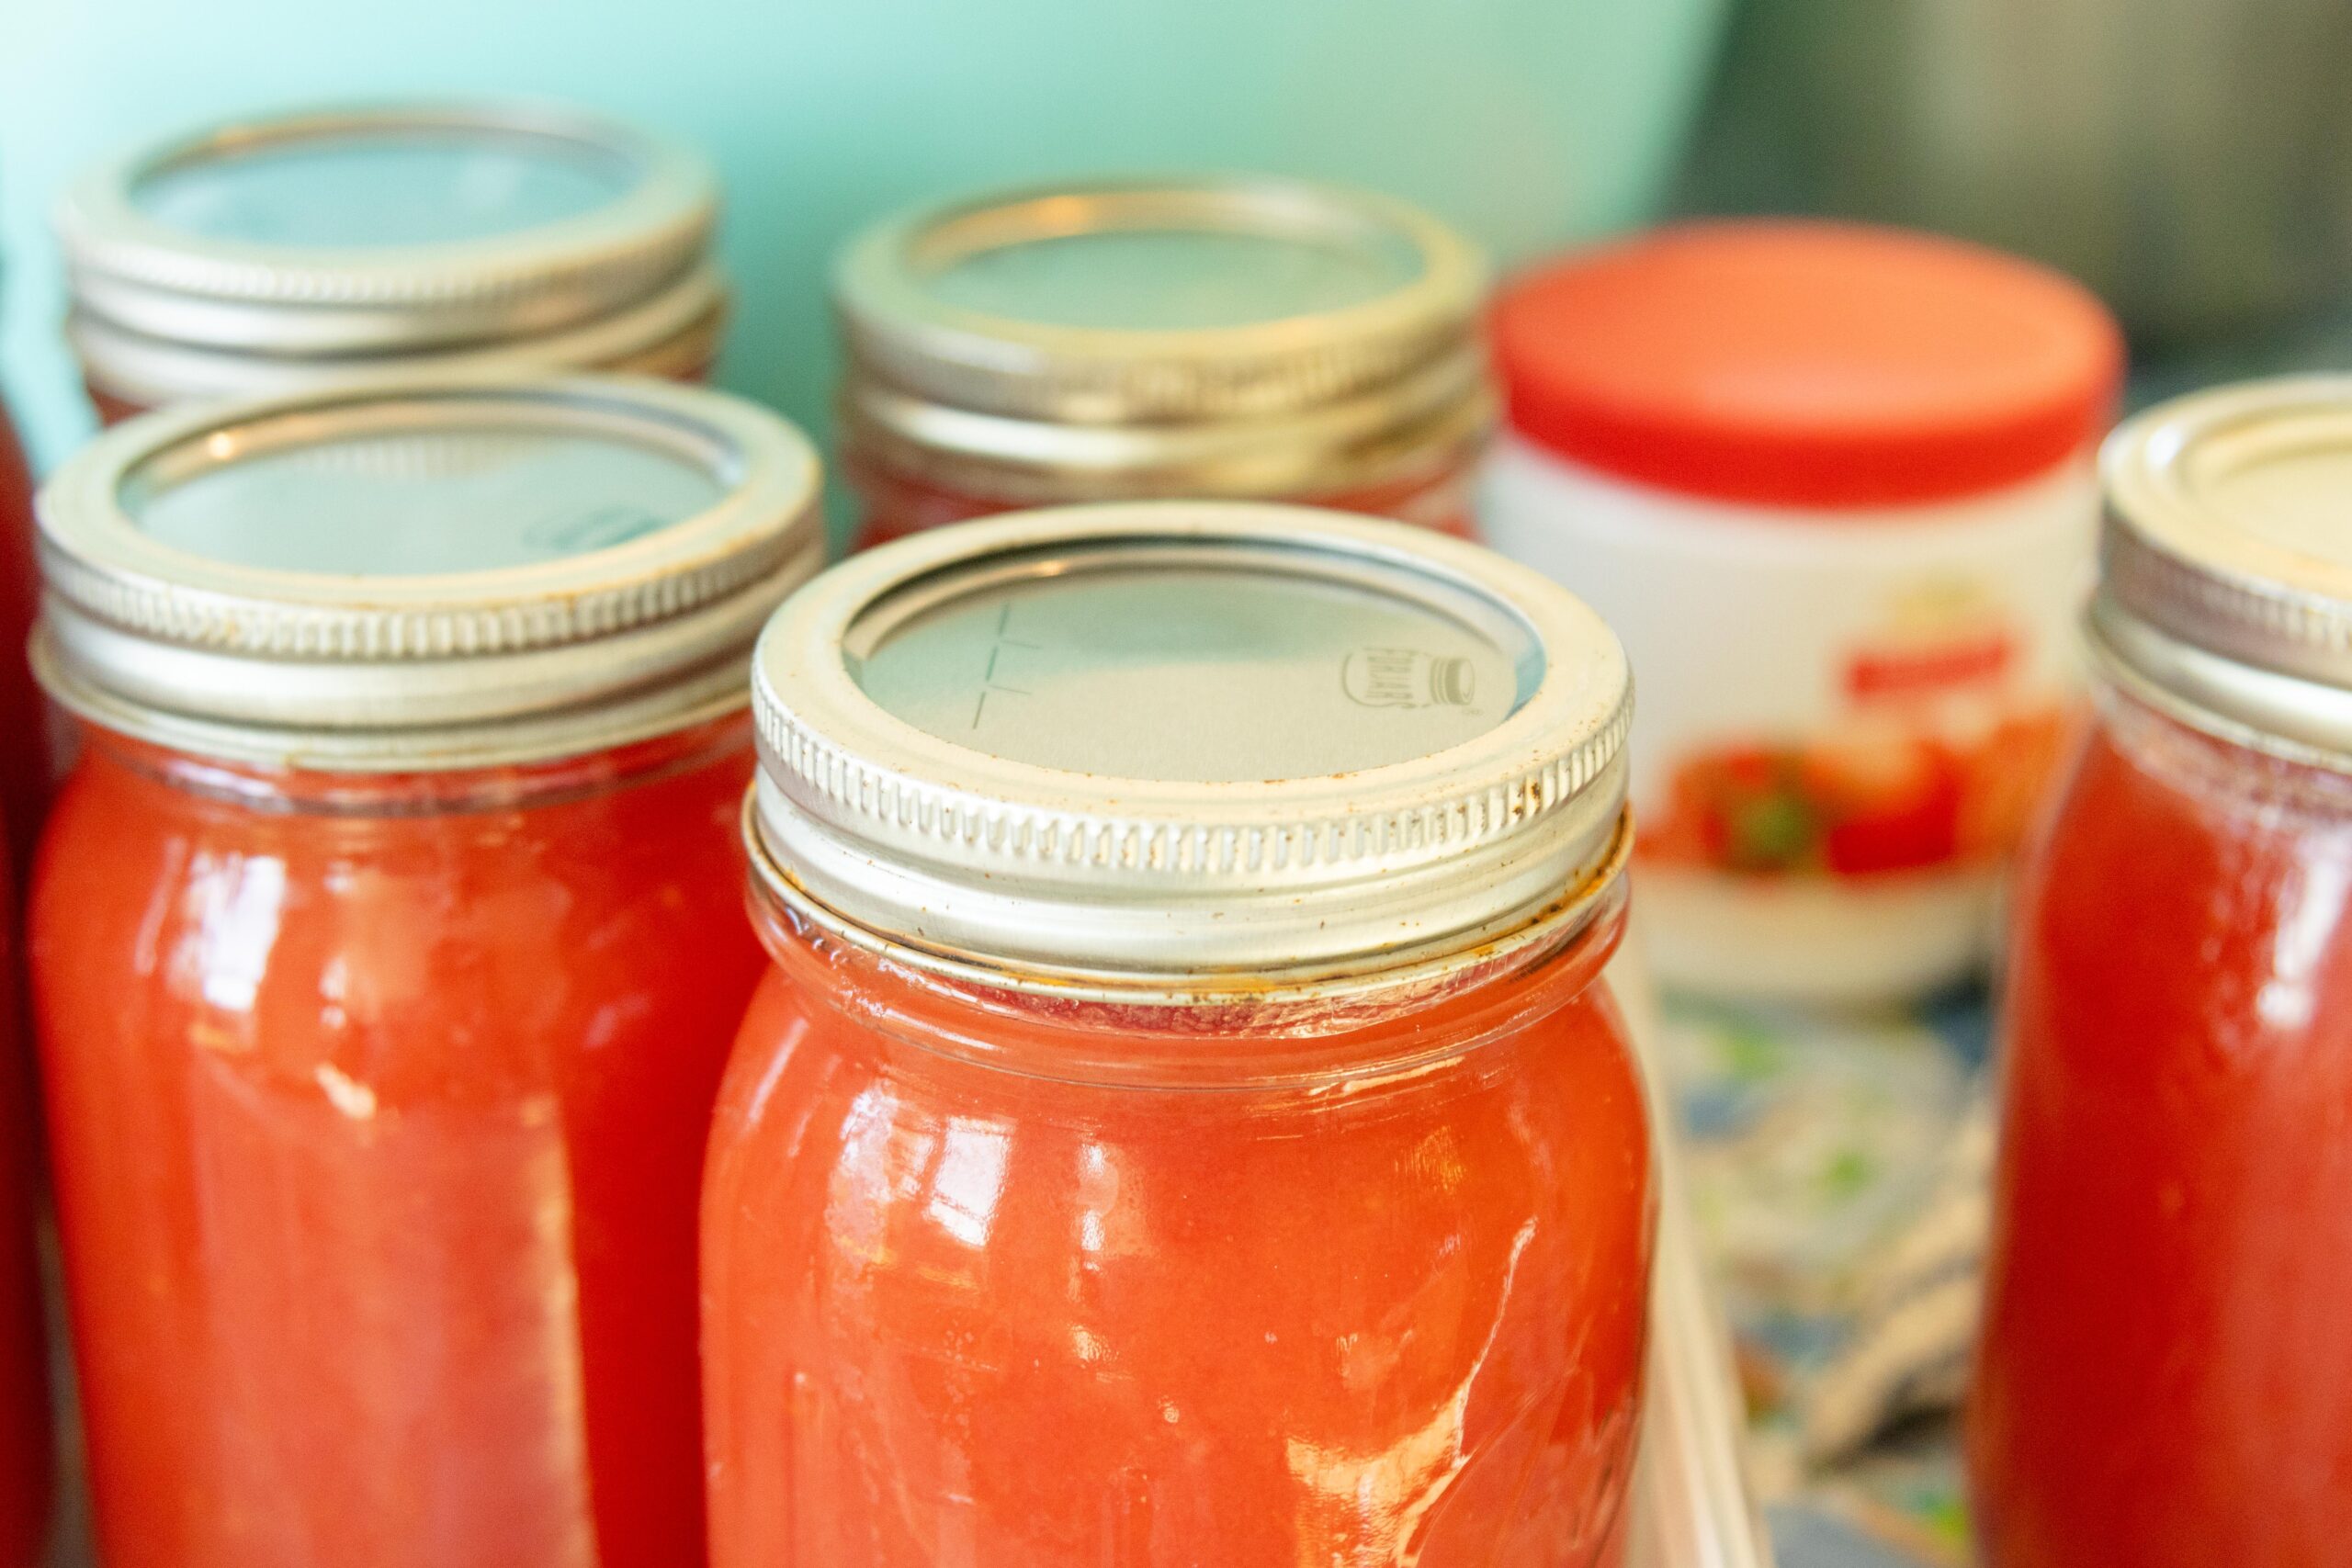
Place the jars of juice into the canner. Fill the canner with water until the jars are covered by at least one inch of water. Turn the burner on high; once the water comes to a rolling boil (this might take a while), turn the burner back just a little and start the timer. (You want to maintain a gentle boil, no need for vigorously boiling water in the canner!) Time the canning process for 35 minutes (for pints), then turn off the burner, and remove the jars of tomato juice with a jar lifter. (Processing time for quarts of juice is 40 minutes.) Place the jars on a towel on the counter to cool. Soon you should start to hear the "pop" of the jars sealing!


Here's the National Center for Home Food Preservation's chart for canning tomato juice:

An hour or two after the tomato juice is canned, I like to go check and make sure the jars all sealed. You can tell if a jar isn’t sealed by pressing on the lid. If it “pops” and isn’t sucked down tight on top of the jar, it didn’t seal.
If you have unsealed jars, you have a few options:
- Make soup (like Taco Soup) for dinner (my favorite option!:)
- Try canning it again, with a new jar and lid (I would only do this if I had more juice waiting to be canned; I would not can one single jar by itself.)
- Freeze it in a freezer box for later! (Be sure to label the container, so you don't forget.)
5. Wash & Store the Jars
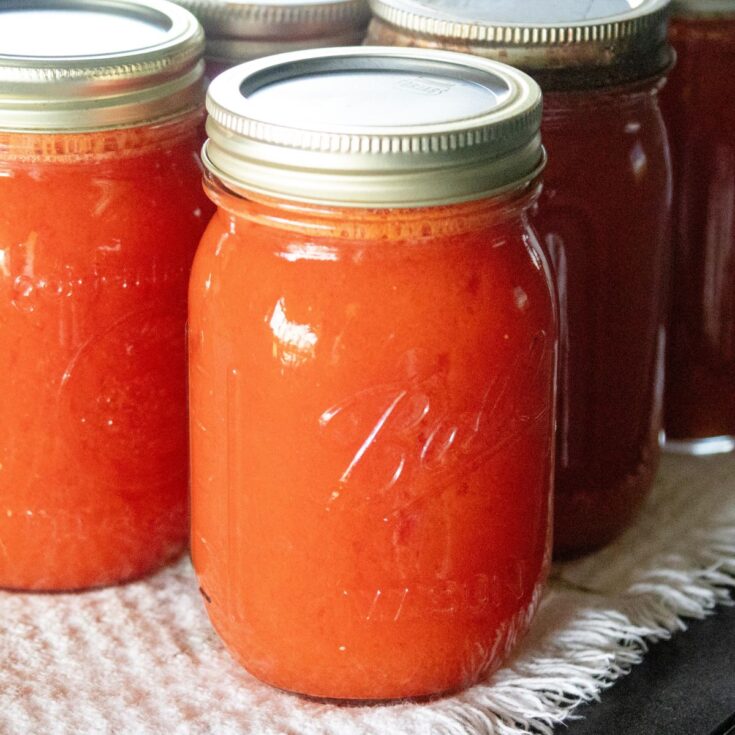
Let the canned tomato juice sit undisturbed for 12-24 hours, then remove the bands. Wash the jars if they're sticky, then store them on your can shelves. The home-canned tomato juice should be good for up to a year or even longer!

When you open a jar, the lid should come off with a “pop” as the jar unseals. If it doesn’t, and you suspect the jar wasn’t sealed, it might be best to throw it out. If you smell an odd smell, see signs of mold or if the juice is discolored, it probably spoiled and should be discarded!
Collecting and Freezing Tomatoes to be made into juice later
If you’re using homegrown tomatoes like I am, it can be a challenge to get enough ripe tomatoes at one time to make a good-sized batch of juice. (Unless you have a large tomato patch!) So, I collect tomatoes over time and freeze them! Here’s how I do it:
- Wash and quarter the tomatoes, then spread them out on parchment lined sheet pans.
- Freeze for a few hours, then transfer to a large (and strong) scent-free garbage bag.
- The night before making tomato juice, get the bag(s) of tomatoes out of the freezer and set it in the sink. The next day, cook and strain the tomatoes just like usual!
One thing to note: if you do this, I've found that the juice is bound to separate in the jars after being canned! Read below to learn more.
How to Avoid Separation in Canned Tomato Juice
Though canned tomato juice that separated is perfectly fine to eat (just give it a shake!), it doesn't look quite as good.
Here's why it happens:
When you cut or crush fresh tomatoes, an enzyme called pectinase is released. This enzyme breaks down pectin, which acts as a natural glue within the tomato cells. As the pectin breaks down, the tomato cells can no longer hold together, leading to separation of the pulp and liquid.
Also, that's why if you use frozen tomatoes, they will likely separate because that enzyme wasn't deactivated! This year when I canned tomato juice, I certainly could tell a difference between the fresh tomato juice versus the juice I made from frozen tomatoes, just by the way it separated after canning.
And here's how to try to avoid it:
When cooking the tomatoes (Step #2), cut only a few and get those boiling on the stovetop. (Crush them a little to release juice, so you don't have to add too much extra water.) Then continue to cut more tomatoes and add them into the cooking pot as soon as they're cut. This helps deactivate that enzyme before it has a chance to break down the pectin (natural glue) in the tomatoes.
I usually don't worry about the juice separation, and just get the tomatoes cooking as quickly as I can (with the normal mom interruptions!:).
Notes on Canning Homemade Tomato Juice
If you'd rather not can the tomato juice, you can totally freeze it in freezer boxes instead! You can go ahead and skip the citric acid if you do this.
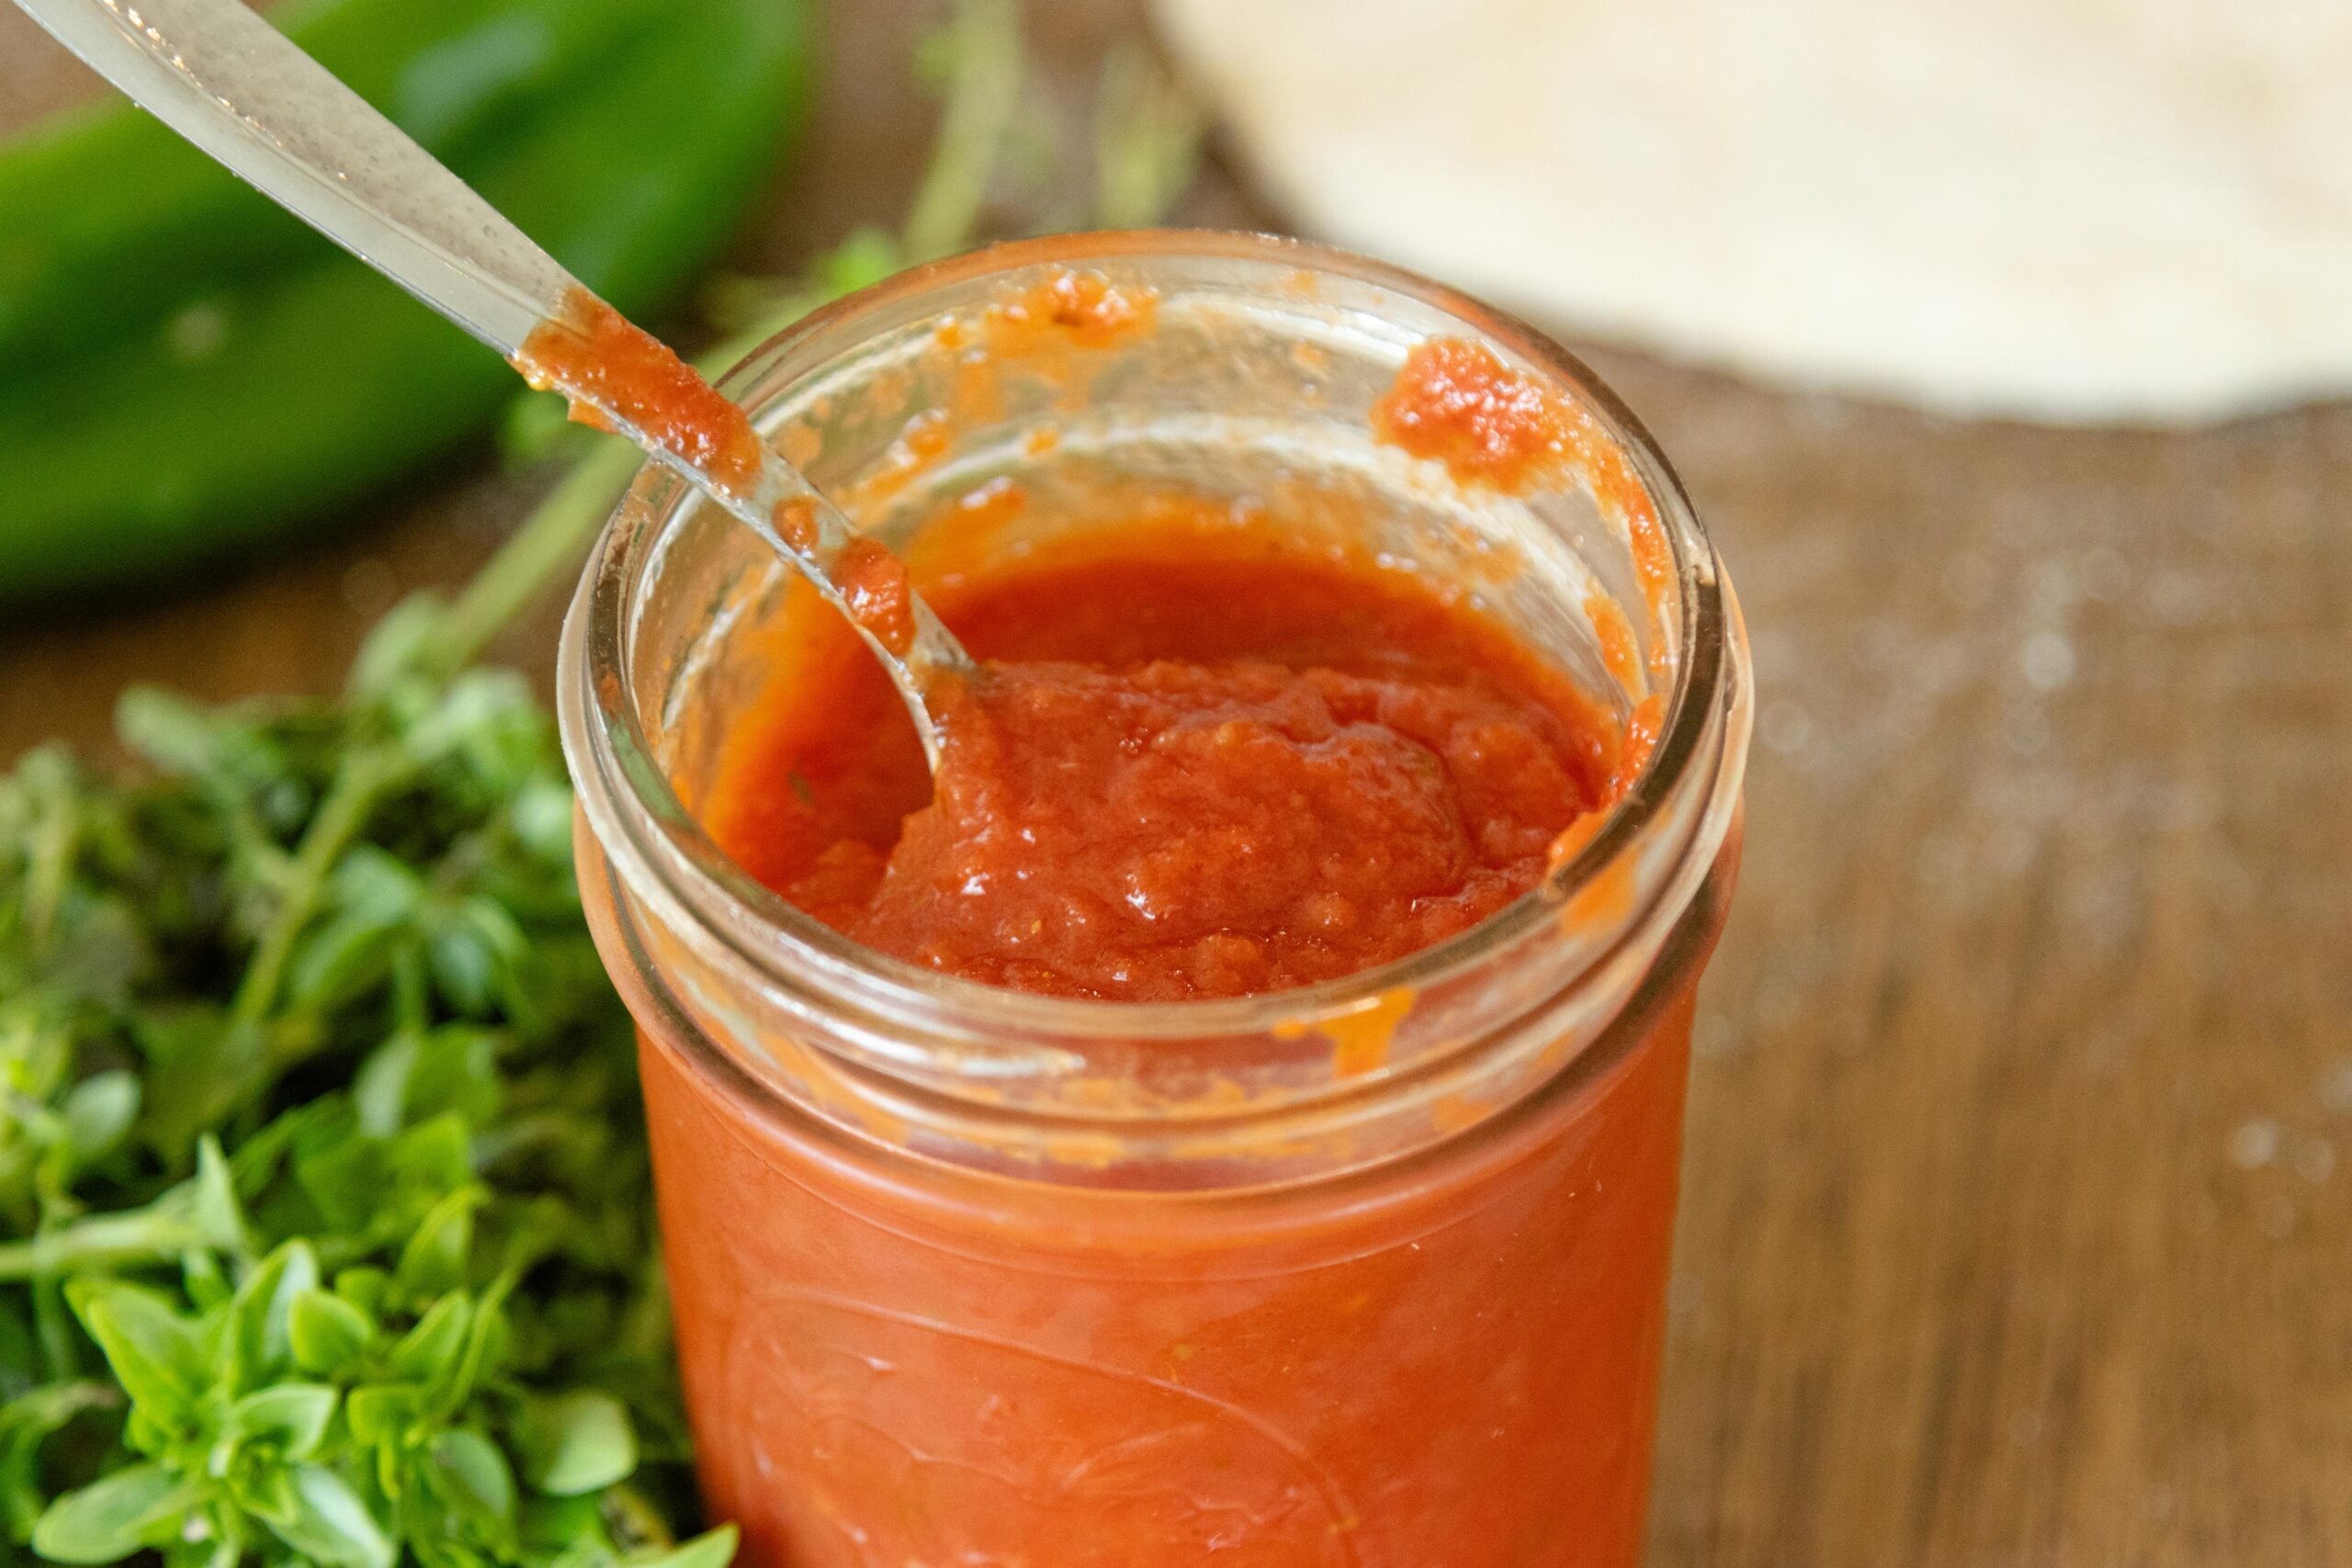
My favorite ways to use this tomato juice are to make tomato soup or as a base for soups like Taco Soup and Beef Vegetable Soup!
More Canning Recipes


Share this Homemade Tomato Juice post!

Homemade Tomato Juice (Making & Canning it at Home!)
Making Homemade Tomato Juice is a great way to turn your tomato harvest into a simple juice to use for cooking all throughout the winter.
Materials
- Tomatoes
- Salt
- Citric Acid
Tools
- Cutting board and knife
- Large stock pot
- Large bowl
- Food strainer mill
- Measuring spoons
- Glass canning jars, lids and rings
- Dish cloth
- Water Bath Canner
- Jar Lifter
- Funnel
- Small pitcher
Instructions
- First, wash your jars. (A dishwasher works great for washing and sanitizing jars!)
- Cook and strain the tomatoes. Wash tomatoes, quarter them, remove any bad spots and place them in a large pot. Add a little bit of water in the bottom to keep the tomatoes from burning and cook them on the stovetop until they're foamy and soft.
- Meanwhile, set up the food strainer and prepare a draining system by lining a large strainer or colander with a thin cotton kitchen towel. When the tomatoes are soft, dump them into the colander to drain away excess water then dump them into the hopper of the food strainer. Strain the tomatoes, and repeat the cooking and straining process until all of your remaining tomatoes are turned into juice! (You can also just dump the cooked tomatoes straight into the hopper of the food mill, and let the water drain out through there before cranking the tomatoes through. Just make sure you empty the receiving pan each time before dumping more tomatoes into the hopper, or all that excess water will flow straight through into the thick tomato juice!)
- Fill your jars! If you're planning to water bath can this tomato juice, it is recommended to add lemon juice (1 tbsp. per pint and 2 tbsp. per quart) to each jar of juice. Or, you can use citric acid instead: ¼ teaspoon of citric acid per pint and ½ tsp. per quart. I also like to add a half teaspoon of salt to pint jars and a full teaspoon of salt to each quart jar of tomato juice. (And if you do this first, before filling the jars, you can see where you went and aren't quite as likely to skip a jar!)
- Then fill the jars with tomato juice, leaving about a half inch headspace. (I just fill to the bottom ring on the neck of the jar.) Wipe the rim of each jar with a damp cloth and then place lids and screw rings on each one.
- Water Bath Canning the homemade tomato juice: place the jars of juice into the canner. Fill the canner with water until the jars are covered by at least one inch of water. Turn the burner on high; once the water comes to a rolling boil (this might take a while), turn the burner back just a little and start the timer. (You want to maintain a gentle boil, no need for vigorously boiling water in the canner!) Time the canning process for 35 minutes (for pints), then turn off the burner, and remove the jars of tomato juice with a jar lifter. (Processing time for quarts of juice is 40 minutes.) Place the jars on a towel on the counter to cool. Soon you should start to hear the "pop" of the jars sealing!
- An hour or two after the tomato juice is canned, I like to go check and make sure the jars all sealed. You can tell if a jar isn’t sealed by pressing on the lid. If it “pops” and isn’t sucked down tight on top of the jar, it didn’t seal. (Stick it in the fridge and use it within a week!)
- Store the jars. Let the canned tomato juice sit for 12-24 hours, then remove the bands. Wash the jars if they're sticky, then store them on your can shelves. The home-canned tomato juice should be good for up to a year or even longer!
Notes
When you open a jar, the lid should come off with a “pop” as the jar unseals. If it doesn’t, and you suspect the jar wasn’t sealed, it might be best to throw it out. If you smell an odd smell, see signs of mold or if the juice is discolored, it probably spoiled and should be discarded!
As always...
Thanks for visiting our small town! We're delighted to have you and you're more than welcome to stay awhile and explore.
'til next time, happy canning!
We love you and we’ll be praying for you,
Julie


Leave a Reply