
Here's how to blanch and freeze peas from the garden, so they stay vibrant and tasty! Creating a stash of garden-fresh green peas for the winter is both rewarding and delicious. There’s something special about munching on peas you’ve grown yourself, even months after harvest.
Blanching and Freezing Fresh, Green, Garden Peas
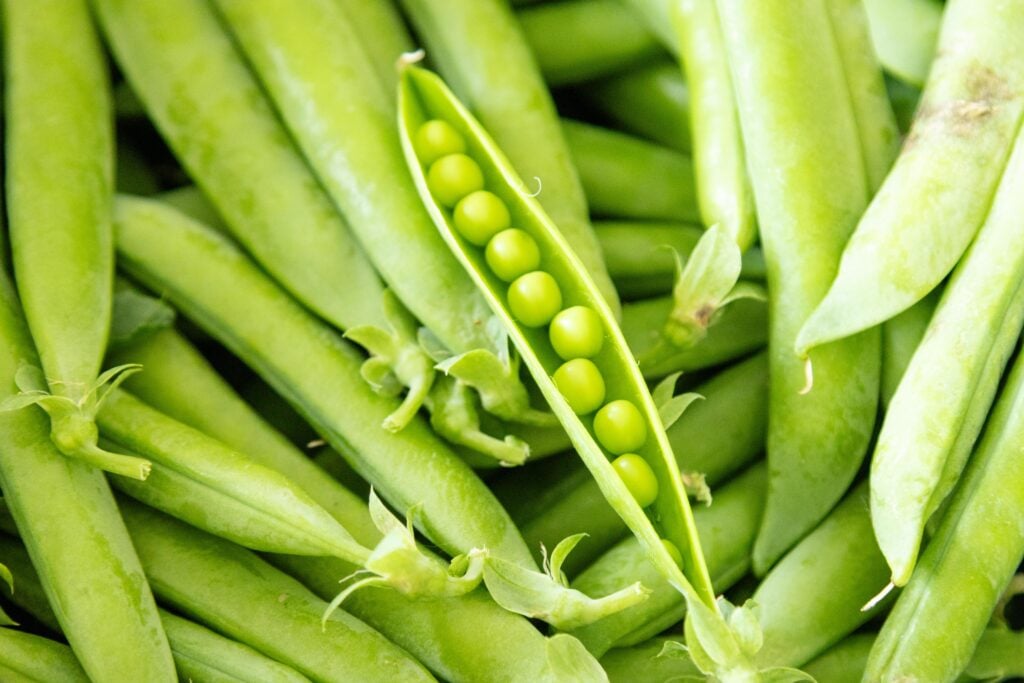
Fresh peas from the garden are just the best. I usually plant some every spring, even though our weather here is sometimes almost too hot and humid for garden peas to grow well.
Growing up, my mom would plant a lot of peas, and some years we would pick them by the bushel! (And oh, how we complained. But then, if we got enough peas from one picking, we could take them to the pea huller and didn't have to shell them by hand:)
I don't normally plant snow peas or snap peas (since they're not my favorite vegetable, and I only have so much garden space!), only the shell peas. If you don't grow your own peas but would like some, the local farmer's market would be a great place to check for different types of peas and more fresh produce.
During pea season, I like to serve peas as a side at least for one meal, sometimes two meals a day. They're that good!
And then, if there are any left over I will blanch them and store them in the freezer. Like more vegetables, home-grown peas really are so much better than any you can buy at the grocery store, making it worth the effort of growing, picking, shelling and freezing your own!
Why do you need to blanch peas before freezing?
Blanching peas might seem like just an extra step to freezing peas but there's actually a couple reasons why you should blanch peas (and most other fresh vegetables) before sticking them in the freezer.
Here's what the blanching process does to vegetables:
- Deactivates the enzymes found in vegetables, preventing the vegetables from discoloring, turning mushy, or tasting bad.
- Brightens the bright colors of vegetables and helps maintain their crisp textures, which could otherwise be lost in the freezer.
- Gets rid of unwanted bacteria, dirt or mold that might be on the vegetables.
- Softens the vegetables slightly. It's important to blanch certain vegetables for certain lengths on time, to avoid under or over blanching, since over-blanching can cause them to lose some of their nutritional value and under blanching can fail to stop the aging enzymes, resulting in off-tasting or mushy veggies.
What You Will Need to Blanch and Freeze Peas
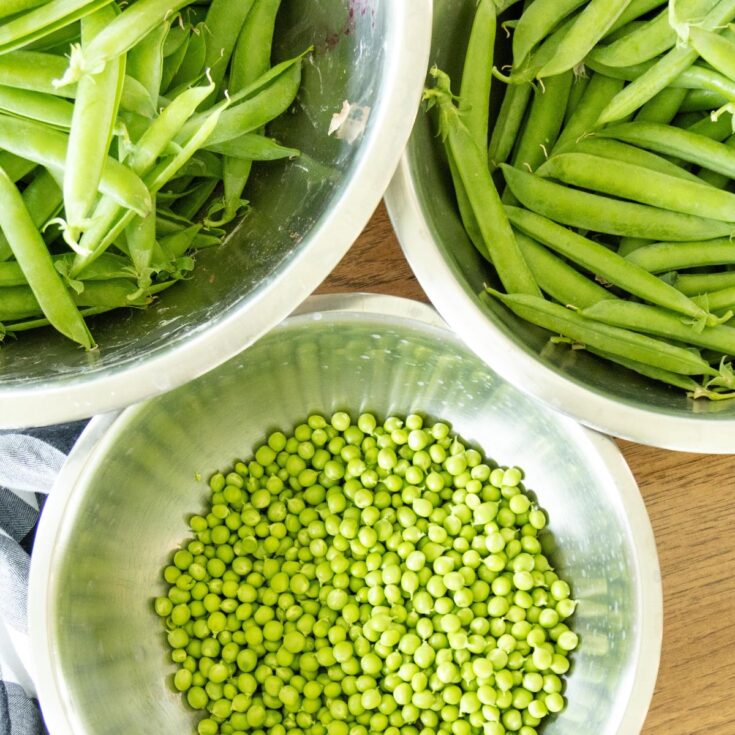
- A bowl of shelled, fresh green garden peas (green peas, shell peas, English peas, whatever you want to call them)
- Large pot of water (4 to 6 quarts)
- Ice bath (a large bowl of ice water)
- Colander for draining
- Freezer bags or airtight containers for storage - they say that food stored in vacuum seal bags lasts longer (since you can remove all oxygen) but we haven't purchased a vacuum sealer yet!
Freezing Peas
Harvest the peas:
First comes the pea picking in the garden! Pick only the pods that are firm and filled out. When pea season arrives, I usually pick my peas every other day (or on Monday, Wednesday and Friday).
Shell the peas:
Crack each pod open and take your thumb and pop the peas out into a bowl, getting rid of any discolored or damaged peas. (I like to compost the empty pea pods then!)
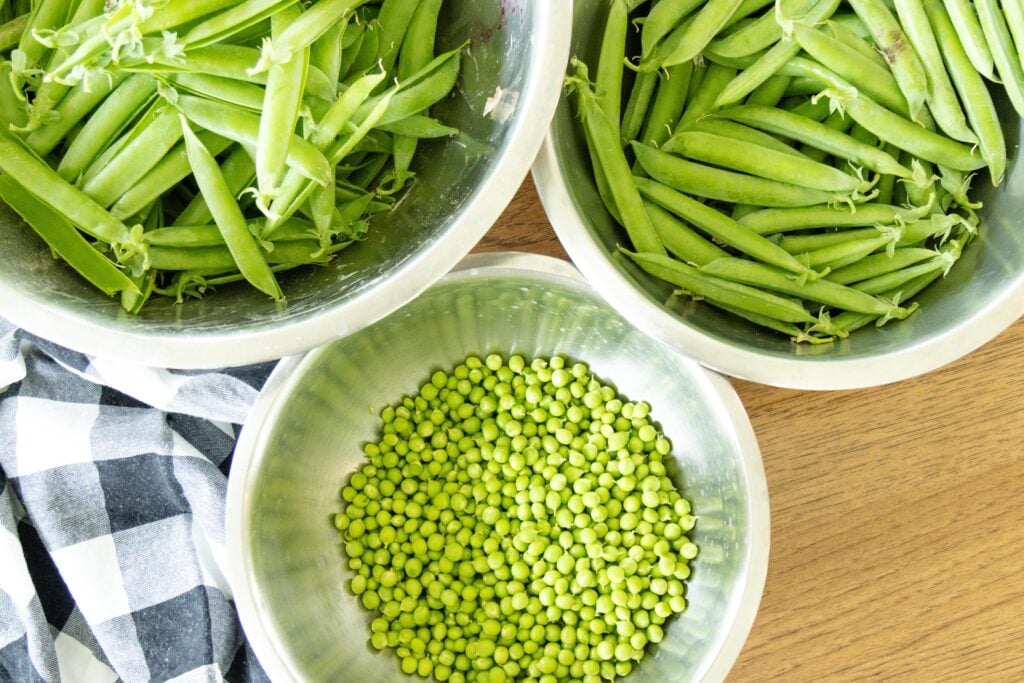
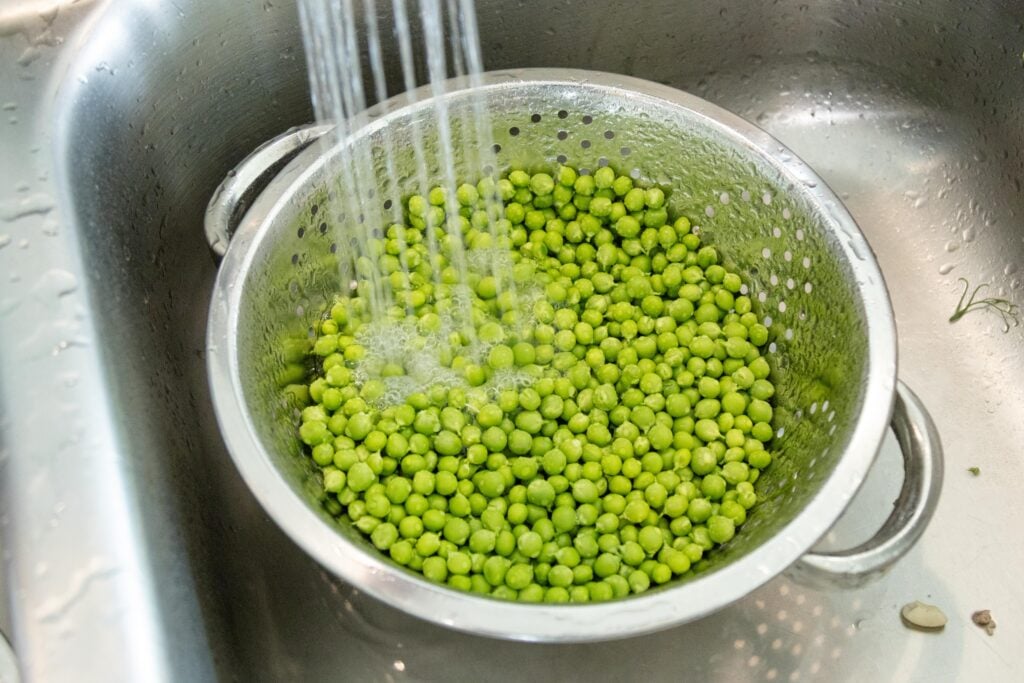
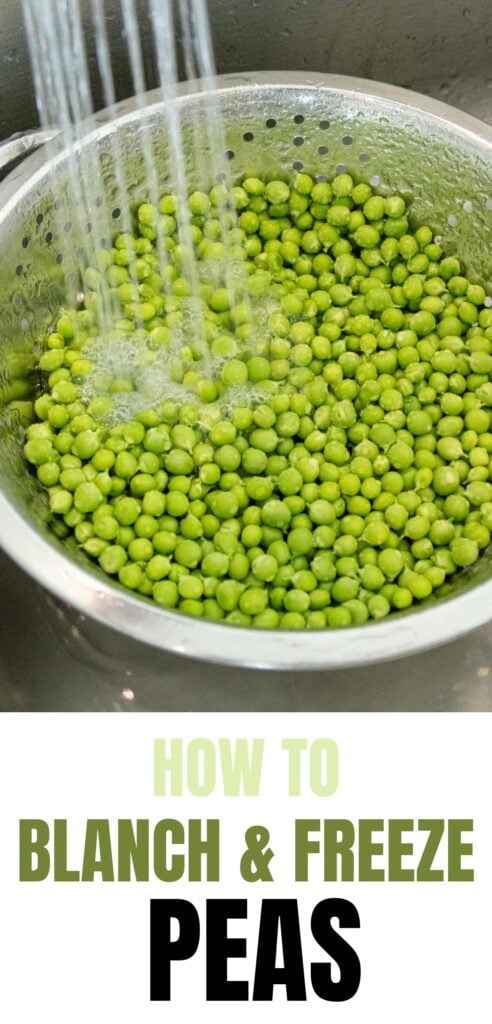
Wash the shelled peas. I like to rinse the peas several times, to hopefully wash away any dirt or dead blossoms.
Prepare the blanching water:
Fill a large pot with about 4 quarts (1 gallon) of water and bring it to a rolling boil.
Create an ice bath:
While the water boils, prepare an ice bath by filling a large bowl with ice and cold water. This will stop the cooking process effectively once the peas are blanched.
How to blanch peas for freezing:
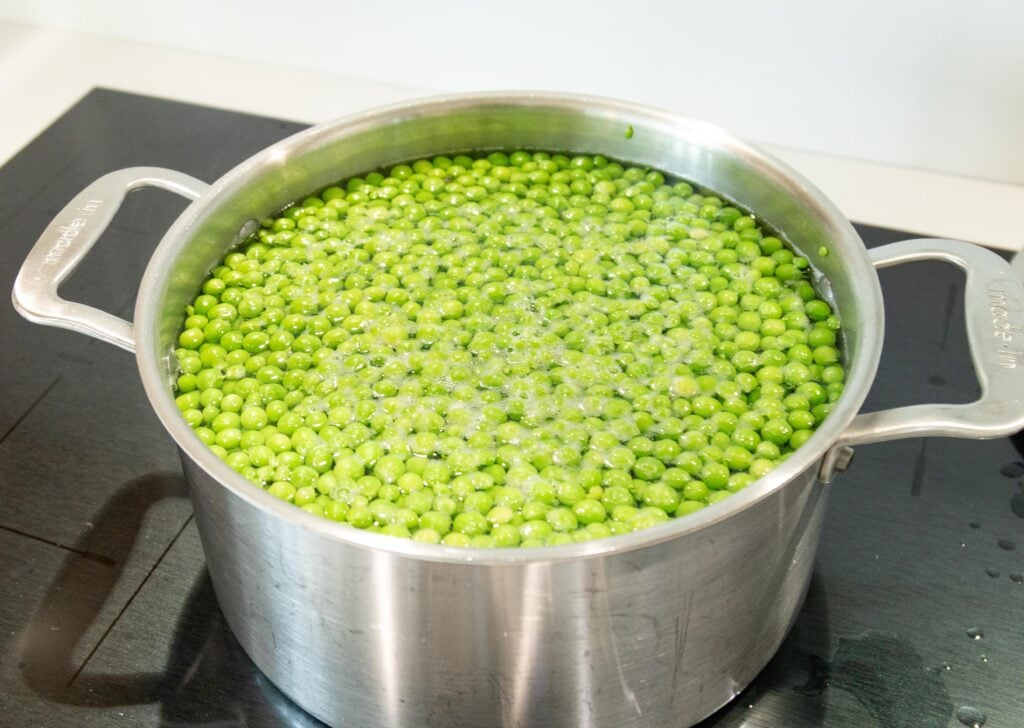
Once the water is boiling, add your peas to the pot. Once the water returns to a boil, start the timer and let the peas cook for 1-2 minutes and a white foam appears on top. If your water doesn't return to a boil within 1 minute, you have too many peas and not enough water!
Drain the peas:
Using a colander, carefully drain the peas to remove them from the pot. Be cautious of steam, it can be hot! I like to set my colander in the sink, then the excess water can go right down the drain.
Transfer to ice bath:
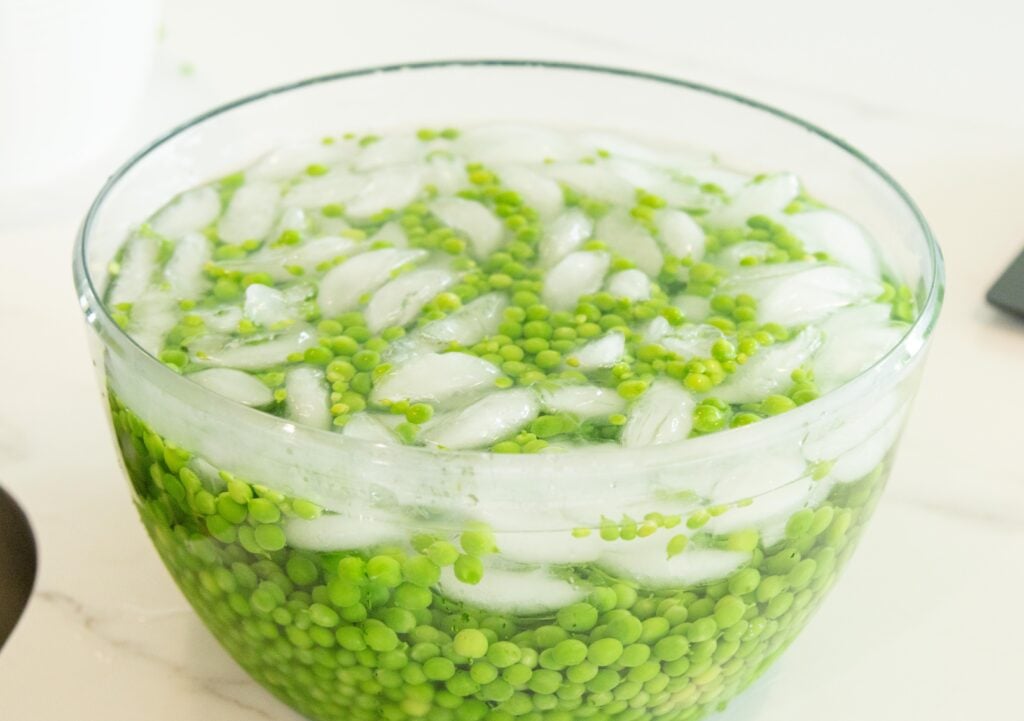
Immediately transfer the peas into the ice bath. The cold water shock is essential for stopping the cooking process and keeping the peas vibrant in color. Allow them to sit in the ice-cold water for a couple minutes, stirring a few times.
Remove and dry:
After they’ve chilled, scoop the peas from the ice bath and let them drain in the colander for a moment.
Package for freezing:
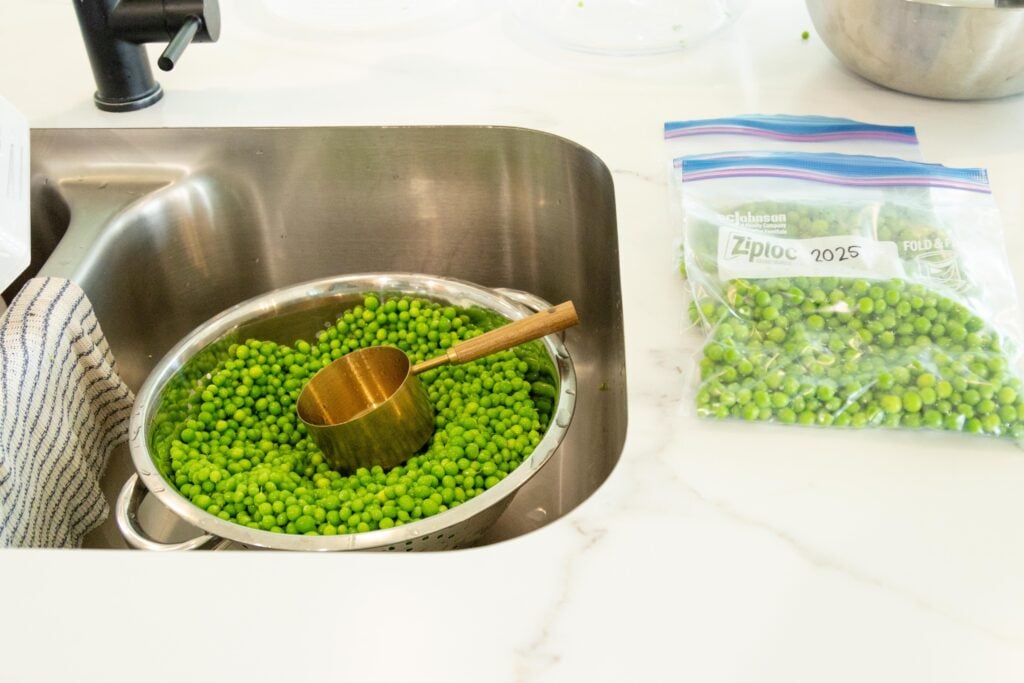
Transfer the peas into freezer bags or airtight containers. Remove as much air as possible to help prevent freezer burn.
A vacuum sealer is great to have, to help prevent all that frost (and freezer burn) on peas! Or, some folks will pour the blanching water into the packages with the peas, and freeze them in water to help with that (and keep any nutrients in the water!).
Label and store:
Label the bags or containers with the date and contents, if you wish. Store them in the freezer, where they can last up to a year! (Until next year's pea crop is ready, Lord willing!)
Flash Freezing Blanched Peas
Most times, I don't flash freeze my peas, since I package them in small amounts and it doesn't matter as much if they stick together. However, if you want to store them in bulk in a large container or bag, it might be a good idea to follow the flash freezing method so you can easily grab as many as you need without having them all stuck in a large clump!
You will need:
- A baking sheet or tray
- Kitchen towels or paper towels for drying
Once the peas are blanched and ice water bathed, lay them out on a clean kitchen towel or paper towels, to soak up extra water. Pat them dry with another kitchen towel.
Then, line a baking sheet with parchment paper and lay the peas in a single layer on the prepared tray. Place the baking sheet in the freezer until the peas are firm, usually around 1 to 2 hours. Then package in a freezer container or bag like usual!
Tips & Tricks on Blanching & Freezing Fresh Peas
- Choose young peas. For the best flavor and texture, pick the young, tender peas. They will freeze well and taste great after thawing. Legacy, Lincoln and Penelope peas are some common kinds I've grown in my garden.
- Process as soon as possible after picking. It's best to pick peas in the morning, then process them fairly quickly, since the natural sugars in the peas will convert to starch after picking and the peas will lose some of their flavor. If you can't shell and blanch them right away, stick them in the fridge!
- Try to avoid over-blanching: Timing is crucial. Over blanching can cause peas to lose their vibrant color and sweetness, so stick to the 1 to 2-minute mark.
- Keep everything cold. Make sure you have lots of ice in the ice water bath. The temperature contrast is key to preserving the peas’ freshness and bright color. I like to freeze water in old sour cream or Cool Whip containers ahead of time, since my fridge ice maker can't make enough. Then when I'm ready to ice water bath veggies, I can pop the ice chunks out into the ice water bath!
- Freeze in portions. I like to freeze my peas in one-cup packs, just perfect for a side dish to add to dinner for my little family!
Common Questions
How do you know when to start timing the blanching process? Once the water returns to a rolling boil after adding the vegetables, start timing! If the water doesn't start boiling again within one minute, you probably have too many veggies and not enough boiling water.

How to Prepare Frozen Peas for Dinner
You've seen how to blanch and freeze peas, but now how do we use them?
Here's the most simple and easy (and probably my favorite) way to make them for a simple side dish:
Simply cook the frozen peas in water for 5-10 minutes, and salt to taste and serve immediately. (Option: add a little bit of butter!)
Or, you can use them in a casserole such as Chicken Potato Casserole or Cheeseburger French Fry Casserole.
Share this post!
Now that you know how to blanch and freeze peas, share this post with your friends!
Thanks, we appreciate it.
How to Blanch Peas for Freezing
Here's a simple guide for blanching and freezing fresh garden shell peas!
Materials
- Fresh green garden peas (about one pound of shelled peas)
Tools
- Large pot of water (about 4 quarts)
- Ice bath (a bowl filled with ice and water)
- Colander for draining
- Freezer bags or airtight containers for storage
Instructions
- First comes the pea picking in the garden! Pick only the pods that are firm and filled out.
- Next comes the shelling. Crack each pod open and take your thumb and pop the peas out into a bowl. Get rid of any discolored or damaged peas!
- Wash the peas. I like to rinse the peas several times, to hopefully wash away any dirt or dead blossoms.
- Fill a large pot with 4 quarts (1 gallon) of water and bring it to a rolling boil.
- While the water boils, prepare an ice bath by filling a large bowl with ice and cold water. This will stop the cooking process effectively once the peas are blanched.
- Once the water is boiling, add your peas to the pot. Once the water returns to a boil, start the timer and let the peas cook for 1-2 minutes and a white foam appears on top. If your water doesn't return to a boil within 1 minute, you have too many peas and not enough water!
- Using a colander, carefully drain the peas to remove them from the pot. Be cautious of steam—it can be hot!
- Immediately transfer the peas into the ice bath. This is essential for stopping the cooking process and keeping the peas vibrant in color. Allow them to sit for a couple minutes, stirring a few times.
- After they’ve chilled, scoop the peas from the ice bath and let them drain in the colander for a moment.
- Transfer the peas into freezer bags or airtight containers. Remove as much air as possible to help prevent freezer burn. A vacuum sealer works great for this!
- Label the bags or containers with the date and contents, if you wish. Store them in the freezer, where they can last up to a year.
Notes
A good rule of thumb to remember for blanching vegetables is to use 1 gallon of boiling water to 1 pound of prepared vegetables.
As always...
Thanks for visiting our small town! We're delighted to have you and you're more than welcome to stay awhile and explore!
'til next time,
We love you and we’ll be praying for you,
-Julie

Leave a Reply